Overview
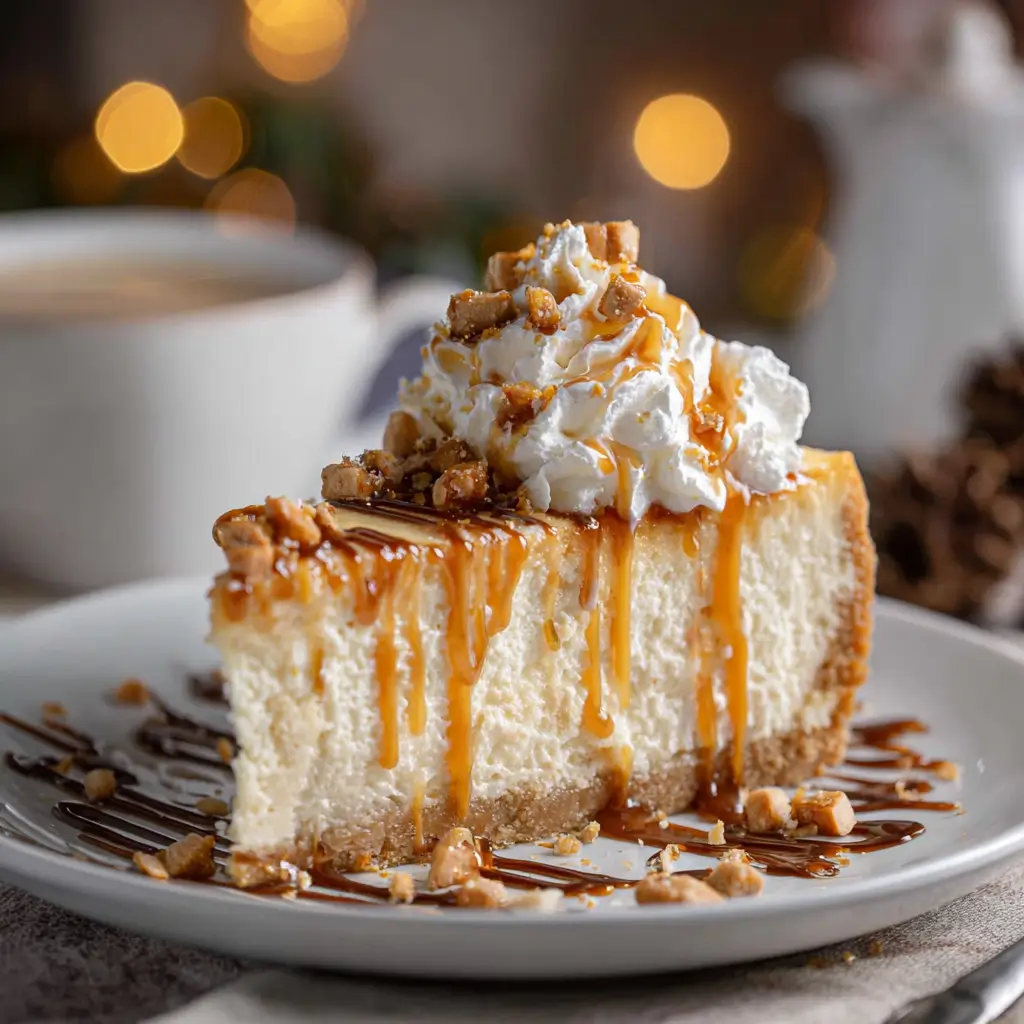
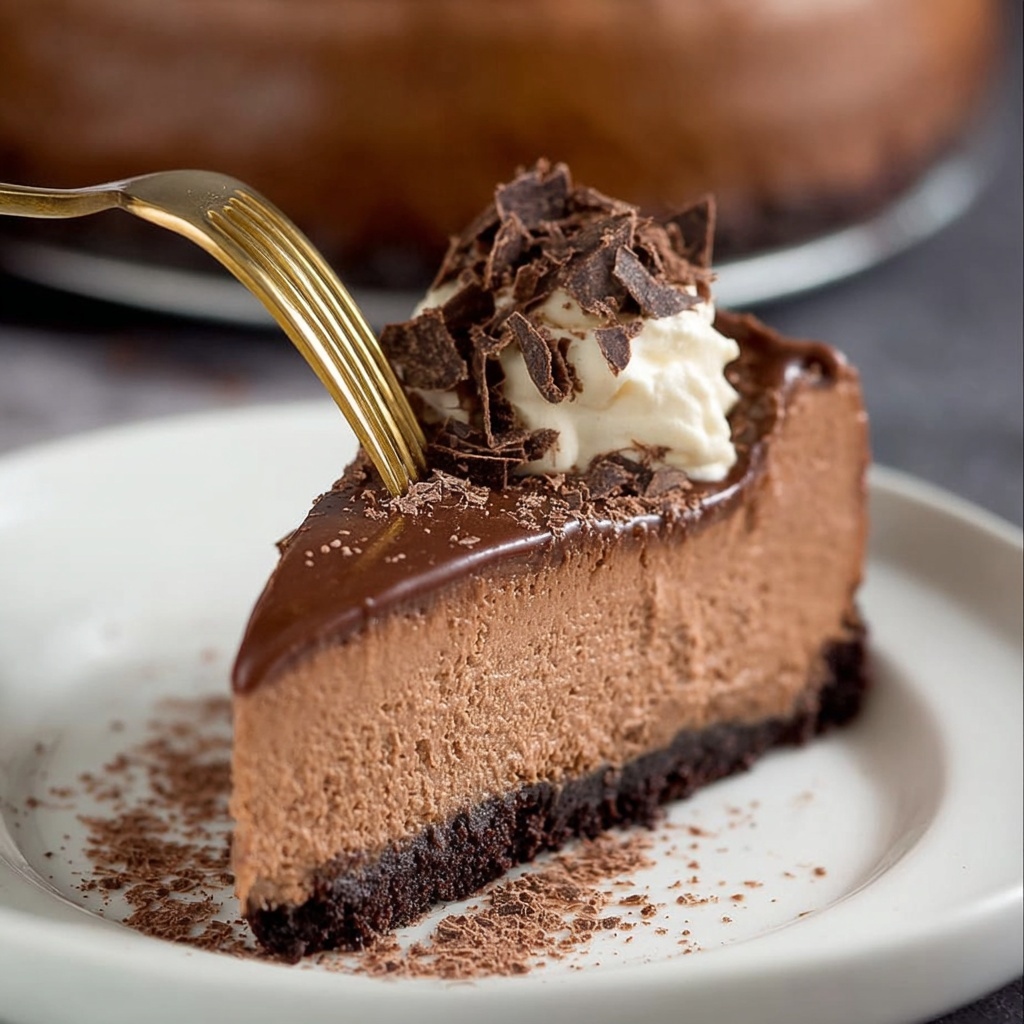
Chocolate Espresso Cheesecake is a rich and creamy dessert that combines the flavors of chocolate and espresso, creating a decadent treat perfect for coffee lovers. This cheesecake features a chocolate cookie crust and a luscious chocolate espresso filling.
Ingredients
For the Crust:
- 1 1/2 cups chocolate cookie crumbs (such as Oreo or chocolate graham crackers)
- 1/4 cup granulated sugar
- 1/2 cup unsalted butter, melted
For the Filling:
- 16 ounces cream cheese, softened
- 1 cup granulated sugar
- 1 teaspoon vanilla extract
- 3 large eggs
- 1/2 cup sour cream
- 1/4 cup unsweetened cocoa powder
- 2 tablespoons instant espresso powder (or finely ground coffee)
- 4 ounces semi-sweet chocolate, melted and slightly cooled
For the Topping (optional):
- Whipped cream (for serving)
- Chocolate shavings or cocoa powder (for garnish)
Timing
Making Chocolate Espresso Cheesecake takes about 20 minutes for preparation, 1 hour for baking, and at least 4 hours for chilling.
Instructions
Step 1: Prepare the Crust
- Preheat Oven: Preheat your oven to 325°F (160°C).
- Mix Crust Ingredients: In a medium bowl, combine the chocolate cookie crumbs, granulated sugar, and melted butter. Mix until well combined.
- Press into Pan: Press the mixture firmly into the bottom of a 9-inch springform pan to form an even layer.
- Bake: Bake the crust in the preheated oven for 10 minutes. Remove and let it cool while preparing the filling.
Step 2: Prepare the Filling
- Beat Cream Cheese: In a large mixing bowl, beat the softened cream cheese with an electric mixer until smooth and creamy.
- Add Sugar and Vanilla: Add the granulated sugar and vanilla extract, mixing until fully combined.
- Incorporate Eggs: Add the eggs one at a time, mixing on low speed after each addition until just combined. Do not overmix.
- Add Remaining Ingredients: Mix in the sour cream, cocoa powder, espresso powder, and melted chocolate until smooth and fully incorporated.
Step 3: Bake the Cheesecake
- Pour Filling: Pour the cheesecake filling over the cooled crust in the springform pan, smoothing the top with a spatula.
- Bake: Bake in the preheated oven for 50-60 minutes, or until the edges are set and the center is slightly jiggly (it will firm up as it cools).
- Cool: Turn off the oven, crack the door open, and let the cheesecake cool in the oven for about 1 hour to prevent cracking. Then, remove it from the oven and let it cool to room temperature.
Step 4: Chill and Serve
- Refrigerate: Once cooled, cover the cheesecake with plastic wrap and refrigerate for at least 4 hours or overnight for best results.
- Serve: Before serving, top with whipped cream and chocolate shavings or a dusting of cocoa powder, if desired.
Nutritional Information
Here’s a quick overview of the nutritional content of the Chocolate Espresso Cheesecake (per slice, based on 12 servings):
| Nutrient | Amount per Serving |
|---|---|
| Calories | 400 |
| Protein | 7g |
| Fat | 28g |
| Carbohydrates | 36g |
| Fiber | 2g |
| Sugar | 22g |
Tips for Customization
- Flavor Variations: Add a splash of coffee liqueur for an extra kick.
- Crust Alternatives: Use graham cracker crumbs or a nut-based crust for a different flavor.
- Toppings: Experiment with different toppings like caramel sauce or fresh berries for added flavor.
Conclusion
Chocolate Espresso Cheesecake is a luxurious dessert that combines the richness of chocolate with the boldness of espresso. This recipe is sure to impress your guests and satisfy your sweet cravings!
Chocolate Espresso Cheesecake Recipe
Ingredients
- For the Crust:
- • 1 1/2 cups chocolate cookie crumbs (such as Oreo or chocolate graham crackers)
- • 1/4 cup granulated sugar
- • 1/2 cup unsalted butter, melted
- For the Filling:
- • 16 ounces cream cheese, softened
- • 1 cup granulated sugar
- • 1 teaspoon vanilla extract
- • 3 large eggs
- • 1/2 cup sour cream
- • 1/4 cup unsweetened cocoa powder
- • 2 tablespoons instant espresso powder (or finely ground coffee)
- • 4 ounces semi-sweet chocolate, melted and slightly cooled
- For the Topping (optional):
- • Whipped cream (for serving)
- • Chocolate shavings or cocoa powder (for garnish)
Instructions
- Preheat Oven: Preheat your oven to 325°F (160°C).
- Mix Crust Ingredients: In a medium bowl, combine the chocolate cookie crumbs, granulated sugar, and melted butter. Mix until well combined.
- Press into Pan: Press the mixture firmly into the bottom of a 9-inch springform pan to form an even layer.
- Bake: Bake the crust in the preheated oven for 10 minutes. Remove and let it cool while preparing the filling.
- Beat Cream Cheese: In a large mixing bowl, beat the softened cream cheese with an electric mixer until smooth and creamy.
- Add Sugar and Vanilla: Add the granulated sugar and vanilla extract, mixing until fully combined.
- Incorporate Eggs: Add the eggs one at a time, mixing on low speed after each addition until just combined. Do not overmix.
- Add Remaining Ingredients: Mix in the sour cream, cocoa powder, espresso powder, and melted chocolate until smooth and fully incorporated.
- Pour Filling: Pour the cheesecake filling over the cooled crust in the springform pan, smoothing the top with a spatula.
- Bake: Bake in the preheated oven for 50-60 minutes, or until the edges are set and the center is slightly jiggly (it will firm up as it cools).
- Cool: Turn off the oven, crack the door open, and let the cheesecake cool in the oven for about 1 hour to prevent cracking. Then, remove it from the oven and let it cool to room temperature.
- Refrigerate: Once cooled, cover the cheesecake with plastic wrap and refrigerate for at least 4 hours or overnight for best results.
- Serve: Before serving, top with whipped cream and chocolate shavings or a dusting of cocoa powder, if desired.Step 1: Prepare the Crust
- Preheat Oven: Preheat your oven to 325°F (160°C).
- Mix Crust Ingredients: In a medium bowl, combine the chocolate cookie crumbs, granulated sugar, and melted butter. Mix until well combined.
- Press into Pan: Press the mixture firmly into the bottom of a 9-inch springform pan to form an even layer.
- Bake: Bake the crust in the preheated oven for 10 minutes. Remove and let it cool while preparing the filling.
- Beat Cream Cheese: In a large mixing bowl, beat the softened cream cheese with an electric mixer until smooth and creamy.
- Add Sugar and Vanilla: Add the granulated sugar and vanilla extract, mixing until fully combined.
- Incorporate Eggs: Add the eggs one at a time, mixing on low speed after each addition until just combined. Do not overmix.
- Add Remaining Ingredients: Mix in the sour cream, cocoa powder, espresso powder, and melted chocolate until smooth and fully incorporated.
- Pour Filling: Pour the cheesecake filling over the cooled crust in the springform pan, smoothing the top with a spatula.
- Bake: Bake in the preheated oven for 50-60 minutes, or until the edges are set and the center is slightly jiggly (it will firm up as it cools).
- Cool: Turn off the oven, crack the door open, and let the cheesecake cool in the oven for about 1 hour to prevent cracking. Then, remove it from the oven and let it cool to room temperature.
- Refrigerate: Once cooled, cover the cheesecake with plastic wrap and refrigerate for at least 4 hours or overnight for best results.
- Serve: Before serving, top with whipped cream and chocolate shavings or a dusting of cocoa powder, if desired.
Step 1: Prepare the Crust
Step 2: Prepare the Filling
Step 3: Bake the Cheesecake
Step 4: Chill and Serve
Step 2: Prepare the Filling
Step 3: Bake the Cheesecake
Step 4: Chill and Serve