Introduction
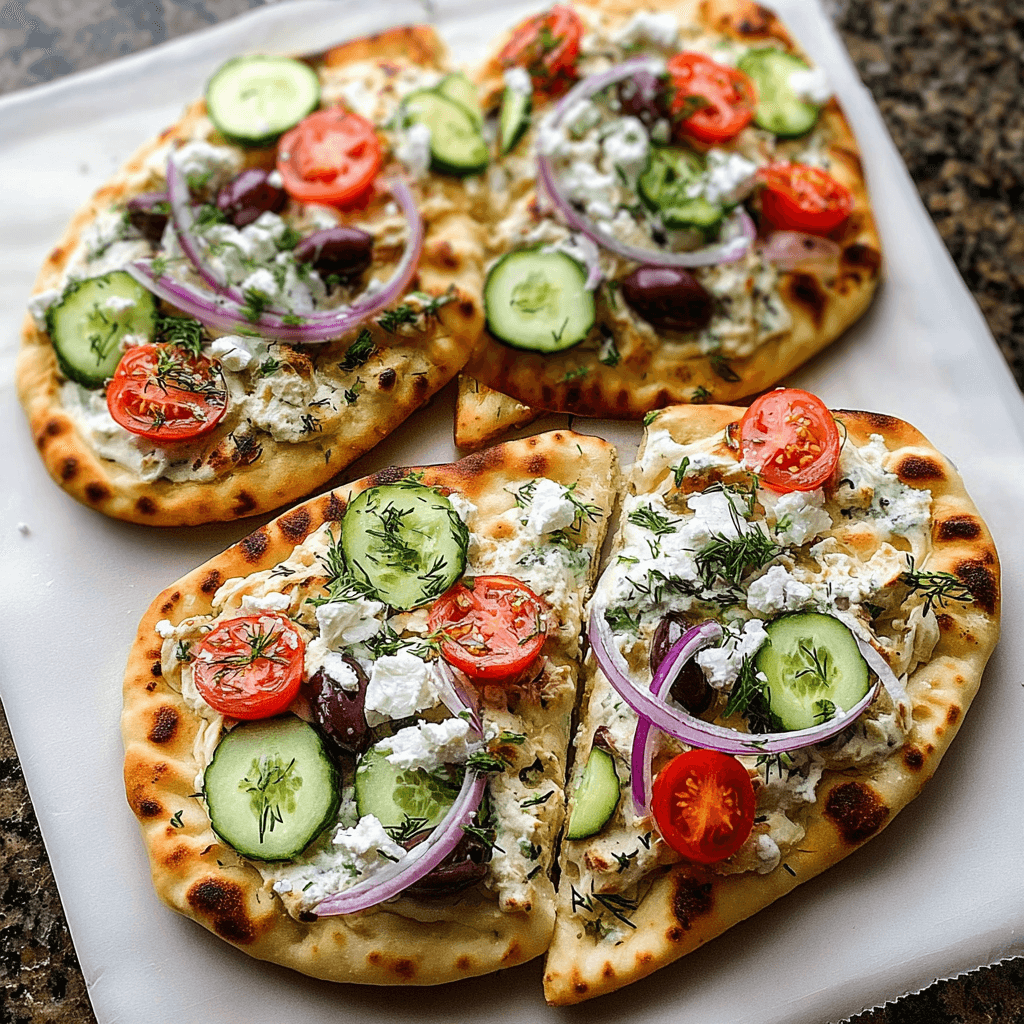
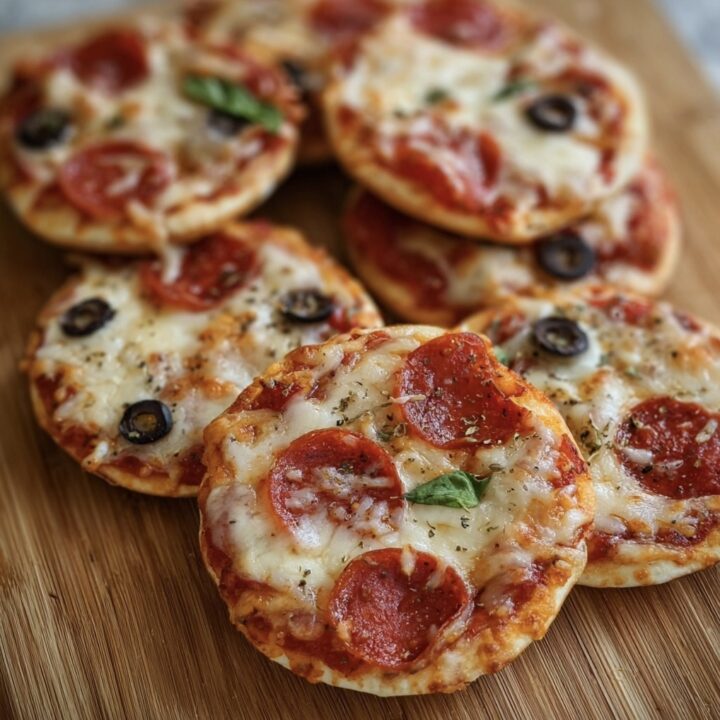
Mini Lunchbox Pizzas are a fun and easy way to enjoy pizza in a portable size, perfect for kids’ lunches or snacks. These bite-sized pizzas can be customized with your favorite toppings and are quick to prepare. In this post, we’ll guide you through making these delightful mini pizzas step by step.
Ingredients List
For the Mini Pizzas:
- Mini Pita Bread or English Muffins: 6 (halved)
- Pizza Sauce: 1 cup (store-bought or homemade)
- Mozzarella Cheese: 1 ½ cups (shredded)
- Pepperoni: ½ cup (sliced; optional)
- Bell Peppers: ½ cup (diced; optional)
- Olives: ¼ cup (sliced; optional)
- Italian Seasoning: 1 teaspoon (optional)
- Parmesan Cheese: ¼ cup (grated; optional)
- Fresh Basil: (for garnish, optional)
Timing
Preparing Mini Lunchbox Pizzas takes approximately 10 minutes of prep time and 10-12 minutes of baking time.
Step-by-Step Instructions
1. Preheat the Oven
- Preheat Oven: Preheat your oven to 375°F (190°C). Line a baking sheet with parchment paper.
2. Prepare the Mini Pizzas
- Arrange Bases: Place the halved mini pita bread or English muffins on the prepared baking sheet.
- Spread Sauce: Spoon a tablespoon of pizza sauce onto each mini pizza base, spreading it evenly.
3. Add Toppings
- Add Cheese: Sprinkle a generous amount of shredded mozzarella cheese over the sauce.
- Layer Additional Toppings: Add your choice of toppings such as pepperoni, diced bell peppers, and olives. Sprinkle with Italian seasoning and grated Parmesan cheese if desired.
4. Bake the Mini Pizzas
- Bake: Place the baking sheet in the preheated oven and bake for 10-12 minutes, or until the cheese is melted and bubbly and the edges are golden brown.
5. Serve
- Cool Slightly: Once baked, remove the mini pizzas from the oven and let them cool for a few minutes.
- Garnish: If desired, garnish with fresh basil before serving.
- Enjoy: Serve warm as a tasty snack or lunch option!

Notes
- Storage: Leftover mini pizzas can be stored in an airtight container in the refrigerator for up to 3 days. Reheat in the oven or microwave before serving.
- Substitutions: Feel free to customize with different sauces, cheeses, or toppings based on personal preferences.
- Common Mistakes: Avoid overloading the mini pizzas with toppings, as this can make them soggy.
Nutritional Information
- Calories: Approximately 150 per mini pizza (based on 12 servings)
- Fat: 8g
- Protein: 6g
- Carbohydrates: 15g
- Sugar: 1g
| Nutritional Value | Per Mini Pizza (12 servings) |
|---|---|
| Calories | 150 |
| Total Fat | 8g |
| Protein | 6g |
| Carbohydrates | 15g |
| Sugar | 1g |
Healthier Alternatives for the Recipe
- Whole Wheat Pita or Muffins: Use whole wheat pita bread or English muffins for added fiber.
- Low-Fat Cheese: Substitute with low-fat cheese to reduce calories.
Serving Suggestions
Serve Mini Lunchbox Pizzas with a side of fresh fruit or a small salad for a balanced meal.
Common Mistakes to Avoid
- Not Preheating the Oven: Ensure the oven is fully preheated for even cooking.
- Overloading with Toppings: Keep toppings balanced to prevent sogginess.
Storing Tips for the Recipe
Store any leftover mini pizzas in an airtight container in the refrigerator. They can also be frozen for up to 2 months; just thaw and reheat before serving.
Conclusion
Mini Lunchbox Pizzas are a delightful and convenient way to enjoy pizza without the mess. Perfect for kids and adults alike, these customizable mini pizzas are sure to be a hit! We invite you to try this recipe, share your experiences in the comments, and subscribe for more delicious updates!
FAQs
1. Can I make these mini pizzas ahead of time?
Yes, you can prepare the mini pizzas and refrigerate them before baking. Just bake them when you’re ready to serve.
2. How long do these mini pizzas last?
They can be stored in the refrigerator for up to 3 days.
3. Can I use different toppings?
Absolutely! Feel free to customize with your favorite toppings like vegetables, different meats, or even a white sauce.
4. What can I serve with these mini pizzas?
They pair well with a side of fresh fruit or a light salad for a complete meal.
5. Are these suitable for kids?
Yes, these mini pizzas are kid-friendly and can be a fun meal or snack for the whole family!
Mini Lunchbox Pizzas
Ingredients
- For the Mini Pizzas:
- * Mini Pita Bread or English Muffins: 6 (halved)
- * Pizza Sauce: 1 cup (store-bought or homemade)
- * Mozzarella Cheese: 1 ½ cups (shredded)
- * Pepperoni: ½ cup (sliced; optional)
- * Bell Peppers: ½ cup (diced; optional)
- * Olives: ¼ cup (sliced; optional)
- * Italian Seasoning: 1 teaspoon (optional)
- * Parmesan Cheese: ¼ cup (grated; optional)
- * Fresh Basil: (for garnish, optional)
Instructions
1. Preheat the Oven
- Preheat Oven: Preheat your oven to 375°F (190°C). Line a baking sheet with parchment paper.
2. Prepare the Mini Pizzas
- Arrange Bases: Place the halved mini pita bread or English muffins on the prepared baking sheet.
- Spread Sauce: Spoon a tablespoon of pizza sauce onto each mini pizza base, spreading it evenly.
3. Add Toppings
- Add Cheese: Sprinkle a generous amount of shredded mozzarella cheese over the sauce.
- Layer Additional Toppings: Add your choice of toppings such as pepperoni, diced bell peppers, and olives. Sprinkle with Italian seasoning and grated Parmesan cheese if desired.
4. Bake the Mini Pizzas
- Bake: Place the baking sheet in the preheated oven and bake for 10-12 minutes, or until the cheese is melted and bubbly and the edges are golden brown.
5. Serve
- Cool Slightly: Once baked, remove the mini pizzas from the oven and let them cool for a few minutes.
- Garnish: If desired, garnish with fresh basil before serving.
- Enjoy: Serve warm as a tasty snack or lunch option!