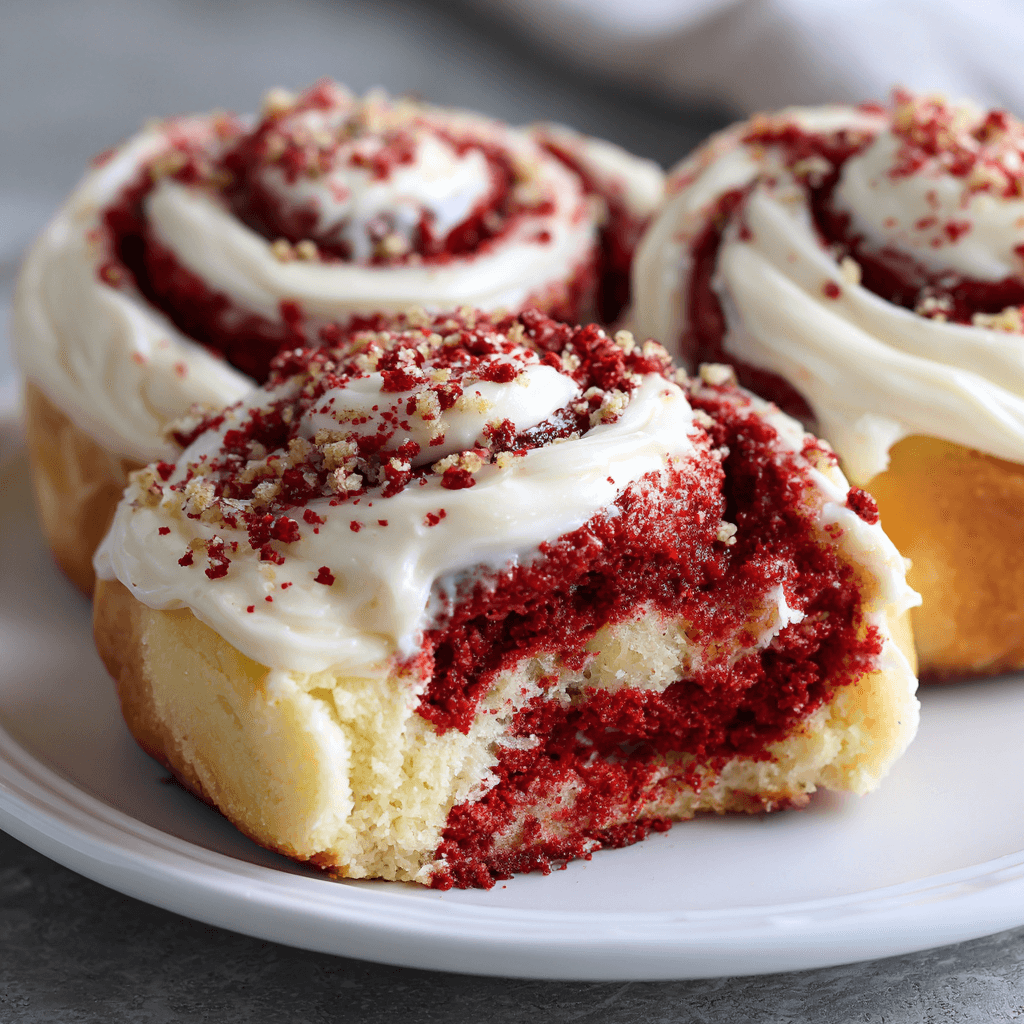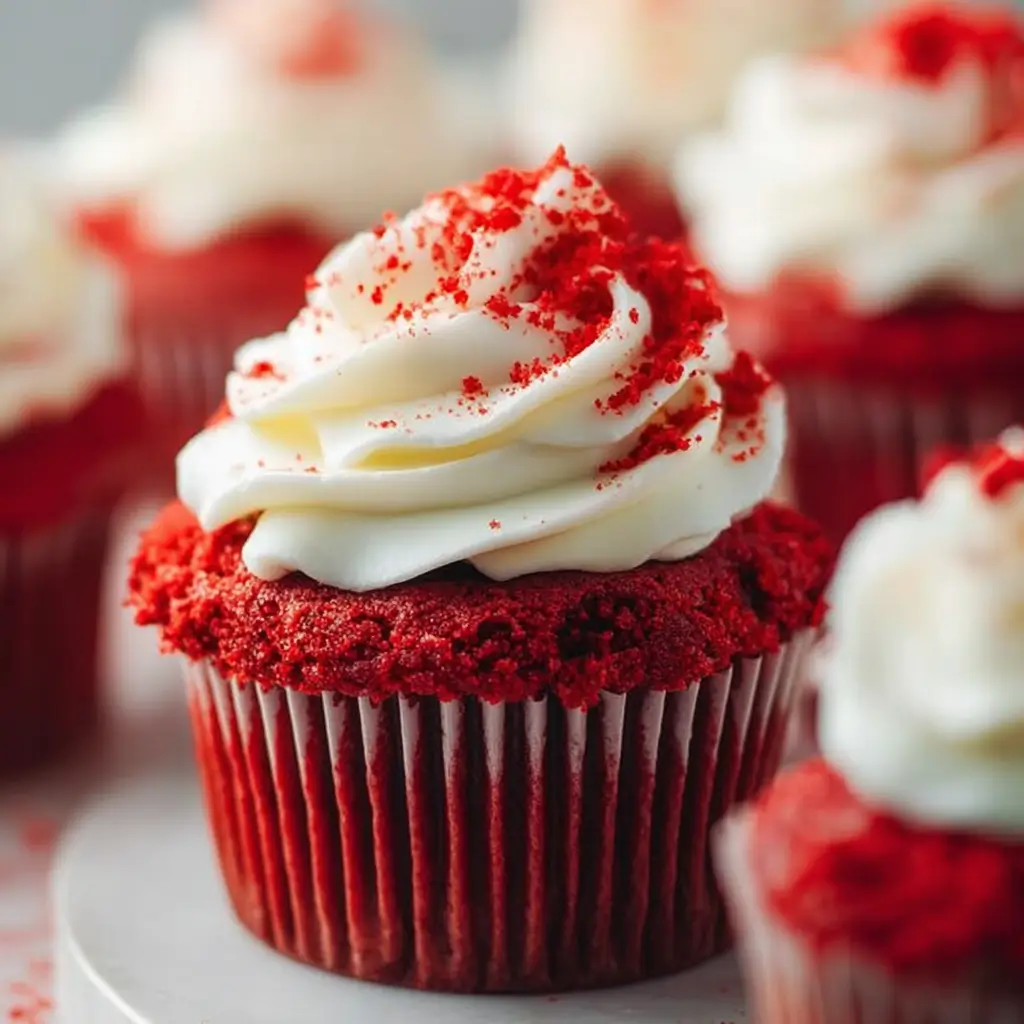
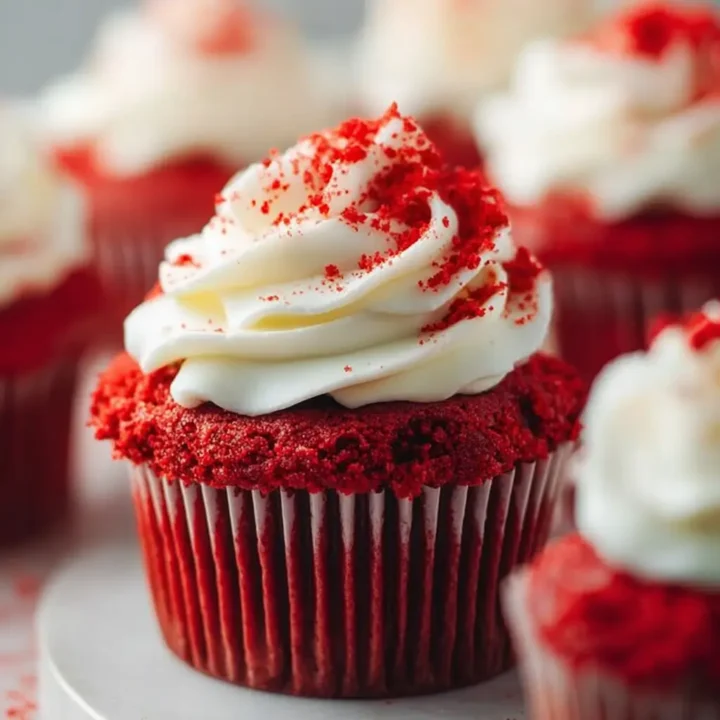
Have you ever wondered why red velvet cupcakes have become a beloved classic among dessert enthusiasts? This vibrant treat not only captivates the eye with its striking color but also delights the palate with its rich flavor and velvety texture. In this post, we’ll explore the ultimate Red Velvet Cupcake Recipe, ensuring that you can create these delectable desserts right in your kitchen. Whether you’re preparing for a special occasion or simply indulging your sweet tooth, this recipe is sure to impress!
Ingredients List
To make the perfect Red Velvet Cupcake Recipe, gather the following ingredients:
For the Cupcakes:
- 1 ½ cups all-purpose flour: Provides the structure for the cupcakes.
- 1 cup granulated sugar: Sweetens the batter and balances flavors.
- 1 teaspoon baking soda: Helps the cupcakes rise.
- 1 teaspoon baking powder: Adds additional lift.
- ½ teaspoon salt: Enhances the overall flavor.
- 1 teaspoon cocoa powder: Gives a subtle chocolate flavor.
- 1 cup vegetable oil: Keeps the cupcakes moist and tender.
- 1 cup buttermilk: Adds a tangy flavor and richness.
- 2 large eggs: Binds the ingredients together.
- 2 tablespoons red food coloring: Creates the signature red hue.
- 1 teaspoon vanilla extract: Adds depth of flavor.
- 1 teaspoon white vinegar: Reacts with baking soda for a lighter texture.
For the Cream Cheese Frosting:
- 8 oz cream cheese, softened: Provides a rich, tangy flavor.
- ½ cup unsalted butter, softened: Adds creaminess and stability.
- 4 cups powdered sugar: Sweetens and thickens the frosting.
- 1 teaspoon vanilla extract: Enhances the flavor profile.
Optional Toppings:
- Chocolate shavings: For an elegant touch.
- Fresh berries: Adds a pop of color and freshness.
These ingredients come together to create an unforgettable treat that will have everyone asking for seconds!
Step-by-Step Instructions
Step 1: Preheat the Oven
Preheat your oven to 350°F (175°C). Line a muffin tin with cupcake liners to prepare for baking.
Step 2: Mix Dry Ingredients
In a medium bowl, whisk together the flour, sugar, baking soda, baking powder, salt, cocoa powder, and set aside. This ensures even distribution of the leavening agents.
Step 3: Combine Wet Ingredients
In a large mixing bowl, combine the vegetable oil, buttermilk, eggs, red food coloring, vanilla extract, and vinegar. Mix until well combined. The vibrant color will be striking!
Step 4: Combine Wet and Dry Mixtures
Gradually add the dry ingredients to the wet mixture, stirring gently until just combined. Be careful not to overmix, as this can lead to dense cupcakes.
Step 5: Fill the Cupcake Liners
Pour the batter into the prepared cupcake liners, filling each about two-thirds full. This allows room for the cupcakes to rise without overflowing.
Step 6: Bake
Place the muffin tin in the preheated oven and bake for 20-25 minutes, or until a toothpick inserted into the center comes out clean. Keep an eye on them to avoid overbaking!
Step 7: Cool
Once baked, remove the cupcakes from the oven and let them cool in the pan for about 5 minutes. Then, transfer them to a wire rack to cool completely.
Step 8: Prepare the Frosting
While the cupcakes cool, prepare the cream cheese frosting. In a mixing bowl, beat the softened cream cheese and butter together until smooth. Gradually add the powdered sugar and vanilla extract, mixing until creamy and fluffy.
Step 9: Frost the Cupcakes
Once the cupcakes are completely cooled, generously frost each cupcake with the cream cheese frosting using a piping bag or a spatula. Add optional toppings like chocolate shavings or fresh berries for an extra touch.

Nutritional Information
Here’s a breakdown of the nutritional content per cupcake (based on 12 servings):
- Calories: 300
- Protein: 3g
- Fat: 16g
- Carbohydrates: 37g
- Fiber: 1g
- Sugar: 22g
This decadent treat is a delightful indulgence, perfect for special occasions!
Healthier Alternatives for the Recipe
To make your Red Velvet Cupcake Recipe a bit healthier, consider these modifications:
- Use whole wheat flour instead of all-purpose flour for added fiber.
- Substitute Greek yogurt for buttermilk to reduce fat and increase protein.
- Replace granulated sugar with a natural sweetener like honey or maple syrup.
- Opt for low-fat cream cheese to lighten up the frosting.
These alternatives can help maintain the deliciousness of the cupcakes while making them a bit more health-conscious.
Serving Suggestions
Here are some creative serving suggestions for your Red Velvet Cupcakes:
- Serve with a scoop of vanilla ice cream for a delightful dessert experience.
- Pair with a glass of cold milk to complement the sweetness.
- Arrange on a decorative platter and garnish with mint leaves for an elegant presentation.
These ideas will make your cupcakes even more inviting and enjoyable for your guests!
Common Mistakes to Avoid
Here are some typical pitfalls when making Red Velvet Cupcakes and how to avoid them:
- Not measuring ingredients accurately: Use measuring cups and spoons for precision; baking is a science!
- Overmixing the batter: Mix until just combined to ensure light and fluffy cupcakes.
- Baking at the wrong temperature: Always preheat your oven and use an oven thermometer to ensure accuracy.
By keeping these tips in mind, you’ll achieve perfect cupcakes every time!
Storing Tips for the Recipe
To store your Red Velvet Cupcakes properly:
- Room Temperature: Keep frosted cupcakes in an airtight container at room temperature for up to 2 days.
- Refrigeration: Store in the refrigerator for up to a week. The frosting may firm up, but the flavors will continue to develop.
- Freezing: Freeze unfrosted cupcakes in an airtight container for up to 3 months. Thaw in the refrigerator before frosting and serving.
These storage tips will help maintain the cupcakes’ freshness and flavor for as long as possible.
Conclusion
In summary, the Red Velvet Cupcake Recipe is a delightful treat that combines rich flavors and stunning visuals. With its moist texture and creamy frosting, this dessert is perfect for any occasion. We invite you to try this recipe and share your feedback in the comments! Don’t forget to subscribe for more delicious recipes and updates!
FAQs
Can I use a different type of food coloring?
Yes! While red food coloring is traditional, you can experiment with other colors for a unique twist.
How can I make these cupcakes ahead of time?
You can bake the cupcakes and prepare the frosting a day in advance. Just frost them on the day you plan to serve for the best texture.
Can I make this recipe gluten-free?
Absolutely! Substitute the all-purpose flour with a gluten-free flour blend to make it suitable for gluten-sensitive diets.
Red Velvet Cupcake Recipe
Ingredients
- 1 ½ cups all-purpose flour
- 1 cup granulated sugar
- 1 teaspoon baking soda
- 1 teaspoon baking powder
- ½ teaspoon salt
- 1 teaspoon cocoa powder
- 1 cup vegetable oil
- 1 cup buttermilk
- 2 large eggs
- 2 tablespoons red food coloring
- 1 teaspoon vanilla extract
- 1 teaspoon white vinegar
Instructions
- Preheat oven to 350°F (175°C) and line a muffin tin with cupcake liners.
- In a medium bowl, whisk together flour, sugar, baking soda, baking powder, salt, and cocoa powder.
- In a large mixing bowl, combine oil, buttermilk, eggs, food coloring, vanilla, and vinegar.
- Gradually add dry ingredients to wet mixture, stirring until just combined.
- Pour batter into cupcake liners, filling each about two-thirds full.
- Bake for 20-25 minutes, or until a toothpick comes out clean.
- Cool in the pan for 5 minutes, then transfer to a wire rack to cool completely.
- For frosting, beat cream cheese and butter until smooth, then gradually add powdered sugar and vanilla.
- Frost cooled cupcakes and add optional toppings as desired.