Have you ever craved the perfect balance of chocolate, caramel, and cookie in one bite? If so, you’re not alone! Many dessert lovers find themselves dreaming about the delightful combination found in homemade Twix bites. But why settle for store-bought when you can create your own delicious version at home? This recipe not only satisfies your sweet tooth but also allows you to control the ingredients, making it a fun and healthier alternative to the classic candy bar.
In this blog post, we’ll guide you through making homemade Twix bites that are sure to impress your friends and family. Get ready to indulge in a treat that’s as delightful to make as it is to eat!
Ingredients List
Creating your own homemade Twix bites is easier than you might think. Here’s a detailed list of the ingredients you’ll need:
Main Ingredients:
- 1 cup all-purpose flour: Provides the base for the cookie layer.
- 1/4 cup granulated sugar: Adds sweetness to the cookie.
- 1/2 cup unsalted butter (softened): Creates a rich, buttery flavor.
- 1/4 teaspoon salt: Enhances the sweetness and flavor.
- 1/2 cup caramel sauce: The star of the show, providing that signature gooeyness.
- 1 cup chocolate chips: For the luscious chocolate coating.
- 1 teaspoon vanilla extract: Adds depth to the cookie flavor.
Substitutions:
- All-purpose flour: Use almond flour for a gluten-free option.
- Granulated sugar: Substitute with coconut sugar for a lower glycemic index.
- Unsalted butter: Use coconut oil for a dairy-free version.
- Caramel sauce: Make homemade caramel or use a vegan alternative.
These ingredients come together to create a delightful homemade treat that’s sure to please!
Step-by-Step Instructions
Step 1: Prepare the Cookie Layer
In a mixing bowl, combine the softened butter, granulated sugar, and vanilla extract. Beat until creamy. Gradually add the flour and salt, mixing until a dough forms.
Step 2: Bake the Cookie Layer
Press the dough into a lined 8×8-inch baking pan evenly. Bake in a preheated oven at 350°F (175°C) for 15-20 minutes or until lightly golden. Allow it to cool completely in the pan.
Step 3: Add the Caramel Layer
Once the cookie base has cooled, pour the caramel sauce over the cookie layer, spreading it evenly. Place the pan in the refrigerator for about 30 minutes to allow the caramel to set.
Step 4: Melt the Chocolate
While the caramel is chilling, melt the chocolate chips in a microwave-safe bowl in 30-second intervals, stirring in between until smooth.
Step 5: Coat the Bars
Once the caramel has set, remove the pan from the fridge. Cut the cookie and caramel layers into bite-sized squares. Dip each square into the melted chocolate, ensuring it’s fully coated. Place the coated bites on a parchment-lined tray.
Step 6: Chill Again
Refrigerate the chocolate-coated bites for another 15-20 minutes to allow the chocolate to harden.
Step 7: Enjoy!
Once the chocolate is set, your homemade Twix bites are ready to enjoy! Store them in an airtight container in the fridge.

Nutritional Information
Here’s a comprehensive breakdown of the nutritional information for homemade Twix bites (per serving, based on 16 servings):
| Nutrient | Amount per Serving |
|---|---|
| Calories | 150 kcal |
| Total Fat | 8 g |
| Saturated Fat | 5 g |
| Cholesterol | 15 mg |
| Sodium | 50 mg |
| Total Carbohydrates | 18 g |
| Dietary Fiber | 1 g |
| Sugars | 10 g |
| Protein | 2 g |
These bites are a delicious treat, and while they do contain sugar, they also offer a homemade touch that can be enjoyed in moderation!
Healthier Alternatives for the Recipe
If you’re looking to make your homemade Twix bites even healthier, consider these modifications:
- Reduce Sugar: Use a sugar substitute like stevia or monk fruit to lower the calorie count.
- Add Nuts: Incorporate crushed nuts into the cookie layer for added protein and healthy fats.
- Use Dark Chocolate: Opt for dark chocolate chips for a richer flavor and more antioxidants.
These alternatives allow you to customize the recipe to fit your dietary needs without sacrificing taste.
Serving Suggestions
To make your homemade Twix bites even more appealing, try these serving suggestions:
- Dessert Platter: Serve alongside fresh fruit or other homemade treats for a delightful dessert spread.
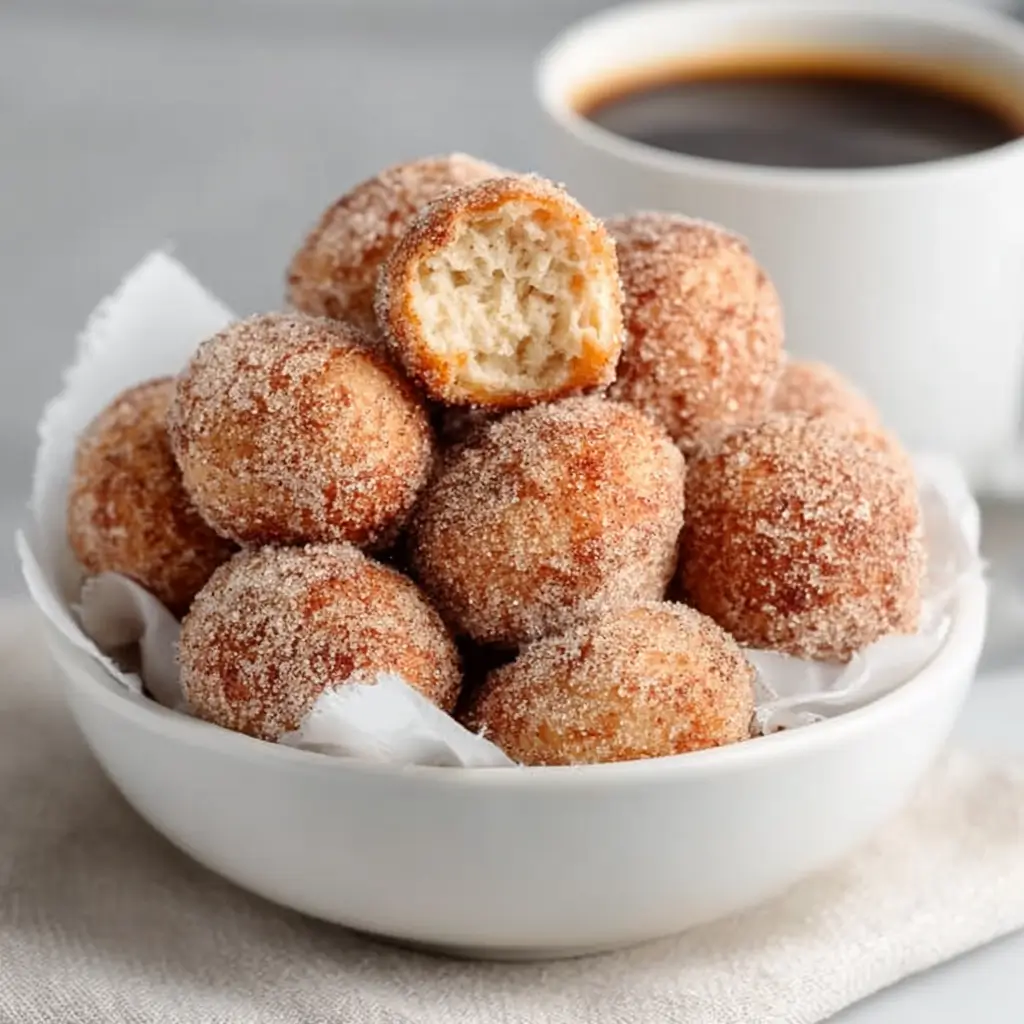
- Coffee Pairing: Enjoy with a cup of coffee or tea for a delightful afternoon snack.
- Gift Idea: Package them in a decorative box as a thoughtful homemade gift for friends and family.
These ideas enhance the presentation and make your treats even more enjoyable!
Common Mistakes to Avoid
To ensure your homemade Twix bites turn out perfectly, be mindful of these common pitfalls:
- Overbaking the Cookie Layer: Keep an eye on the cookie layer to prevent it from becoming too hard. It should be lightly golden.
- Using Too Much Caramel: Ensure you use a moderate amount of caramel sauce to avoid overly gooey bites.
- Not Chilling Properly: Allowing the layers to chill adequately ensures they set correctly and are easy to cut.
By avoiding these mistakes, you’ll achieve a delicious and satisfying treat every time.
Storing Tips for the Recipe
To keep your homemade Twix bites fresh:
- Refrigeration: Store in an airtight container in the fridge for up to one week.
- Freezing: You can freeze them for up to three months. Just ensure they are well-wrapped to prevent freezer burn.
These tips will help maintain the freshness and flavor of your delicious bites!
Conclusion
In summary, homemade Twix bites are a delightful and indulgent treat that’s surprisingly easy to make at home. With their perfect blend of cookie, caramel, and chocolate, they’re sure to satisfy any sweet craving. Try this recipe today, and don’t forget to share your feedback in the comments below or subscribe for more delicious updates!
FAQs
Can I make these bites gluten-free?
Yes! Substitute the all-purpose flour with a gluten-free flour blend.
How long do these bites last?
They can be stored in the refrigerator for up to one week or frozen for three months.
Can I use store-bought caramel?
Absolutely! Store-bought caramel sauce can save time and still taste delicious.

Homemade Twix Bites
Ingredients
- 1 cup all-purpose flour
- 1/4 cup granulated sugar
- 1/2 cup unsalted butter (softened)
- 1/4 teaspoon salt
- 1/2 cup caramel sauce
- 1 cup chocolate chips
- 1 teaspoon vanilla extract
Instructions
- Prepare the Cookie Layer: In a mixing bowl, combine softened butter, granulated sugar, and vanilla extract. Beat until creamy. Gradually add flour and salt, mixing until a dough forms.
- Bake the Cookie Layer: Press the dough into a lined 8x8-inch baking pan evenly. Bake at 350°F (175°C) for 15-20 minutes or until lightly golden. Allow it to cool completely.
- Add the Caramel Layer: Pour caramel sauce over the cooled cookie layer, spreading evenly. Refrigerate for 30 minutes to set.
- Melt the Chocolate: Melt chocolate chips in a microwave-safe bowl in 30-second intervals, stirring until smooth.
- Coat the Bars: Cut the cookie and caramel layers into bite-sized squares. Dip each square into melted chocolate, ensuring full coating. Place on a parchment-lined tray.
- Chill Again: Refrigerate for 15-20 minutes to allow the chocolate to harden.
- Enjoy!: Store in an airtight container in the fridge.
Notes
- Refrigeration: Store in an airtight container for up to one week.
- Freezing: Freeze for up to three months, ensuring they are well-wrapped.