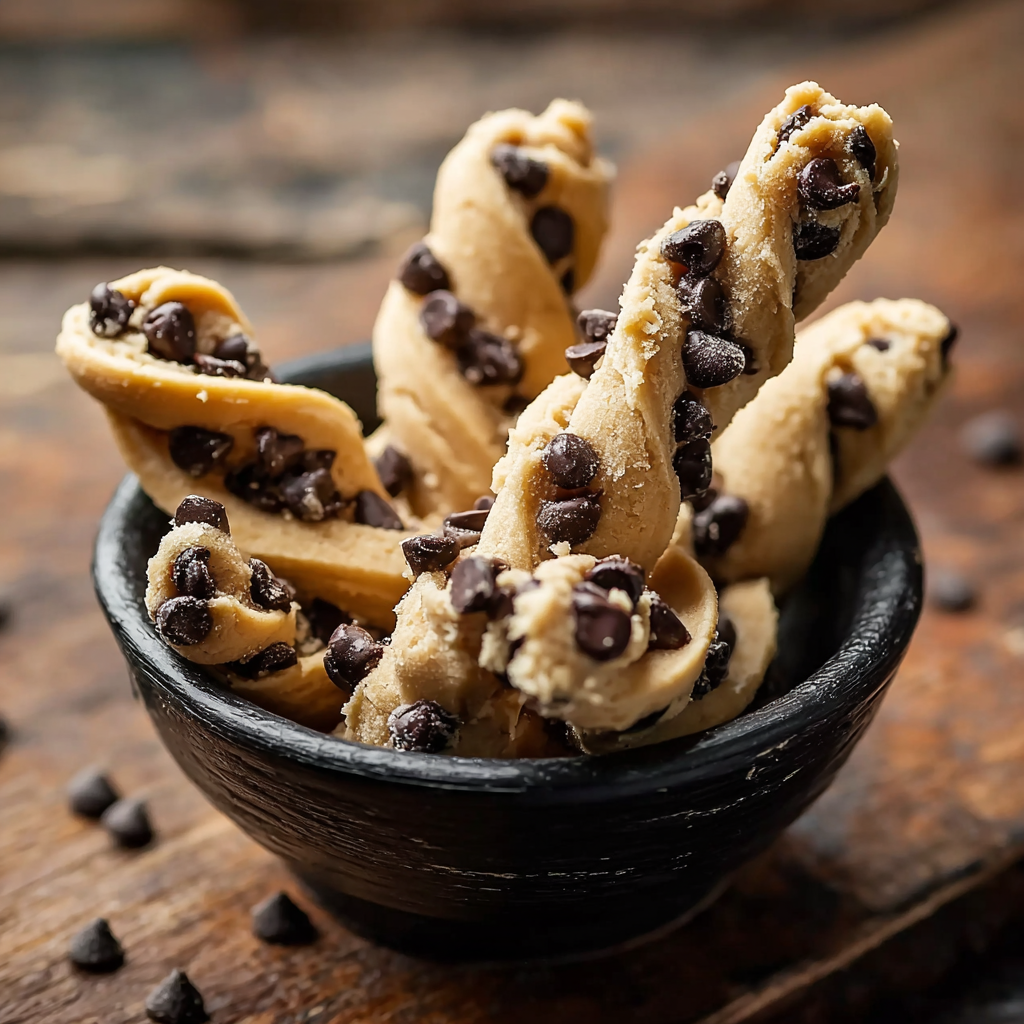
Are you ready to indulge in a seasonal treat that combines the irresistible flavors of chocolate and peanut butter? Chocolate peanut butter pumpkins are not just a delicious dessert; they also evoke the cozy spirit of autumn. Did you know that combining chocolate and peanut butter can elevate your mood due to the release of endorphins? In this post, we’ll explore how to create these delightful treats that are perfect for Halloween parties, fall gatherings, or simply satisfying your sweet tooth.
Ingredients List
To make your own chocolate peanut butter pumpkins, gather the following ingredients:
For the Peanut Butter Filling:
- Creamy Peanut Butter: 1 cup – The star ingredient that provides a rich, nutty flavor.
- Powdered Sugar: 2 cups – Sweetens the filling and helps it hold its shape.
- Vanilla Extract: 1 teaspoon – Enhances the overall flavor profile.
For the Chocolate Coating:
- Chocolate Chips: 2 cups (milk or dark) – Choose your favorite for coating the pumpkins.
- Coconut Oil: 1 tablespoon – Helps the chocolate melt smoothly and adds shine.
Optional Decorations:
- Orange Food Coloring: A few drops – To color the peanut butter filling for a more festive look.
- Green Candy Melts: For leaves or stems – Adds a decorative touch.
Substitutions:
- Nut-Free Option: Substitute peanut butter with sunflower seed butter.
- Dairy-Free: Use dairy-free chocolate chips to make this recipe vegan.
Step-by-Step Instructions
Step 1: Prepare the Peanut Butter Filling
- Mix Ingredients: In a mixing bowl, combine 1 cup of creamy peanut butter, 2 cups of powdered sugar, and 1 teaspoon of vanilla extract. If desired, add a few drops of orange food coloring to achieve a festive hue.
- Form Pumpkin Shapes: Using your hands, roll the mixture into small balls (about 1 inch in diameter) and then shape them into pumpkin forms by slightly flattening and pinching the tops.
Step 2: Chill the Filling
- Chill: Place the shaped peanut butter pumpkins on a parchment-lined baking sheet and refrigerate for about 30 minutes to firm up.
Step 3: Prepare the Chocolate Coating
- Melt the Chocolate: In a microwave-safe bowl, combine 2 cups of chocolate chips and 1 tablespoon of coconut oil. Microwave in 30-second intervals, stirring in between, until smooth and fully melted.
Step 4: Coat the Pumpkins
- Dip the Pumpkins: Remove the chilled peanut butter pumpkins from the refrigerator. Using a fork, dip each pumpkin into the melted chocolate, ensuring they are fully coated. Allow excess chocolate to drip off.
- Set on Parchment: Place the coated pumpkins back on the parchment-lined baking sheet.
Step 5: Decorate (Optional)
- Add Leaves or Stems: If using green candy melts, melt them according to package instructions and pipe small leaves or stems onto the pumpkins for decoration.
Step 6: Chill Again
- Final Chill: Refrigerate the pumpkins for about 15 minutes or until the chocolate coating is set.

Nutritional Information
Here’s a comprehensive breakdown of the nutritional content for one chocolate peanut butter pumpkin (based on 12 servings):
| Nutrient | Amount per Serving |
|---|---|
| Calories | 150 |
| Total Fat | 9g |
| Saturated Fat | 3g |
| Cholesterol | 0mg |
| Sodium | 50mg |
| Total Carbohydrates | 17g |
| Dietary Fiber | 1g |
| Sugars | 10g |
| Protein | 3g |
These treats are a delightful indulgence, so enjoy them in moderation!
Healthier Alternatives for the Recipe
If you’re looking to make your chocolate peanut butter pumpkins a bit healthier, consider these modifications:
- Reduced Sugar: Substitute powdered sugar with a sugar alternative like erythritol or monk fruit sweetener.
- Whole Grain: Use whole grain flour in the filling for added fiber.
- Protein Boost: Mix in a scoop of protein powder into the peanut butter filling for an extra nutritional punch.
Serving Suggestions
To make your chocolate peanut butter pumpkins even more appealing, try these serving suggestions:
- Decorative Platter: Arrange the pumpkins on a festive platter with autumn leaves or mini pumpkins for a beautiful presentation.
- Pair with Coffee: Serve alongside a warm cup of coffee or hot chocolate for a delightful afternoon treat.
- Gift Idea: Package them in clear bags tied with ribbons for a thoughtful homemade gift during the fall season.
Common Mistakes to Avoid
Creating the perfect chocolate peanut butter pumpkins can be tricky. Here are some common pitfalls and how to avoid them:
- Too Soft Filling: If the peanut butter mixture is too soft, add more powdered sugar until it holds its shape better.
- Chocolate Not Melting Properly: Ensure you melt the chocolate in short intervals and stir well to prevent burning.
- Skipping the Chill: Don’t skip chilling the pumpkins before coating them; it helps maintain their shape.
Storing Tips for the Recipe
To maintain the freshness and flavor of your chocolate peanut butter pumpkins, follow these storage tips:
- Room Temperature: Store pumpkins in an airtight container at room temperature for up to 3 days.
- Refrigerate: For longer storage, keep them in the refrigerator for up to a week.
- Freeze: You can freeze uncoated peanut butter shapes for up to 3 months. Thaw in the refrigerator before coating.
Conclusion
In summary, chocolate peanut butter pumpkins are a delightful treat that combines the rich flavors of chocolate and peanut butter, perfect for celebrating the fall season. With their ease of preparation and festive appearance, these pumpkins are sure to impress. Try this recipe today, and don’t forget to share your feedback in the comments or subscribe for more delicious updates!
FAQs
Can I make these pumpkins ahead of time?
Yes! You can prepare the peanut butter filling and shape the pumpkins a day in advance. Simply coat them in chocolate before serving.
Can I use crunchy peanut butter?
Absolutely! Using crunchy peanut butter will add an interesting texture to your pumpkins.
How do I know when the chocolate coating is set?
The chocolate coating is set when it is firm to the touch and no longer sticky. This usually takes about 15 minutes in the refrigerator.

Chocolate Peanut Butter Pumpkins
Ingredients
- For the Peanut Butter Filling:
- Creamy Peanut Butter: 1 cup
- Powdered Sugar: 2 cups
- Vanilla Extract: 1 teaspoon
- Orange Food Coloring (optional): A few drops for festive color
- For the Chocolate Coating:
- Chocolate Chips: 2 cups (milk or dark)
- Coconut Oil: 1 tablespoon
- Optional Decorations:
- Green Candy Melts: For leaves or stems
Instructions
Prepare the Peanut Butter Filling:
Mix peanut butter, powdered sugar, vanilla extract, and optional food coloring. Shape into small pumpkins.
Chill:
Refrigerate shaped pumpkins for 30 minutes.
Melt the Chocolate:
Combine chocolate chips and coconut oil. Melt in the microwave until smooth.
Coat the Pumpkins:
Dip each pumpkin in melted chocolate and place on parchment paper.
Decorate:
Use melted green candy melts for leaves or stems if desired.
Final Chill:
Refrigerate for 15 minutes until the chocolate is set.