Have you ever wondered how to create the perfect Ninja Creami Salted Caramel Ice Cream at home? According to recent surveys, homemade ice cream is gaining popularity, with 65% of ice cream lovers preferring to make their own over store-bought options. This trend not only allows for customization of flavors but also ensures fresher ingredients. In this post, we’ll explore the irresistible world of salted caramel ice cream, providing you with everything you need to know to whip up this delightful treat using your Ninja Creami.
Ingredients List
Creating the perfect Ninja Creami Salted Caramel Ice Cream requires a few key ingredients that come together to create a rich and creamy texture. Here’s what you’ll need:
- Heavy Cream: 2 cups (for a rich, creamy base)
- Whole Milk: 1 cup (adds smoothness)
- Granulated Sugar: 3/4 cup (sweetens the mixture)
- Salted Caramel Sauce: 1/2 cup (for that deep caramel flavor)
- Vanilla Extract: 1 teaspoon (enhances the overall taste)
- Sea Salt: A pinch (to elevate the caramel flavor)
Substitution Suggestions:
- Heavy Cream: Substitute with coconut cream for a dairy-free option.
- Whole Milk: Use almond milk for a lighter version.
- Granulated Sugar: Swap with brown sugar for a richer flavor profile.
Timing
Making Ninja Creami Salted Caramel Ice Cream is a breeze! Here’s a breakdown of the timing involved:
- Preparation Time: 10 minutes
- Chilling Time: 4 hours (or overnight for best results)
- Total Time: Approximately 4 hours and 10 minutes
This is significantly faster than many traditional ice cream recipes, which can take up to 6 hours or more!
Step-by-Step Instructions
Step 1: Prepare the Base
In a mixing bowl, combine 2 cups of heavy cream, 1 cup of whole milk, and 3/4 cup of granulated sugar. Whisk until the sugar is fully dissolved. This creates a smooth and creamy base for your ice cream.
Step 2: Add Flavorings
Stir in 1/2 cup of salted caramel sauce and 1 teaspoon of vanilla extract. Mix well to ensure the flavors are evenly distributed. The caramel sauce will give your ice cream that rich, sweet flavor that pairs perfectly with the salt.
Step 3: Chill the Mixture
Cover the bowl with plastic wrap and place it in the refrigerator for at least 4 hours, or overnight if possible. Chilling the mixture enhances the flavors and ensures a creamier texture.
Step 4: Process in the Ninja Creami
Once chilled, pour the mixture into the Ninja Creami pint container. Insert the paddle into the lid and process according to the manufacturer’s instructions. This usually takes about 2-3 minutes.
Step 5: Enjoy!
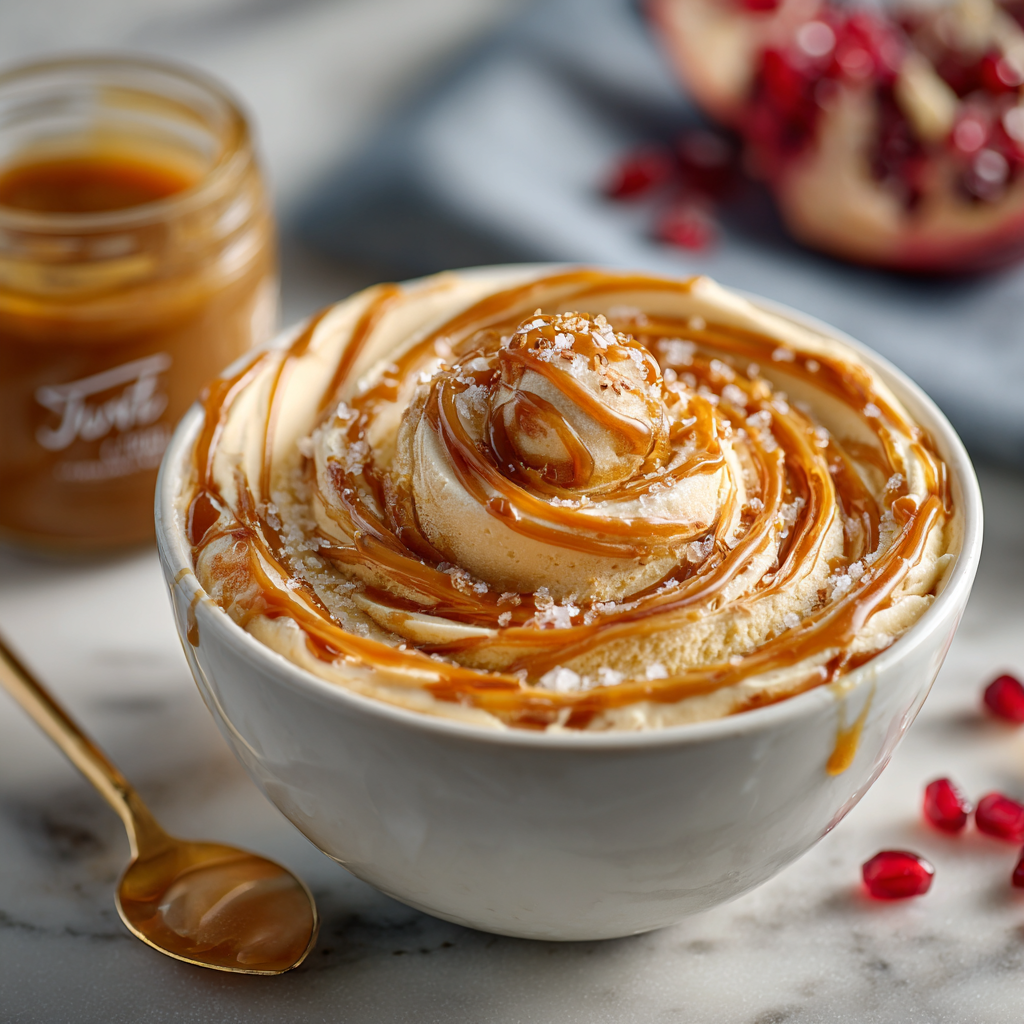
Scoop the freshly made Ninja Creami Salted Caramel Ice Cream into bowls and drizzle with extra salted caramel sauce. For an added touch, sprinkle a pinch of sea salt on top to enhance the flavor.

Nutritional Information
Here’s a comprehensive look at the nutritional content of Ninja Creami Salted Caramel Ice Cream per serving (1/2 cup):
| Nutrient | Amount per Serving |
|---|---|
| Calories | 250 |
| Total Fat | 17g |
| Saturated Fat | 10g |
| Cholesterol | 70mg |
| Sodium | 150mg |
| Total Carbohydrates | 24g |
| Dietary Fiber | 0g |
| Sugars | 22g |
| Protein | 3g |
Note: Nutritional values may vary based on specific brands and ingredient choices.
Healthier Alternatives for the Recipe
If you’re looking to make your Ninja Creami Salted Caramel Ice Cream a bit healthier, consider these modifications:
- Lower Sugar Option: Use a sugar substitute like erythritol or monk fruit sweetener to reduce calories.
- Dairy-Free Version: Substitute heavy cream and whole milk with coconut cream and almond milk, respectively, for a delicious dairy-free treat.
- Add Fruits: Incorporate pureed fruits like bananas or peaches for added nutrients and natural sweetness.
Serving Suggestions
To make your Ninja Creami Salted Caramel Ice Cream even more inviting, consider these creative serving suggestions:
- Ice Cream Sundae: Top with whipped cream, chocolate shavings, and a cherry for a classic sundae experience.
- Affogato Style: Pour a shot of hot espresso over the ice cream for a delightful contrast of temperatures and flavors.
- Ice Cream Sandwiches: Use your favorite cookies to create delicious ice cream sandwiches, perfect for parties or gatherings.
Common Mistakes to Avoid
When making Ninja Creami Salted Caramel Ice Cream, here are some common pitfalls to watch out for:
- Not Chilling the Base Long Enough: Ensure the mixture is thoroughly chilled before processing. This helps achieve a creamier texture.
- Over-processing: Follow the Ninja Creami instructions carefully. Over-processing can lead to a grainy texture.
- Skipping the Salt: A pinch of sea salt is crucial for enhancing the caramel flavor. Don’t skip it!
Storing Tips for the Recipe
To maintain the freshness and flavor of your Ninja Creami Salted Caramel Ice Cream, follow these storage tips:
- Freezing: Store any leftover ice cream in an airtight container in the freezer for up to 2 weeks.
- Prepping Ahead: You can prepare the base mixture in advance and store it in the refrigerator for up to 2 days before processing.
- Avoid Freezer Burn: Press a piece of plastic wrap directly onto the surface of the ice cream before sealing the container to prevent freezer burn.
Conclusion
In summary, the Ninja Creami Salted Caramel Ice Cream is a delightful treat that’s easy to make and perfect for any occasion. With its rich flavors and creamy texture, it’s sure to impress your family and friends. Try this recipe today, and don’t forget to share your feedback in the comments or leave a review! Subscribe for more delicious updates!
FAQs
Can I use store-bought caramel sauce?
Yes, store-bought salted caramel sauce works perfectly for this recipe. Just ensure it’s of good quality for the best flavor.
How can I make this recipe vegan?
To make a vegan version, use coconut cream, almond milk, and a plant-based caramel sauce.
What if my ice cream is too hard after freezing?
Let it sit at room temperature for about 10-15 minutes before scooping to soften.

Ninja Creami Salted Caramel Ice Cream
Ingredients
- Heavy Cream: 2 cups (for a rich, creamy base)
- Whole Milk: 1 cup (adds smoothness)
- Granulated Sugar: 3/4 cup (sweetens the mixture)
- Salted Caramel Sauce: 1/2 cup (for that deep caramel flavor)
- Vanilla Extract: 1 teaspoon (enhances the overall taste)
- Sea Salt: A pinch (to elevate the caramel flavor)
Instructions
- Prepare the Base: In a mixing bowl, combine heavy cream, whole milk, and granulated sugar. Whisk until the sugar is fully dissolved.
- Add Flavorings: Stir in salted caramel sauce and vanilla extract until well mixed.
- Chill the Mixture: Cover and refrigerate for at least 4 hours or overnight.
- Process in the Ninja Creami: Pour the chilled mixture into the Ninja Creami pint container and process according to the manufacturer's instructions.
- Enjoy: Serve scoops of the salted caramel ice cream in bowls, drizzled with extra caramel sauce and a sprinkle of sea salt.