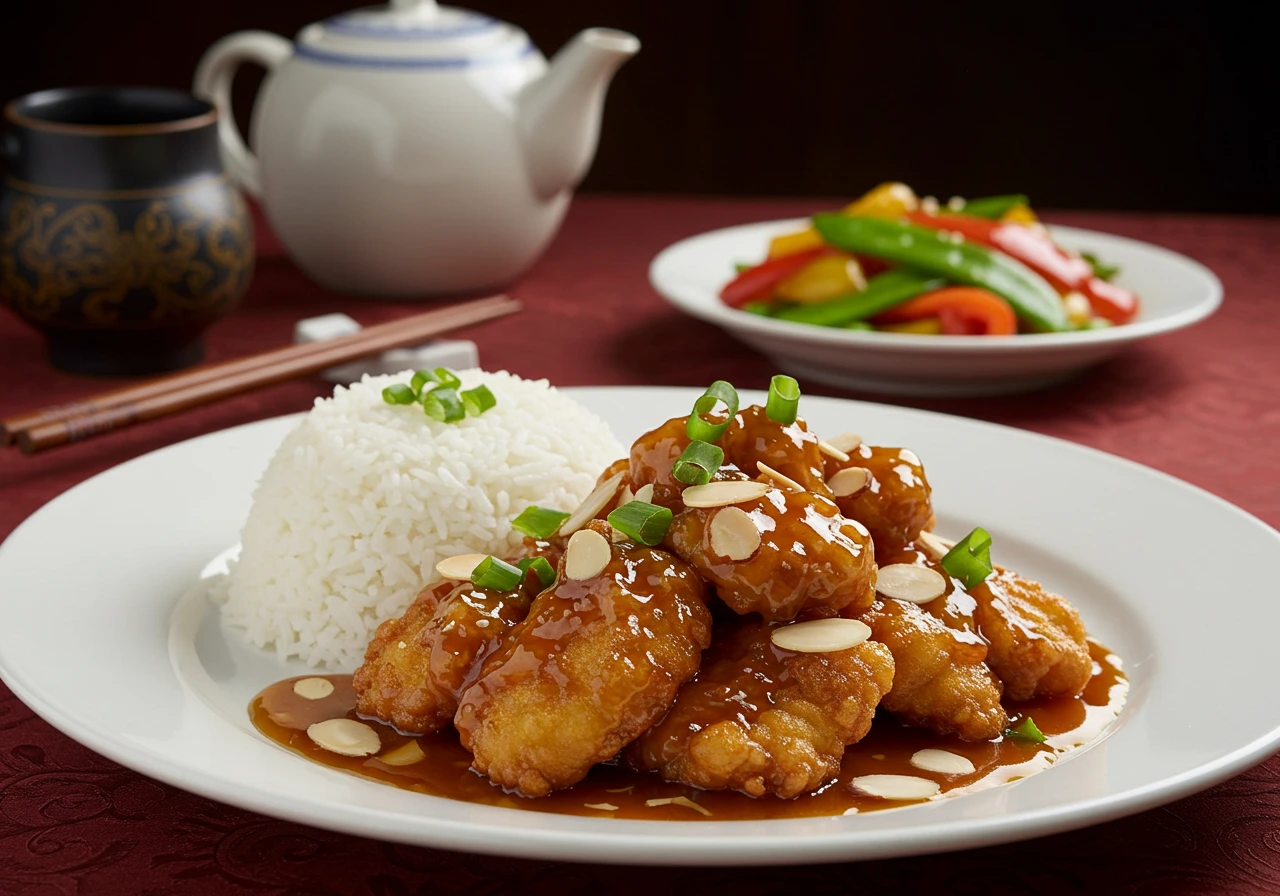
Did you know that over 60% of home cooks are looking for new ways to incorporate seasonal flavors into their meals? One delightful option that ticks all the boxes is apple cider glazed chicken. This recipe not only showcases the rich, sweet-tart flavor of apple cider but also transforms a simple chicken dish into a culinary masterpiece. If you’re tired of the same old chicken recipes and want to impress your family or guests, this dish is a must-try. Let’s explore how to make this savory, sweet, and utterly satisfying meal that’s perfect for any occasion.
Ingredients List
To create your own apple cider glazed chicken, you will need the following ingredients:
- 4 boneless, skinless chicken breasts (or thighs for a juicier option)
- 1 cup apple cider (fresh-pressed is ideal for maximum flavor)
- 2 tablespoons Dijon mustard (adds a tangy kick)
- 2 tablespoons honey (for sweetness)
- 2 cloves garlic, minced (for depth of flavor)
- 1 tablespoon olive oil (for cooking)
- Salt and pepper (to taste)
- Fresh thyme or rosemary (for garnish, optional)
Substitution Suggestions:
- Chicken: Use bone-in chicken for added flavor.
- Apple Cider: Substitute with apple juice in a pinch, but reduce the honey.
- Honey: Maple syrup can be used for a different flavor profile.
Step-by-Step Instructions
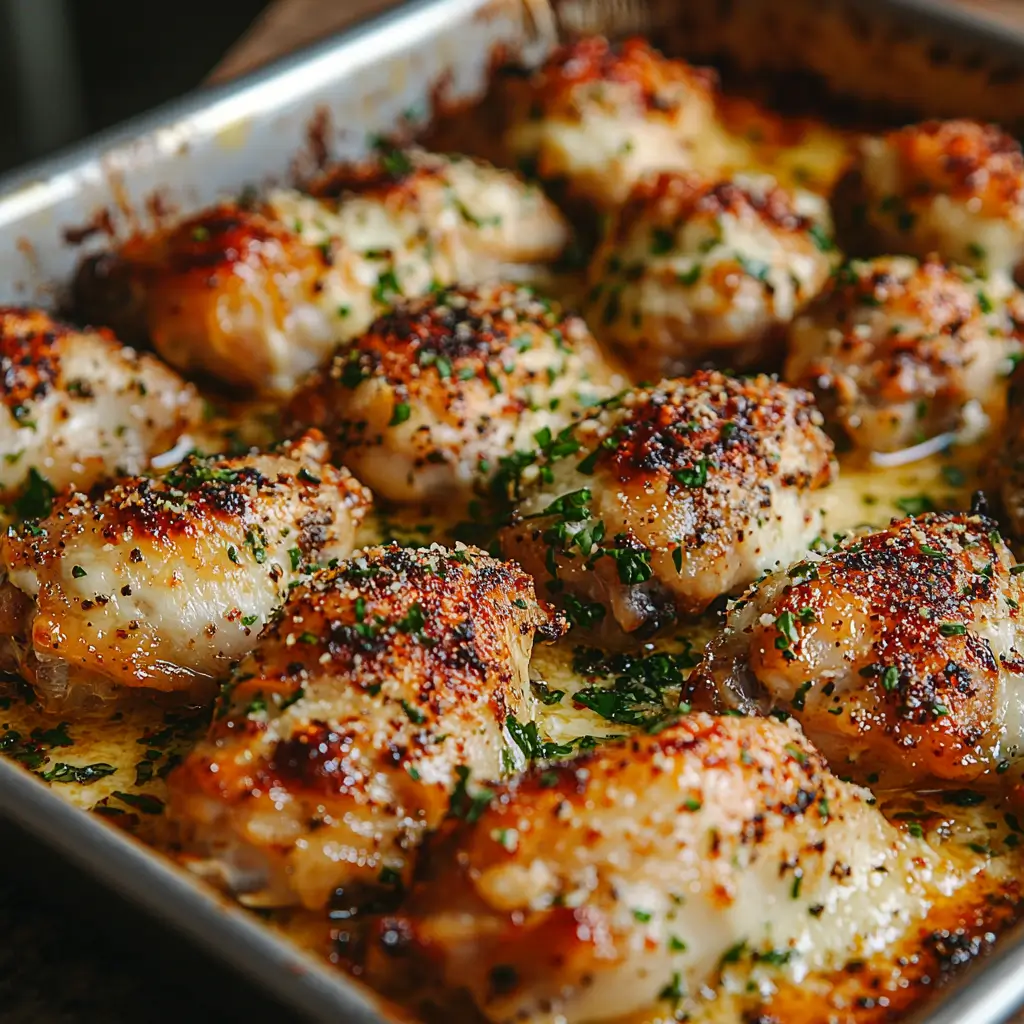
Step 1: Prepare the Chicken
Start by patting the chicken breasts dry with paper towels. This helps achieve a nice sear. Season both sides generously with salt and pepper.
Step 2: Sear the Chicken
In a large skillet, heat 1 tablespoon of olive oil over medium-high heat. Once hot, add the chicken breasts. Sear for about 5-7 minutes on each side until golden brown. This step locks in the juices and creates a beautiful crust.
Step 3: Make the Glaze
While the chicken cooks, combine 1 cup of apple cider, 2 tablespoons of Dijon mustard, 2 tablespoons of honey, and 2 cloves of minced garlic in a bowl. Whisk until well combined. This glaze brings a perfect balance of sweetness and acidity.
Step 4: Glaze the Chicken
Once the chicken is seared, pour the apple cider mixture over the chicken in the skillet. Reduce the heat to medium-low, cover, and let simmer for 15-20 minutes. The glaze will thicken and coat the chicken beautifully.
Step 5: Finish and Serve
Once the chicken reaches an internal temperature of 165°F (75°C), remove it from the heat. Let it rest for a few minutes before slicing. Drizzle with the remaining glaze from the pan and garnish with fresh herbs.

Nutritional Information
Here’s a breakdown of the nutritional content for one serving (1 chicken breast with glaze):
| Nutrient | Amount per Serving |
|---|---|
| Calories | 290 |
| Total Fat | 8g |
| Saturated Fat | 1.5g |
| Cholesterol | 75mg |
| Sodium | 350mg |
| Total Carbohydrates | 18g |
| Dietary Fiber | 0g |
| Sugars | 10g |
| Protein | 34g |
This dish is not only delicious but also packed with protein, making it a healthy dinner choice.
Healthier Alternatives for the Recipe
If you’re looking to make apple cider glazed chicken even healthier, consider these modifications:
- Reduce Sugar: Cut down on honey or use a sugar substitute like stevia.
- Add Vegetables: Incorporate vegetables like Brussels sprouts or carrots in the pan while the chicken cooks for added nutrients and color.
- Use Skinless Chicken: Opt for skinless chicken to lower fat content.
Serving Suggestions
Serve your apple cider glazed chicken with:
- Mashed Sweet Potatoes: Their natural sweetness complements the glaze perfectly.
- Roasted Vegetables: A mix of seasonal vegetables adds color and nutrition.
- Quinoa or Brown Rice: These grains absorb the delicious glaze and provide a hearty side.
Personalized Tips:
Consider serving the chicken on a bed of arugula or spinach for a fresh, peppery contrast to the sweet glaze.
Common Mistakes to Avoid
When preparing apple cider glazed chicken, avoid these common pitfalls:
- Not Searing the Chicken Properly: Skipping the searing step can lead to dry chicken. Always sear to lock in moisture.
- Overcooking the Chicken: Use a meat thermometer to ensure the chicken is cooked perfectly without drying out.
- Ignoring the Resting Time: Allowing the chicken to rest after cooking helps retain its juices.
Storing Tips for the Recipe
To keep your apple cider glazed chicken fresh:
- Refrigeration: Store leftovers in an airtight container in the refrigerator for up to 3 days.
- Freezing: For longer storage, freeze the chicken in a freezer-safe container for up to 3 months. Thaw in the refrigerator before reheating.
- Reheating: Gently reheat in the oven or microwave, adding a splash of apple cider to keep it moist.
Conclusion
In summary, apple cider glazed chicken is a flavorful, easy-to-make dish that brings seasonal ingredients to your table. With its sweet and tangy glaze, it’s perfect for any occasion. We encourage you to try this recipe and share your feedback in the comments section. Don’t forget to subscribe for more delicious updates!
FAQs
Q1: Can I use a different type of meat?
A: Yes! This glaze works well with pork chops or even tofu for a vegetarian option.
Q2: What can I serve with this dish?
A: Pair it with roasted vegetables, quinoa, or a fresh salad for a balanced meal.
Q3: How do I know when the chicken is cooked?
A: Use a meat thermometer; chicken should reach an internal temperature of 165°F (75°C).

Apple Cider Glazed Chicken
Ingredients
- 4 boneless, skinless chicken breasts
- 1 cup apple cider
- 2 tablespoons Dijon mustard
- 2 tablespoons honey
- 2 cloves garlic, minced
- 1 tablespoon olive oil
- Salt and pepper to taste
- Fresh thyme or rosemary for garnish (optional)
Instructions
- Prepare the Chicken: Pat the chicken breasts dry and season with salt and pepper.
- Sear the Chicken: Heat olive oil in a skillet over medium-high heat. Sear the chicken for 5-7 minutes on each side until golden brown.
- Make the Glaze: In a bowl, whisk together apple cider, Dijon mustard, honey, and minced garlic.
- Glaze the Chicken: Pour the glaze over the chicken, reduce heat to medium-low, cover, and simmer for 15-20 minutes.
- Serve: Check for doneness (165°F internal temperature), let rest, and garnish with fresh herbs before serving.