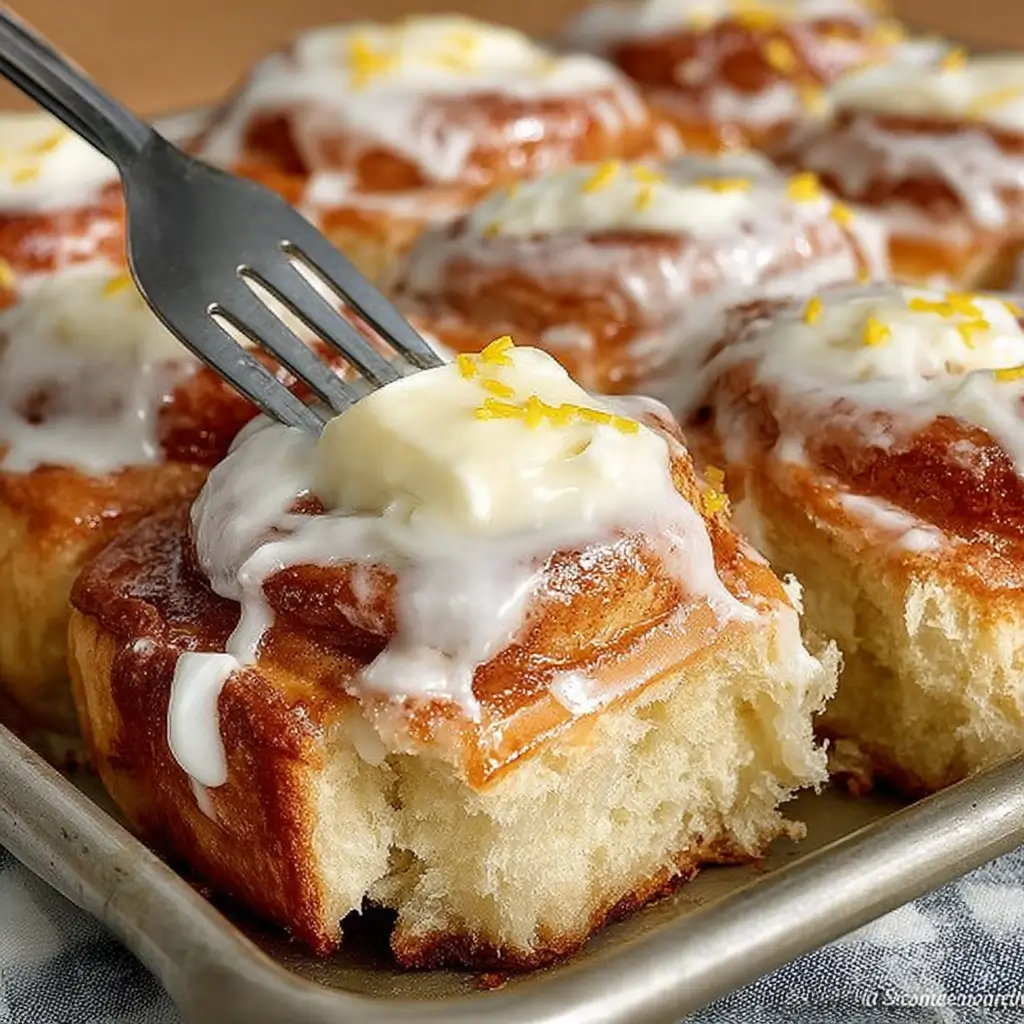
Are you tired of the same old bread rolls or biscuits? Prepare to be captivated by the irresistible flavors of Cheesy Garlic Butter Rollups! These delectable bite-sized treats combine the buttery goodness of garlic-infused dough with the gooey, melted cheese of your dreams. Whether you’re hosting a party, looking for a crowd-pleasing side dish, or simply craving a savory and indulgent snack, these Cheesy Garlic Butter Rollups are sure to impress your taste buds and leave your guests begging for more.
Ingredients List
- 1 can (8 oz) refrigerated crescent roll dough
- 1/2 cup (1 stick) unsalted butter, softened
- 3 cloves of garlic, minced
- 1/2 cup shredded mozzarella cheese
- 1/4 cup grated Parmesan cheese
- 1 tablespoon chopped fresh parsley (or 1 teaspoon dried parsley)
- 1/4 teaspoon salt
- 1/8 teaspoon black pepper
Substitution ideas: For a different cheese flavor, try using cheddar, Gouda, or a blend of your favorite cheeses. You can also experiment with various herbs, such as oregano, basil, or rosemary, to create unique flavor profiles.
Step-by-Step Instructions
Step 1: Prepare the Garlic Butter
In a small bowl, combine the softened butter, minced garlic, Parmesan cheese, parsley, salt, and black pepper. Stir until well blended.
Step 2: Assemble the Rollups
Unroll the crescent roll dough and separate the triangles. Spread a generous amount of the garlic butter mixture onto each triangle, leaving a small border around the edges. Sprinkle the mozzarella cheese over the garlic butter.
Step 3: Roll and Bake
Starting from the wide end, tightly roll up each triangle into a spiral. Place the rollups, seam-side down, on a baking sheet lined with parchment paper or a silicone baking mat.
Bake the Cheesy Garlic Butter Rollups in a preheated oven at 375°F (190°C) for 12-15 minutes, or until the dough is golden brown and the cheese is melted and bubbly.
Step 4: Serve and Enjoy
Remove the Cheesy Garlic Butter Rollups from the oven and let them cool for a few minutes. Serve warm, garnished with additional chopped parsley if desired. Enjoy the irresistible combination of flaky dough, melted cheese, and savory garlic butter in every bite!

Nutritional Information
- Calories: 120 per serving
- Total Fat: 8g
- Saturated Fat: 5g
- Cholesterol: 20mg
- Sodium: 250mg
- Total Carbohydrates: 9g
- Dietary Fiber: 0g
- Protein: 4g
Healthier Alternatives for the Recipe
To make these Cheesy Garlic Butter Rollups a bit healthier, consider the following modifications:
- Use a whole-wheat or multigrain crescent roll dough for a boost of fiber and nutrients.
- Substitute the butter with a plant-based alternative, such as olive oil or avocado oil, to reduce the saturated fat content.
- Increase the amount of fresh herbs, like parsley or basil, to add more flavor without relying solely on butter and cheese.
- Serve the Cheesy Garlic Butter Rollups with a side of fresh vegetables, such as a crisp salad or roasted asparagus, to balance out the dish.
- Experiment with low-fat or reduced-fat cheese options to cut down on the overall calorie and fat content.
Serving Suggestions
The Cheesy Garlic Butter Rollups are incredibly versatile and can be enjoyed in a variety of ways:
- Serve them as a crowd-pleasing appetizer at parties, potlucks, or game-day gatherings.
- Offer them as a side dish to complement grilled meats, pasta dishes, or soups.
- Pack them in lunchboxes or as a snack for on-the-go enjoyment.
- Pair them with a fresh green salad or a bowl of tomato soup for a satisfying and comforting meal.
- Arrange the Cheesy Garlic Butter Rollups on a platter and serve them alongside a selection of dipping sauces, such as marinara, ranch, or garlic aioli.
Common Mistakes to Avoid
To ensure your Cheesy Garlic Butter Rollups turn out perfectly every time, here are a few common mistakes to avoid:
- Overfilling the rollups: Be careful not to overstuff the dough with too much garlic butter or cheese, as this can cause them to leak or become difficult to roll up.
- Overbaking the rollups: Keep a close eye on the rollups during baking to prevent them from becoming too crispy or dry. The perfect texture is golden brown and flaky.
- Using cold or stiff butter: Make sure the butter is softened to room temperature before mixing it with the garlic and other ingredients. This will ensure the garlic butter spreads evenly and the rollups bake up nicely.
- Forgetting to grease the baking sheet: To prevent the rollups from sticking, be sure to line the baking sheet with parchment paper or a silicone baking mat.
Storing Tips for the Recipe
The Cheesy Garlic Butter Rollups are best enjoyed fresh out of the oven, but you can store any leftovers for later. Here are some tips for storing and reheating the rollups:
- Let the rollups cool completely before storing them in an airtight container in the refrigerator. They will keep for up to 3 days.
- To reheat the rollups, place them on a baking sheet and bake in a preheated 350°F (175°C) oven for 5-7 minutes, or until heated through and the cheese is melted.
- Alternatively, you can reheat the rollups in the microwave for 20-30 seconds, but be aware that this may result in a slightly softer texture.
- Avoid freezing the Cheesy Garlic Butter Rollups, as the texture and flavor may be compromised upon thawing.
Conclusion
The Cheesy Garlic Butter Rollups are a delightful and easy-to-make appetizer or side dish that will have your guests raving. By following the simple steps outlined in this comprehensive guide, you can create a restaurant-quality treat in the comfort of your own home. Whether you’re hosting a party, looking for a crowd-pleasing side dish, or simply craving a savory and indulgent snack, these Cheesy Garlic Butter Rollups are sure to satisfy your cravings and leave a lasting impression. Give them a try and let us know what you think in the comments below!
FAQs
Can I use homemade dough instead of crescent rolls?
Absolutely! While the recipe calls for refrigerated crescent roll dough, you can certainly use your own homemade dough or even a pre-made pizza dough. Just be sure to roll it out into a thin rectangle before assembling the rollups.
Can I make these ahead of time?
Yes, you can prepare the Cheesy Garlic Butter Rollups in advance. Assemble the rollups, but don’t bake them. Instead, cover and refrigerate them for up to 24 hours. When ready to serve, bake the rollups as directed in the recipe.
Can I use different types of cheese?
Absolutely! The combination of mozzarella and Parmesan works great, but you can experiment with other cheese varieties as well. Try using cheddar, Gouda, or a blend of your favorite cheeses to create unique flavor profiles.

Cheesy Garlic Butter Rollups
Ingredients
- 1 can (8 oz) refrigerated crescent roll dough
- 1/2 cup (1 stick) unsalted butter, softened
- 3 cloves of garlic, minced
- 1/2 cup shredded mozzarella cheese
- 1/4 cup grated Parmesan cheese
- 1 tablespoon chopped fresh parsley (or 1 teaspoon dried parsley)
- 1/4 teaspoon salt
- 1/8 teaspoon black pepper
Instructions
- In a small bowl, combine the softened butter, minced garlic, Parmesan cheese, parsley, salt, and black pepper. Stir until well blended.
- Unroll the crescent roll dough and separate the triangles. Spread a generous amount of the garlic butter mixture onto each triangle, leaving a small border around the edges. Sprinkle the mozzarella cheese over the garlic butter.
- Starting from the wide end, tightly roll up each triangle into a spiral. Place the rollups, seam-side down, on a baking sheet lined with parchment paper or a silicone baking mat.
- Bake the Cheesy Garlic Butter Rollups in a preheated oven at 375°F (190°C) for 12-15 minutes, or until the dough is golden brown and the cheese is melted and bubbly.
- Remove the Cheesy Garlic Butter Rollups from the oven and let them cool for a few minutes. Serve warm, garnished with additional chopped parsley if desired.