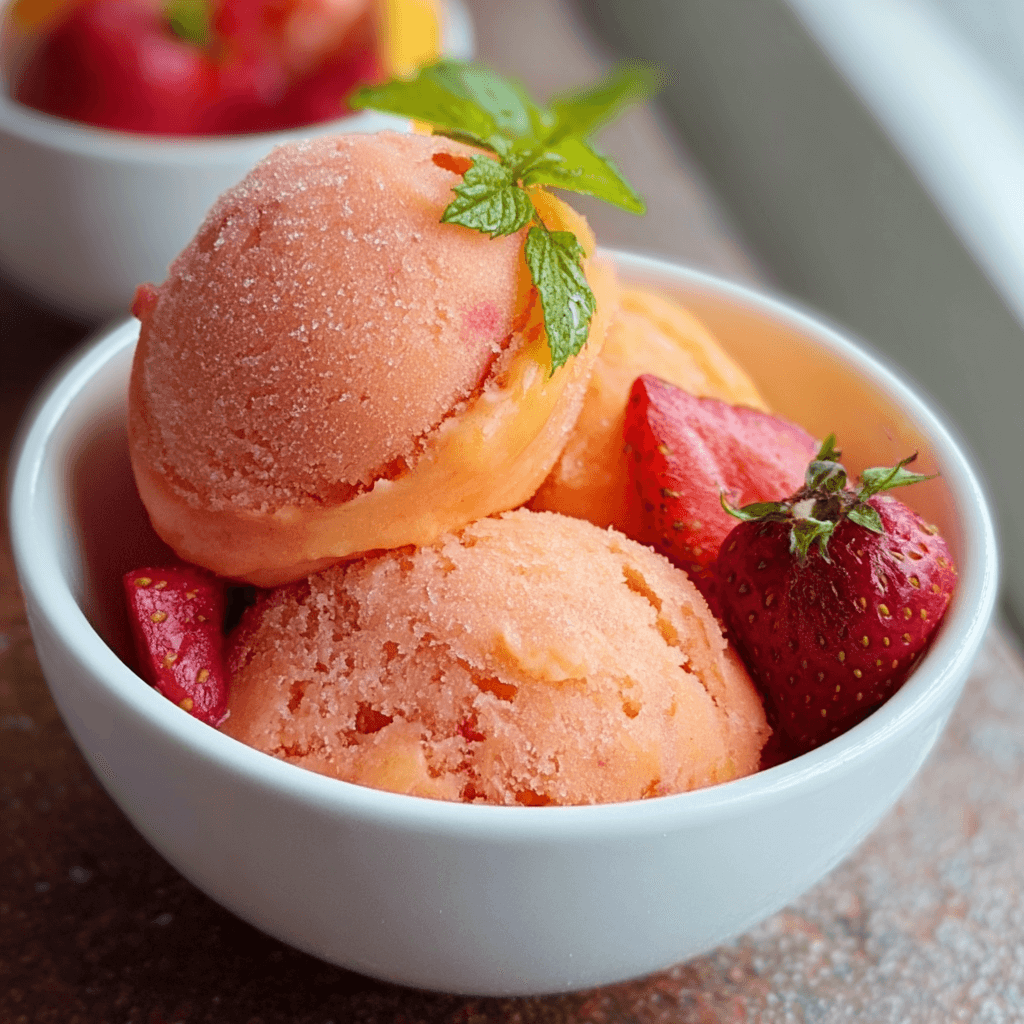
Have you ever craved a sweet treat that’s both delicious and healthy? According to a study by the American Journal of Clinical Nutrition, incorporating yogurt into your diet can improve gut health and aid digestion. If you’re looking for a fun and nutritious way to enjoy yogurt, you’ll love these Frozen Strawberry Yogurt Bites. This delightful recipe combines the creaminess of yogurt with the natural sweetness of strawberries, making it an ideal snack for both kids and adults. Let’s dive into how you can make these irresistible bites!
Ingredients List
Creating Frozen Strawberry Yogurt Bites requires just a few simple ingredients. Here’s what you’ll need:
Ingredients
- 2 cups fresh strawberries (hulled and sliced)
- 2 cups Greek yogurt (plain or flavored)
- 2 tablespoons honey (or maple syrup for a vegan option)
- 1 teaspoon vanilla extract (optional for extra flavor)
- Pinch of salt (to enhance sweetness)
Substitutions
- Greek Yogurt: Substitute with plant-based yogurt for a dairy-free option.
- Honey: Agave syrup or stevia can be used as a low-calorie sweetener.
- Strawberries: Feel free to use other berries like blueberries or raspberries for variety.
Step-by-Step Instructions
Step 1: Prepare the Strawberries
- Wash and Slice: Rinse the fresh strawberries under cold water. Hull and slice them into small pieces. Set aside.
- Tip: For a smoother texture, you can blend the strawberries into a puree.
Step 2: Mix the Ingredients
- Combine Yogurt and Sweetener: In a mixing bowl, combine 2 cups of Greek yogurt, 2 tablespoons of honey, and 1 teaspoon of vanilla extract. Mix until well blended.
- Tip: Adjust the sweetness according to your taste preference.
Step 3: Assemble the Bites
- Layer the Mixture: In a silicone mold or ice cube tray, add a layer of the yogurt mixture, followed by a few pieces of sliced strawberries. Top with more yogurt until the molds are full.
- Tip: Use a toothpick to swirl the strawberry pieces into the yogurt for a marbled effect.
Step 4: Freeze
- Freeze the Bites: Place the mold in the freezer for at least 2 hours or until the yogurt is completely frozen.
- Tip: If you’re short on time, you can freeze them in smaller portions for quicker freezing.
Step 5: Enjoy!
- Pop Out and Serve: Once frozen, remove the bites from the mold and enjoy immediately. Store any leftovers in an airtight container in the freezer.
- Tip: Let them sit at room temperature for a minute before eating for easier chewing.
Nutritional Information
Understanding the nutritional content of your Frozen Strawberry Yogurt Bites can help you enjoy them guilt-free. Here’s a breakdown per serving (assuming 12 bites):
| Nutrient | Amount per Bite |
|---|---|
| Calories | 40 kcal |
| Total Fat | 1 g |
| Saturated Fat | 0 g |
| Cholesterol | 5 mg |
| Sodium | 15 mg |
| Total Carbohydrates | 6 g |
| Dietary Fiber | 0.5 g |
| Sugars | 4 g |
| Protein | 3 g |
Healthier Alternatives for the Recipe
If you’re looking to make your Frozen Strawberry Yogurt Bites even healthier, consider these modifications:
- Low-Fat Yogurt: Use low-fat Greek yogurt to reduce calories and fat content.
- Add Fiber: Incorporate chia seeds or flaxseeds into the yogurt mixture for added fiber and omega-3 fatty acids.
- Fruit Variations: Experiment with other fruits like bananas or peaches for different flavors and nutrients.
Serving Suggestions
Your Frozen Strawberry Yogurt Bites can be enjoyed in various ways:
- Snack on the Go: These bites make for a perfect grab-and-go snack for busy days.
- Garnish Ideas: Serve with a drizzle of chocolate sauce or a sprinkle of granola for added texture.
- Party Treat: Arrange on a platter with other frozen fruit bites for a fun party dessert.
Common Mistakes to Avoid
Creating the perfect Frozen Strawberry Yogurt Bites can be easy, but here are some common pitfalls to watch out for:
- Not Using Enough Sweetener: Ensure you taste the yogurt mixture before freezing; adjust sweetness as needed.
- Overfilling the Molds: Leave a little space at the top of the molds to allow for expansion as they freeze.
- Forgetting to Let Them Sit: Allow the bites to sit for a minute after removing from the freezer for easier consumption.
Storing Tips for the Recipe
To keep your Frozen Strawberry Yogurt Bites fresh and delicious:
- Freezer Storage: Store in an airtight container in the freezer for up to 2 months.
- Avoid Freezer Burn: Make sure the container is well-sealed to prevent freezer burn.
- Batch Prep: Consider making a double batch to have a supply of healthy snacks ready to go.
Conclusion
In conclusion, Frozen Strawberry Yogurt Bites are a delightful, healthy treat that’s easy to make and perfect for satisfying your sweet tooth. With just a few simple ingredients and steps, you can create a refreshing snack that everyone will love. Try this recipe today, and don’t forget to leave your feedback in the comments or subscribe for more delicious updates!
FAQs
Can I use frozen strawberries instead of fresh?
Yes, you can use frozen strawberries, but make sure to thaw and drain excess liquid before mixing.
How long do these bites last in the freezer?
They can last up to 2 months when stored properly in an airtight container.
Can I add other fruits to the mixture?
Absolutely! Feel free to mix in other fruits like blueberries, raspberries, or bananas for variety.

Frozen Strawberry Yogurt Bites
Ingredients
- 2 cups fresh strawberries (hulled and sliced)
- 2 cups Greek yogurt (plain or flavored)
- 2 tablespoons honey (or maple syrup for a vegan option)
- 1 teaspoon vanilla extract (optional)
- Pinch of salt
Instructions
- Prepare the Strawberries: Rinse, hull, and slice the strawberries.
- Mix the Ingredients: In a bowl, combine Greek yogurt, honey, and vanilla extract. Mix well.
- Assemble the Bites: In a silicone mold, layer yogurt and strawberries, then top with more yogurt.
- Freeze: Place the mold in the freezer for at least 2 hours until fully frozen.
- Enjoy: Remove from the mold and serve immediately.