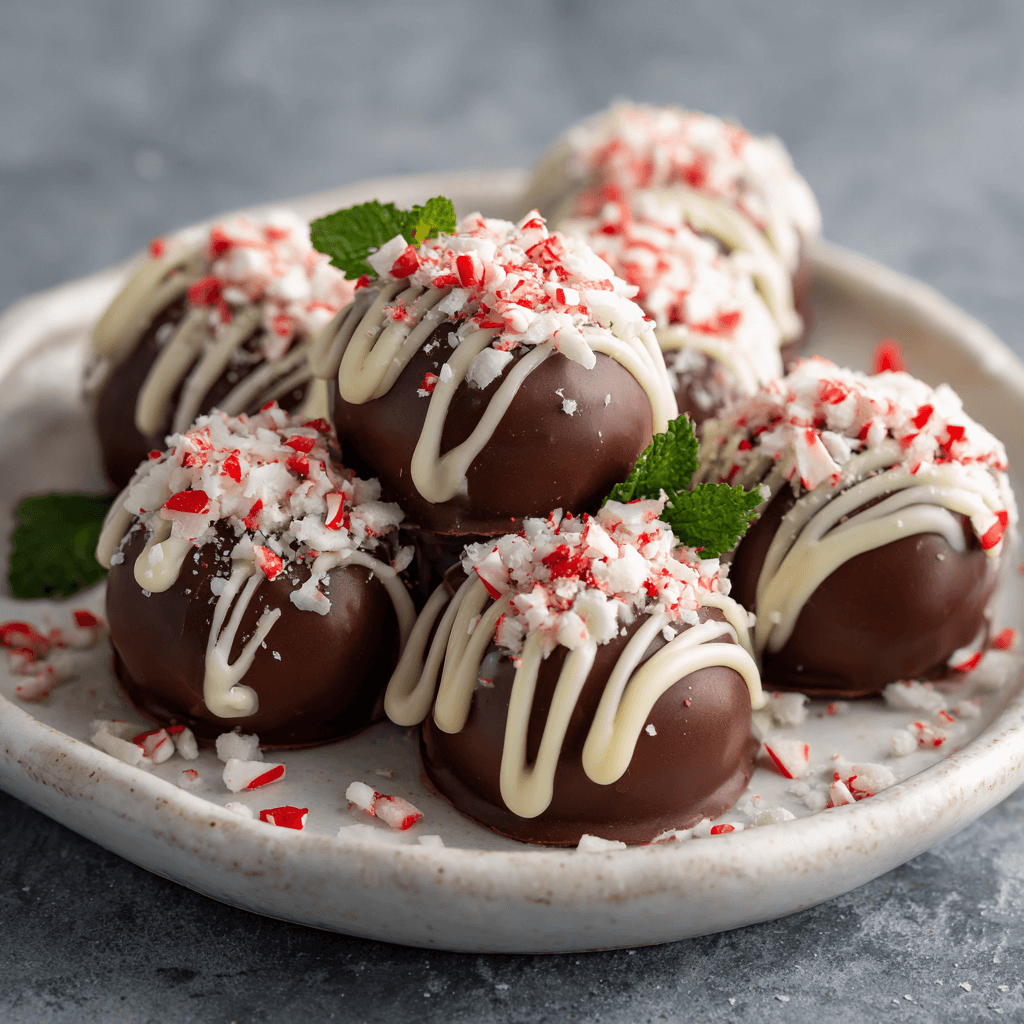
Peppermint Truffles are a rich and indulgent treat that combines creamy chocolate ganache with a refreshing peppermint flavor, all coated in chocolate and topped with crushed candy canes. These delightful truffles are perfect for holiday gifting, parties, or enjoying as a sweet treat during the festive season!
Ingredients
For the Truffle Filling:
- 8 ounces semi-sweet chocolate, chopped (or chocolate chips)
- 1/2 cup heavy cream
- 1 teaspoon peppermint extract
- 1/4 cup powdered sugar (optional, for sweetness)
For the Coating:
- 8 ounces dark chocolate, chopped (or dark chocolate chips)
- 1 tablespoon coconut oil (optional, for smoother melting)
- 1/2 cup crushed candy canes (for topping)
Timing
Making Peppermint Truffles takes about 15 minutes for preparation and 1-2 hours for chilling.
Instructions
Step 1: Make the Ganache
- Heat Cream: In a small saucepan, heat the heavy cream over medium heat until it just begins to simmer. Do not let it boil.
- Add Chocolate: Remove the saucepan from heat and add the chopped semi-sweet chocolate. Let it sit for a minute, then stir until smooth and fully melted.
- Flavor the Ganache: Stir in the peppermint extract and powdered sugar (if using) until well combined.
- Chill Ganache: Pour the ganache into a bowl and cover it with plastic wrap. Refrigerate for about 1-2 hours, or until firm enough to scoop.
Step 2: Form the Truffles
- Scoop and Roll: Once the ganache is firm, use a melon baller or teaspoon to scoop out portions of the ganache. Roll each portion into a ball between your hands, about 1 inch in diameter.
- Chill Again: Place the rolled truffles on a parchment-lined baking sheet and refrigerate for another 30 minutes to firm up.
Step 3: Coat the Truffles
- Melt the Coating: In a microwave-safe bowl, combine the dark chocolate and coconut oil (if using). Microwave in 30-second intervals, stirring in between, until melted and smooth.
- Dip the Truffles: Using a fork or dipping tool, dip each truffle into the melted dark chocolate, allowing any excess to drip off. Place them back on the parchment-lined baking sheet.
- Add Candy Cane Topping: While the chocolate coating is still wet, sprinkle the crushed candy canes on top of each truffle.
Step 4: Set and Serve
- Let Set: Allow the truffles to set at room temperature or place them in the refrigerator for quicker setting.
- Enjoy: Once set, serve your Peppermint Truffles and enjoy the festive flavors!
Nutritional Information
Here’s a quick overview of the nutritional content of Peppermint Truffles (per truffle, based on 24 servings):
| Nutrient | Amount per Serving |
|---|---|
| Calories | 100 |
| Protein | 1g |
| Fat | 7g |
| Carbohydrates | 9g |
| Sugar | 5g |
Tips for Customization
- Flavor Variations: Experiment with other extracts, such as vanilla or almond, for a different flavor profile.
- Chocolate Coating: Use white chocolate for a different look and flavor, and decorate with crushed peppermint for a festive touch.
- Add Nuts: Incorporate finely chopped nuts into the ganache for added texture.
Storage Instructions
Store the Peppermint Truffles in an airtight container in the refrigerator for up to 2 weeks. They can also be frozen for longer storage; just thaw in the refrigerator before serving.
Conclusion
Peppermint Truffles are a decadent and festive treat that are sure to impress your family and friends. With their creamy chocolate filling and refreshing peppermint flavor, they make the perfect holiday indulgence!
FAQs
Can I use milk chocolate instead of dark chocolate?
Yes! You can use milk chocolate for both the ganache and coating if you prefer a sweeter flavor.
What can I serve these truffles with?
These truffles pair well with coffee, hot chocolate, or as part of a dessert platter.

Peppermint Truffles Recipe
Ingredients
- For the Truffle Filling:
- • 8 ounces semi-sweet chocolate, chopped (or chocolate chips)
- • 1/2 cup heavy cream
- • 1 teaspoon peppermint extract
- • 1/4 cup powdered sugar (optional, for sweetness)
- For the Coating:
- • 8 ounces dark chocolate, chopped (or dark chocolate chips)
- • 1 tablespoon coconut oil (optional, for smoother melting)
- • 1/2 cup crushed candy canes (for topping)
Instructions
- Heat Cream: In a small saucepan, heat the heavy cream over medium heat until it just begins to simmer. Do not let it boil.
- Add Chocolate: Remove the saucepan from heat and add the chopped semi-sweet chocolate. Let it sit for a minute, then stir until smooth and fully melted.
- Flavor the Ganache: Stir in the peppermint extract and powdered sugar (if using) until well combined.
- Chill Ganache: Pour the ganache into a bowl and cover it with plastic wrap. Refrigerate for about 1-2 hours, or until firm enough to scoop.
- Scoop and Roll: Once the ganache is firm, use a melon baller or teaspoon to scoop out portions of the ganache. Roll each portion into a ball between your hands, about 1 inch in diameter.
- Chill Again: Place the rolled truffles on a parchment-lined baking sheet and refrigerate for another 30 minutes to firm up.
- Melt the Coating: In a microwave-safe bowl, combine the dark chocolate and coconut oil (if using). Microwave in 30-second intervals, stirring in between, until melted and smooth.
- Dip the Truffles: Using a fork or dipping tool, dip each truffle into the melted dark chocolate, allowing any excess to drip off. Place them back on the parchment-lined baking sheet.
- Add Candy Cane Topping: While the chocolate coating is still wet, sprinkle the crushed candy canes on top of each truffle.
- Let Set: Allow the truffles to set at room temperature or place them in the refrigerator for quicker setting.
- Enjoy: Once set, serve your Peppermint Truffles and enjoy the festive flavors!
Step 1: Make the Ganache
Step 2: Form the Truffles
Step 3: Coat the Truffles
Step 4: Set and Serve