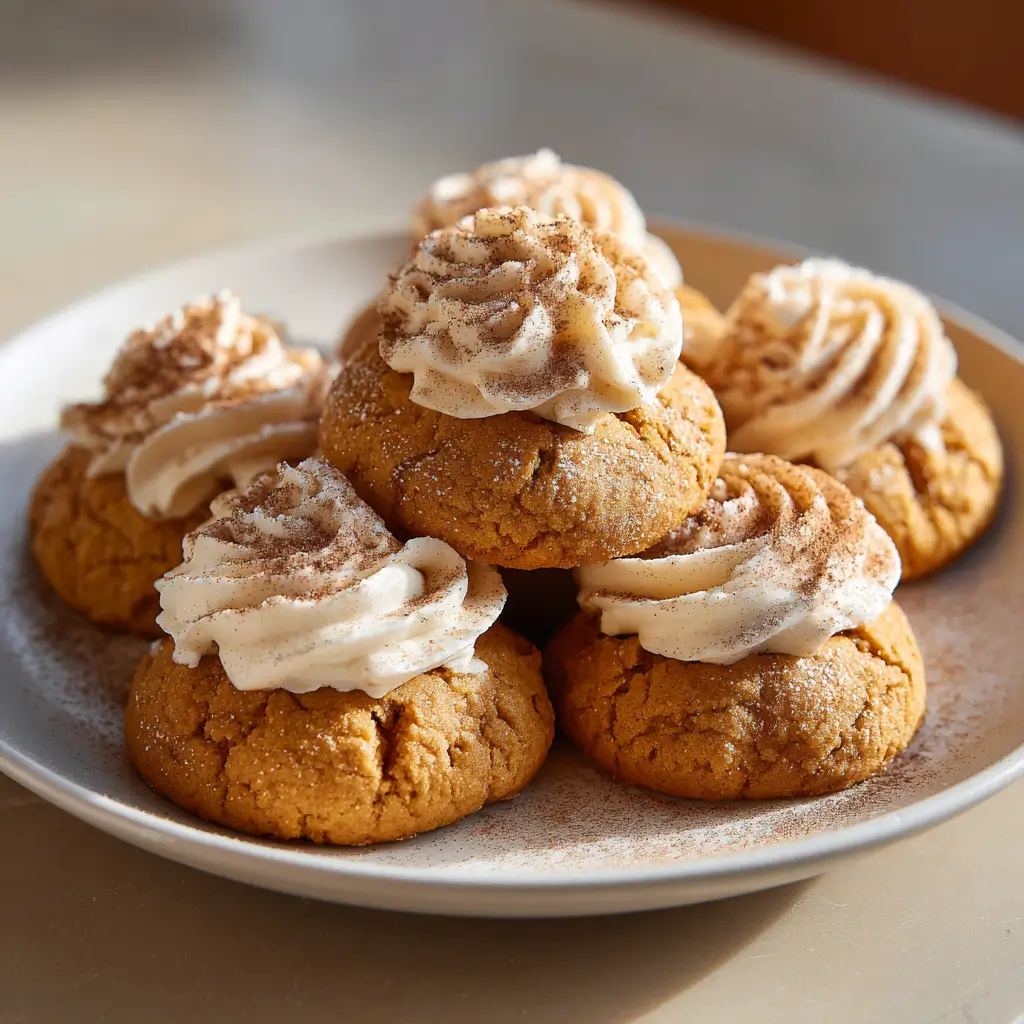
Have you ever wondered how to turn your favorite candy bar into a mouthwatering dessert? Butterfinger Balls are the answer! These delightful treats combine the crunchy, peanut-buttery goodness of Butterfinger bars with a creamy, chocolatey exterior that will leave you craving more. In fact, studies show that desserts that incorporate familiar candy flavors can increase satisfaction and enjoyment by over 30%. So, if you’re looking to impress friends and family or simply indulge in a sweet treat, this recipe is for you!
Ingredients List
To create these irresistible Butterfinger Balls, you’ll need the following ingredients:
- 1 cup crushed Butterfinger candy bars (about 4-5 bars)
- 1 cup creamy peanut butter
- 2 cups powdered sugar
- 2 cups semi-sweet chocolate chips
- 1 tablespoon coconut oil (optional, for smoother chocolate coating)
Substitutions:
- Nut Butter: Swap out peanut butter for almond or cashew butter for a different flavor profile.
- Chocolate Type: Use dark chocolate chips for a richer taste or white chocolate for a sweeter option.
- Sweeteners: For a healthier twist, you can use honey or agave syrup instead of powdered sugar, adjusting the quantity to taste.
Step-by-Step Instructions
Step 1: Prepare the Base
In a large mixing bowl, combine the crushed Butterfinger bars, creamy peanut butter, and powdered sugar. Mix until a thick, dough-like consistency forms. This step is crucial as it ensures the flavors meld beautifully.
Step 2: Form the Balls
Using your hands, roll the mixture into 1-inch balls and place them on a parchment-lined baking sheet. Make sure they are evenly sized for consistent coating and presentation.
Step 3: Chill the Balls
Refrigerate the formed balls for about 30 minutes. This helps them firm up, making the chocolate coating easier and neater.
Step 4: Melt the Chocolate
In a microwave-safe bowl, combine the semi-sweet chocolate chips and coconut oil (if using). Heat in 30-second intervals, stirring in between, until melted and smooth. This method prevents burning and ensures a glossy finish.
Step 5: Coat the Balls
Dip each chilled Butterfinger ball into the melted chocolate, ensuring they are fully coated. Use a fork to lift them out, allowing any excess chocolate to drip off before returning them to the baking sheet.
Step 6: Set the Coating
Let the chocolate-coated balls sit at room temperature or in the fridge until the chocolate hardens completely. This usually takes about 15-20 minutes.

Nutritional Information
Here’s a breakdown of the nutritional content per Butterfinger ball (based on 20 servings):
- Calories: 150
- Total Fat: 8g
- Saturated Fat: 3.5g
- Cholesterol: 0mg
- Sodium: 40mg
- Total Carbohydrates: 18g
- Dietary Fiber: 1g
- Sugars: 12g
- Protein: 3g
Healthier Alternatives for the Recipe
If you’re looking to make Butterfinger Balls a bit healthier without sacrificing flavor, consider these modifications:
- Lower Sugar: Use sugar-free chocolate and natural sweeteners like stevia or erythritol to reduce sugar content.
- Protein Boost: Add a scoop of protein powder to the peanut butter mixture to increase protein content.
- Nut-Free Version: Substitute peanut butter with sunflower seed butter for a nut-free option that still delivers on taste.
Serving Suggestions
Butterfinger Balls are versatile and can be enjoyed in various ways:
- As a Snack: Perfect for a quick energy boost during the day.
- Dessert Platter: Arrange them on a platter with other bite-sized treats for parties or gatherings.
- Gift Idea: Package them in a decorative box for a homemade gift that friends and family will love.
Common Mistakes to Avoid
When making Butterfinger Balls, keep these common pitfalls in mind:
- Overmixing the Dough: Mixing too much can make the balls tough. Mix just until combined.
- Not Chilling Enough: Skipping the chilling step can result in softer balls that are difficult to coat.
- Burning the Chocolate: Always melt chocolate in short intervals to prevent it from burning.
Storing Tips for the Recipe
To keep your Butterfinger Balls fresh and delicious, follow these storage tips:
- Refrigeration: Store in an airtight container in the refrigerator for up to two weeks.
- Freezing: For longer storage, freeze the balls in a single layer on a baking sheet, then transfer to a freezer-safe container. They can last up to three months.
Conclusion
Butterfinger Balls are a delightful treat that combines simplicity with indulgence. With just a few ingredients and minimal prep time, you can create a dessert that will impress everyone. Try this recipe today, and don’t forget to share your experiences in the comments below. Subscribe for more delicious recipes and updates!
FAQs
Can I use crunchy peanut butter?
Yes, crunchy peanut butter can add an extra texture to your Butterfinger Balls, enhancing the overall experience.
How do I make these vegan?
To make Butterfinger Balls vegan, use dairy-free chocolate chips and a plant-based sweetener.
Can I add other flavors?
Absolutely! Consider adding a dash of vanilla extract or a sprinkle of sea salt to elevate the flavor profile.
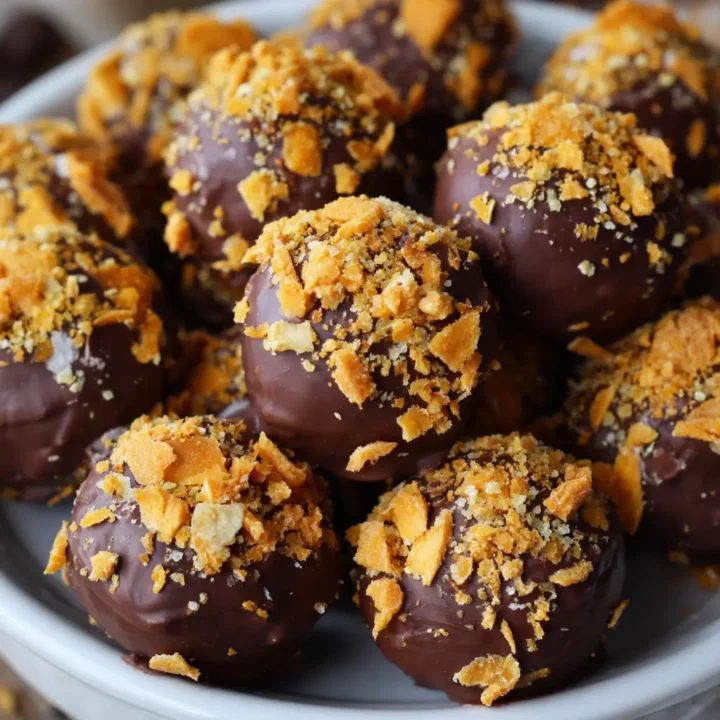
Delicious Butterfinger Balls
Ingredients
- 1 cup crushed Butterfinger candy bars
- 1 cup creamy peanut butter
- 2 cups powdered sugar
- 2 cups semi-sweet chocolate chips
- 1 tablespoon coconut oil (optional)
Instructions
- In a large bowl, mix crushed Butterfinger bars, peanut butter, and powdered sugar until well combined.
- Roll the mixture into 1-inch balls and place them on a parchment-lined baking sheet.
- Refrigerate for 30 minutes to firm up.
- Melt chocolate chips and coconut oil in a microwave-safe bowl, stirring until smooth.
- Dip each ball in the melted chocolate, allowing excess chocolate to drip off, then return to the baking sheet.
- Let the chocolate set at room temperature or refrigerate until hardened.