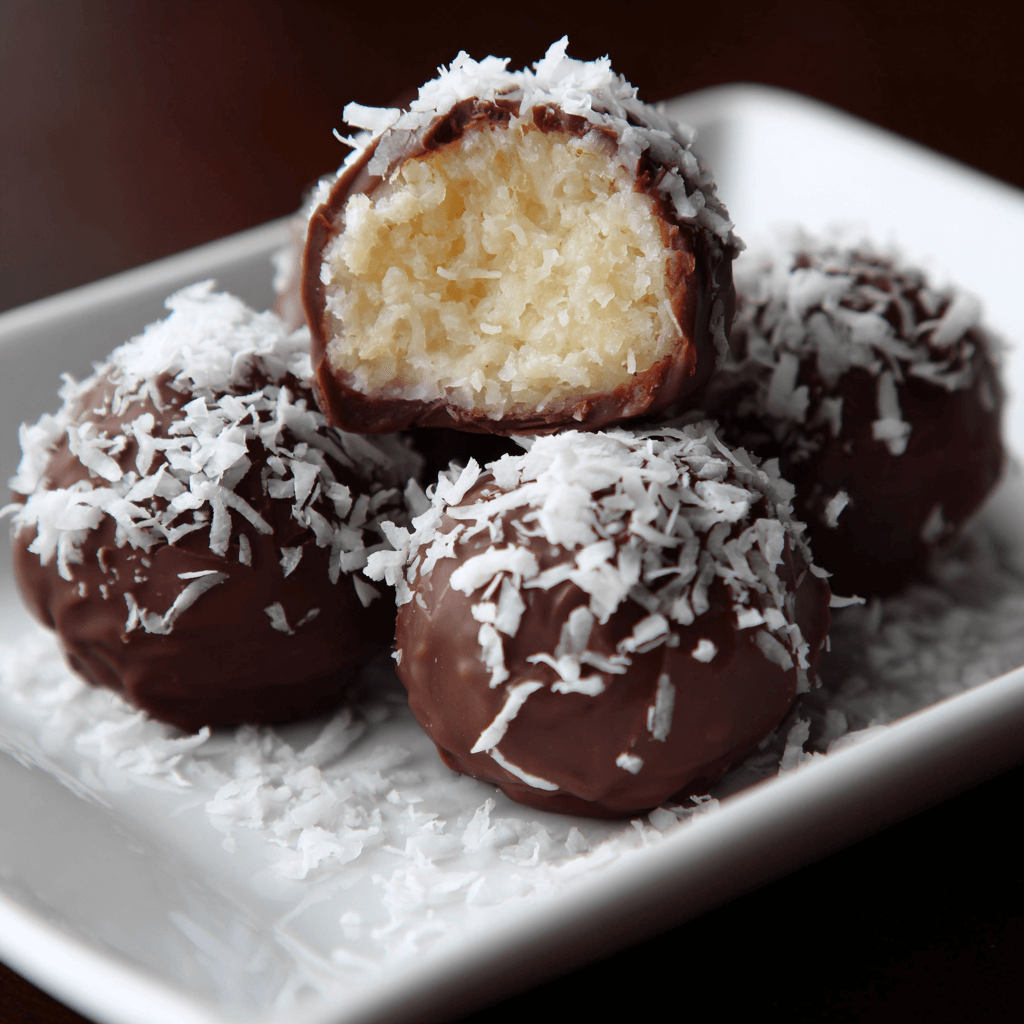
Chocolate Coconut Balls are a delicious and easy-to-make treat that combines rich chocolate with sweet coconut. These no-bake treats are perfect for parties, holiday gifting, or as a delightful snack any time of the year!
Ingredients
- 2 cups shredded coconut (unsweetened)
- 1 cup sweetened condensed milk
- 1 teaspoon vanilla extract
- 1/4 teaspoon salt
- 8 oz semisweet chocolate (chopped or chocolate chips)
- 1 tablespoon coconut oil (optional, for melting chocolate)
Timing
Making Chocolate Coconut Balls takes about 15 minutes for preparation and 30 minutes for chilling.
Instructions
Step 1: Prepare the Coconut Mixture
- Mix Ingredients: In a large bowl, combine the shredded coconut, sweetened condensed milk, vanilla extract, and salt. Mix until well combined.
Step 2: Shape the Balls
- Form Balls: Using your hands, take small portions of the coconut mixture and roll them into balls, about 1 inch in diameter. Place the balls on a parchment-lined baking sheet.
Step 3: Chill the Coconut Balls
- Chill: Place the baking sheet in the refrigerator for about 30 minutes to allow the coconut balls to firm up.
Step 4: Melt the Chocolate
- Melt Chocolate: In a heatproof bowl, melt the chopped chocolate and coconut oil (if using) over a double boiler or in the microwave in 30-second intervals, stirring until smooth.
Step 5: Coat the Coconut Balls
- Dip Balls: Once the coconut balls are firm, dip each ball into the melted chocolate, allowing any excess chocolate to drip off. Return the coated balls to the parchment-lined baking sheet.
Step 6: Set the Chocolate
- Cool: Place the baking sheet in the refrigerator for an additional 15-20 minutes to allow the chocolate to set.
Step 7: Serve
- Enjoy: Once the chocolate has hardened, serve the chocolate coconut balls as a sweet treat or store them in an airtight container in the refrigerator.
Nutritional Information
Here’s a quick overview of the nutritional content of Chocolate Coconut Balls (per ball, based on 24 servings):
| Nutrient | Amount per Serving |
|---|---|
| Calories | 130 |
| Protein | 1g |
| Fat | 8g |
| Carbohydrates | 14g |
| Fiber | 1g |
| Sugar | 10g |
Tips for Customization
- Add Nuts: Incorporate chopped nuts such as almonds or walnuts into the coconut mixture for added texture.
- Flavor Variations: Add a few drops of almond extract or orange zest to the mixture for a different flavor profile.
- Coating Options: Roll the coconut balls in crushed nuts, cocoa powder, or additional shredded coconut instead of chocolate for a different presentation.
Conclusion
Chocolate Coconut Balls are a simple yet indulgent treat that combines the flavors of chocolate and coconut in a delightful bite-sized form. Perfect for any occasion, these no-bake treats are sure to satisfy your sweet cravings. Enjoy this delightful recipe!
Chocolate Coconut Balls Recipe
Prep Time:
15 minutes
Cook Time:
30 minutes
Total Time:
45 minutes
No Ratings
Ingredients
- • 2 cups shredded coconut (unsweetened)
- • 1 cup sweetened condensed milk
- • 1 teaspoon vanilla extract
- • 1/4 teaspoon salt
- • 8 oz semisweet chocolate (chopped or chocolate chips)
- • 1 tablespoon coconut oil (optional, for melting chocolate)
Instructions
- In a large bowl, combine the shredded coconut, sweetened condensed milk, vanilla extract, and salt. Mix until well combined.
- Using your hands, take small portions of the coconut mixture and roll them into balls, about 1 inch in diameter. Place the balls on a parchment-lined baking sheet.
- Place the baking sheet in the refrigerator for about 30 minutes to allow the coconut balls to firm up.
- In a heatproof bowl, melt the chopped chocolate and coconut oil (if using) over a double boiler or in the microwave in 30-second intervals, stirring until smooth.
- Once the coconut balls are firm, dip each ball into the melted chocolate, allowing any excess chocolate to drip off. Return the coated balls to the parchment-lined baking sheet.
- Place the baking sheet in the refrigerator for an additional 15–20 minutes to allow the chocolate to set.
- Once the chocolate has hardened, serve the chocolate coconut balls as a sweet treat or store them in an airtight container in the refrigerator.