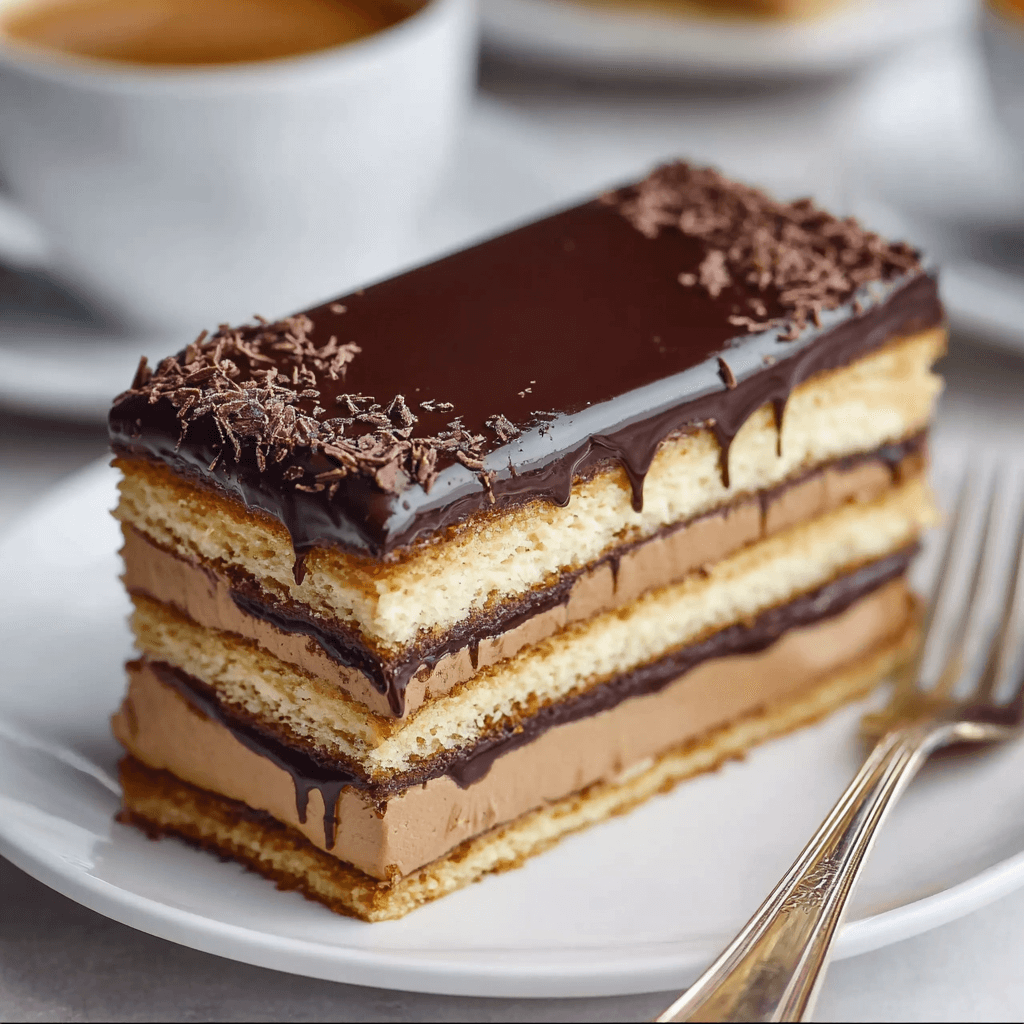
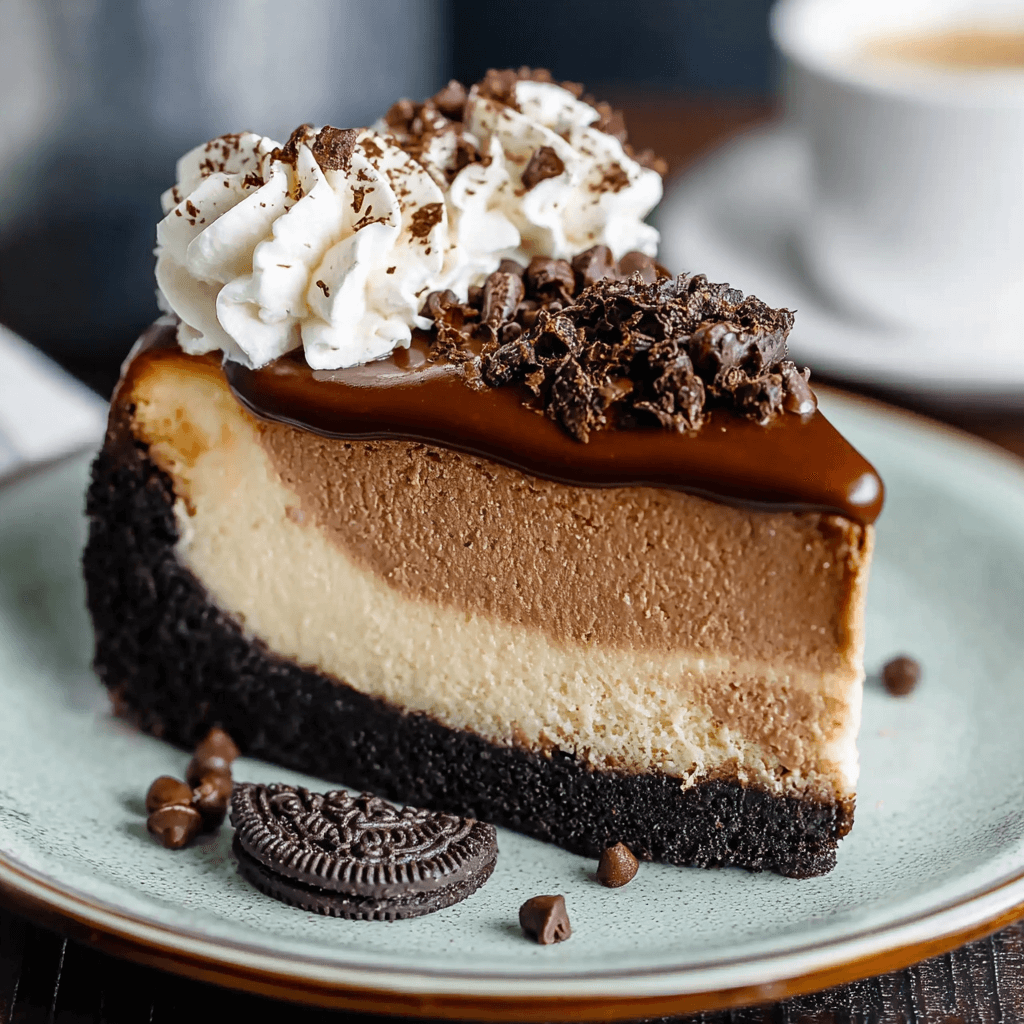
Chocolate Espresso Cheesecake is a rich and indulgent dessert that combines the flavors of creamy cheesecake, chocolate, and a hint of espresso. This decadent treat is perfect for special occasions or as a delightful finish to any meal.
Ingredients
For the Crust:
- 1 ½ cups chocolate cookie crumbs (such as Oreo or chocolate graham crackers)
- 1/4 cup granulated sugar
- 1/2 cup unsalted butter (melted)
For the Cheesecake Filling:
- 24 oz cream cheese (softened)
- 1 cup granulated sugar
- 3 large eggs
- 1 teaspoon vanilla extract
- 1/2 cup sour cream
- 1/2 cup unsweetened cocoa powder
- 2 tablespoons espresso powder (or strong coffee)
- 1 cup semi-sweet chocolate chips (melted)
For the Topping (Optional):
- Whipped cream (for garnish)
- Chocolate shavings or cocoa powder (for garnish)
Timing
Making the Chocolate Espresso Cheesecake takes about 20 minutes for preparation and 60-70 minutes for baking, plus chilling time.
Instructions
Step 1: Prepare the Crust
- Preheat Oven: Preheat your oven to 325°F (163°C).
- Mix Crust Ingredients: In a medium bowl, combine the chocolate cookie crumbs, granulated sugar, and melted butter. Mix until well combined.
- Form the Crust: Press the mixture firmly into the bottom of a 9-inch springform pan to form an even layer. Bake for 10 minutes, then remove from the oven and let cool.
Step 2: Make the Cheesecake Filling
- Beat Cream Cheese: In a large mixing bowl, beat the softened cream cheese with an electric mixer until smooth and creamy.
- Add Sugar and Eggs: Gradually add the granulated sugar, mixing until well combined. Add the eggs one at a time, mixing on low speed after each addition until just combined.
- Incorporate Remaining Ingredients: Add the vanilla extract, sour cream, cocoa powder, espresso powder, and melted chocolate chips. Mix until smooth and well combined.
Step 3: Bake the Cheesecake
- Pour Filling: Pour the cheesecake filling over the cooled crust in the springform pan.
- Bake: Bake in the preheated oven for 60-70 minutes, or until the edges are set and the center is slightly jiggly. The cheesecake will firm up as it cools.
- Cool: Turn off the oven and crack the oven door, allowing the cheesecake to cool gradually for about 1 hour. Remove from the oven and let it cool to room temperature.
Step 4: Chill
- Refrigerate: Once cooled, cover the cheesecake with plastic wrap and refrigerate for at least 4 hours, preferably overnight.
Step 5: Serve
- Garnish: Before serving, top with whipped cream and chocolate shavings or a dusting of cocoa powder if desired.
- Enjoy: Slice and enjoy your rich and creamy Chocolate Espresso Cheesecake!
Nutritional Information
Here’s a quick overview of the nutritional content of the Chocolate Espresso Cheesecake (per slice, based on 12 servings):
| Nutrient | Amount per Serving |
|---|---|
| Calories | 400 |
| Protein | 6g |
| Fat | 30g |
| Carbohydrates | 35g |
| Fiber | 2g |
| Sugar | 20g |
Tips for Customization
- Flavor Variations: Add a splash of coffee liqueur for an extra coffee flavor.
- Crust Alternatives: Use graham cracker crumbs or almond flour for a different flavor profile.
- Serving Options: Serve with fresh berries for a fruity contrast to the rich cheesecake.
Conclusion
Chocolate Espresso Cheesecake is a luxurious dessert that beautifully combines the flavors of chocolate and coffee, creating a delightful experience for any chocolate lover. This recipe is sure to impress at any gathering or special occasion. Enjoy this delightful recipe!
Chocolate Espresso Cheesecake Recipe
Ingredients
- For the Crust:
- • 1 ½ cups chocolate cookie crumbs (such as Oreo or chocolate graham crackers)
- • 1/4 cup granulated sugar
- • 1/2 cup unsalted butter (melted)
- For the Cheesecake Filling:
- • 24 oz cream cheese (softened)
- • 1 cup granulated sugar
- • 3 large eggs
- • 1 teaspoon vanilla extract
- • 1/2 cup sour cream
- • 1/2 cup unsweetened cocoa powder
- • 2 tablespoons espresso powder (or strong coffee)
- • 1 cup semi-sweet chocolate chips (melted)
- For the Topping (Optional):
- • Whipped cream (for garnish)
- • Chocolate shavings or cocoa powder (for garnish)
Instructions
- Preheat Oven: Preheat your oven to 325°F (163°C).
- Mix Crust Ingredients: In a medium bowl, combine the chocolate cookie crumbs, granulated sugar, and melted butter. Mix until well combined.
- Form the Crust: Press the mixture firmly into the bottom of a 9-inch springform pan to form an even layer. Bake for 10 minutes, then remove from the oven and let cool.
- Beat Cream Cheese: In a large mixing bowl, beat the softened cream cheese with an electric mixer until smooth and creamy.
- Add Sugar and Eggs: Gradually add the granulated sugar, mixing until well combined. Add the eggs one at a time, mixing on low speed after each addition until just combined.
- Incorporate Remaining Ingredients: Add the vanilla extract, sour cream, cocoa powder, espresso powder, and melted chocolate chips. Mix until smooth and well combined.
- Pour Filling: Pour the cheesecake filling over the cooled crust in the springform pan.
- Bake: Bake in the preheated oven for 60-70 minutes, or until the edges are set and the center is slightly jiggly. The cheesecake will firm up as it cools.
- Cool: Turn off the oven and crack the oven door, allowing the cheesecake to cool gradually for about 1 hour. Remove from the oven and let it cool to room temperature.
- Refrigerate: Once cooled, cover the cheesecake with plastic wrap and refrigerate for at least 4 hours, preferably overnight.
- Garnish: Before serving, top with whipped cream and chocolate shavings or a dusting of cocoa powder if desired.
- Enjoy: Slice and enjoy your rich and creamy Chocolate Espresso Cheesecake!
Step 1: Prepare the Crust
Step 2: Make the Cheesecake Filling
Step 3: Bake the Cheesecake
Step 4: Chill
Step 5: Serve