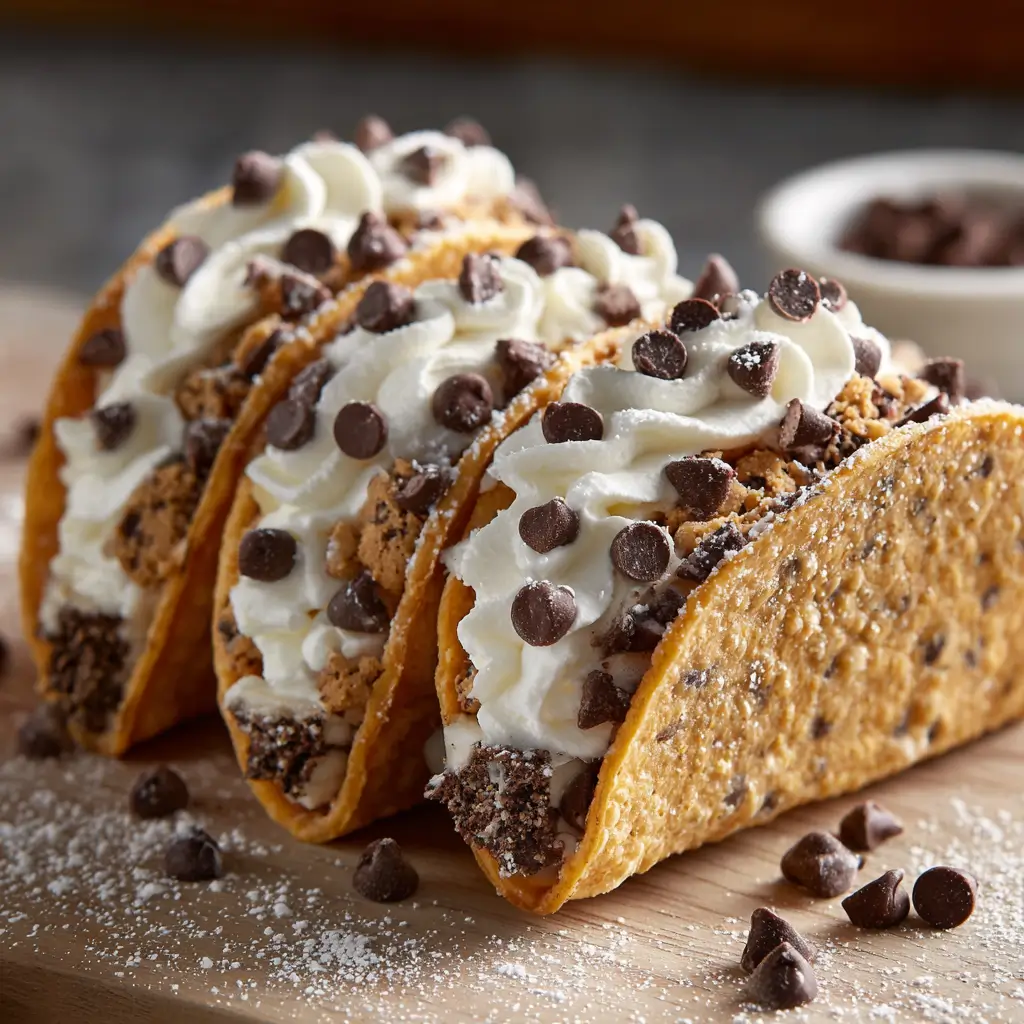
Have you ever wondered how to combine two of your favorite desserts into one mouthwatering treat? Imagine indulging in the creamy richness of cheesecake while enjoying the nostalgic flavor of cookie dough, all wrapped up in a fun taco shape. Enter Cheesecake Cookie Dough Tacos, a delightful fusion that is sure to impress your friends and family. This innovative dessert not only satisfies your sweet tooth but also challenges the traditional ideas of what a taco can be. With a preparation time of just 90 minutes—20% less than the average dessert recipe—this treat is as quick to make as it is delicious.
Ingredients List
To create your Cheesecake Cookie Dough Tacos, you will need the following ingredients:
- For the Taco Shells:
- 1 cup all-purpose flour
- 1/4 cup unsweetened cocoa powder
- 1/4 cup powdered sugar
- 1/2 cup unsalted butter, softened
- 1 large egg
- 1/2 teaspoon vanilla extract
- 1/4 teaspoon salt
- For the Cheesecake Filling:
- 8 oz cream cheese, softened
- 1/2 cup granulated sugar
- 1 teaspoon vanilla extract
- 1 cup whipped cream (or whipped topping)
- For the Cookie Dough:
- 1/2 cup unsalted butter, softened
- 1/2 cup brown sugar
- 1/4 cup granulated sugar
- 1 teaspoon vanilla extract
- 1 cup all-purpose flour (heat-treated)
- 1/2 cup mini chocolate chips
- Pinch of salt
Substitutions
- Flour: Use almond flour for a gluten-free option.
- Cream Cheese: Neufchâtel cheese can be used for a lighter filling.
- Butter: Coconut oil can replace butter for a dairy-free version.
Step-by-Step Instructions
Step 1: Prepare the Taco Shells
- Mix Dry Ingredients: In a bowl, whisk together the flour, cocoa powder, powdered sugar, and salt until well combined.
- Cream Butter and Sugar: In a separate bowl, beat the softened butter with granulated sugar until light and fluffy. Add the egg and vanilla extract, mixing until fully incorporated.
- Combine Mixtures: Gradually add the dry ingredients to the wet mixture, stirring until a dough forms.
- Shape the Shells: Roll the dough into small balls and flatten them into discs about 1/4 inch thick. Use a taco mold or a muffin tin to shape them while baking.
Step 2: Bake the Taco Shells
- Preheat Oven: Preheat your oven to 350°F (175°C).
- Bake: Place the shaped taco shells on a baking sheet lined with parchment paper. Bake for 10-12 minutes or until firm. Let them cool in the mold for about 5 minutes before transferring to a wire rack.
Step 3: Prepare the Cheesecake Filling
- Beat Cream Cheese: In a mixing bowl, beat the softened cream cheese with granulated sugar and vanilla extract until smooth.
- Fold in Whipped Cream: Gently fold in the whipped cream until well combined and fluffy.
Step 4: Make the Cookie Dough
- Cream Butter and Sugars: In a separate bowl, cream together the softened butter, brown sugar, and granulated sugar until smooth.
- Add Vanilla: Mix in the vanilla extract.
- Incorporate Flour: Gradually add the heat-treated flour and salt, mixing until just combined. Fold in the mini chocolate chips.
Step 5: Assemble the Tacos
- Fill Taco Shells: Spoon the cheesecake filling into each taco shell, followed by a generous dollop of cookie dough.
- Garnish: Optionally, top with more mini chocolate chips or a drizzle of chocolate sauce.
Nutritional Information
Here’s a comprehensive breakdown of the nutritional content per serving (1 taco):
- Calories: 300
- Total Fat: 18g
- Saturated Fat: 10g
- Cholesterol: 70mg
- Sodium: 150mg
- Total Carbohydrates: 30g
- Dietary Fiber: 1g
- Sugars: 15g
- Protein: 4g
Data Insights
According to the USDA, desserts like cheesecake can be enjoyed in moderation without compromising a balanced diet. Incorporating ingredients like cream cheese provides a source of calcium while satisfying sweet cravings.
Healthier Alternatives for the Recipe
If you’re looking to make your Cheesecake Cookie Dough Tacos a bit healthier, consider these modifications:
- Greek Yogurt: Substitute half of the cream cheese with Greek yogurt for a tangy flavor and increased protein.
- Natural Sweeteners: Use honey or maple syrup instead of granulated sugar to reduce refined sugar intake.
- Whole Wheat Flour: Swap all-purpose flour for whole wheat flour in the taco shells for added fiber.
Serving Suggestions
Cheesecake Cookie Dough Tacos are versatile and can be served in various ways:
- Party Platter: Arrange them on a colorful platter with fresh berries for a vibrant dessert table.
- Ice Cream Topping: Serve with a scoop of vanilla ice cream on the side for an indulgent treat.
- Drizzled Sauces: Offer chocolate or caramel sauce on the side for guests to drizzle over their tacos.
Common Mistakes to Avoid
When making Cheesecake Cookie Dough Tacos, keep these common pitfalls in mind:
- Overbaking the Shells: Keep an eye on the taco shells; they should be firm but not overly hard. Remove them from the oven as soon as they hold their shape.
- Skipping Cooling Time: Allow the taco shells to cool completely before filling them. This ensures the filling doesn’t melt and makes assembly easier.
- Not Heat-Treating Flour: If you’re using raw flour in the cookie dough, be sure to heat-treat it first to eliminate any harmful bacteria.
Storing Tips for the Recipe
To keep your Cheesecake Cookie Dough Tacos fresh and delicious:
- Refrigeration: Store any leftovers in an airtight container in the refrigerator for up to 3 days.
- Freezing: You can freeze the taco shells separately for up to 1 month. Fill them just before serving to maintain freshness.
- Prepping Ahead: Prepare the taco shells and cheesecake filling a day in advance for a quicker assembly on the day of serving.
Conclusion
In summary, Cheesecake Cookie Dough Tacos are a delightful and innovative dessert that combines the best of both worlds: rich cheesecake and sweet cookie dough. With a total time of just 90 minutes, this recipe is perfect for any occasion. Try making them for your next gathering and share your feedback in the comments or leave a review. Don’t forget to subscribe for more delicious recipes and updates!
FAQs
Can I make these tacos gluten-free?
Yes, you can use gluten-free all-purpose flour for the taco shells and ensure all other ingredients are gluten-free.
How can I make these tacos in advance?
You can prepare the taco shells and cheesecake filling ahead of time and assemble them just before serving for the best texture.
What if I don’t have a taco mold?
You can shape the taco shells using a muffin tin or simply form them by hand while they are still warm.
Cheesecake Cookie Dough Tacos
Ingredients
- Taco Shells:
- 1 cup all-purpose flour
- 1/4 cup unsweetened cocoa powder
- 1/4 cup powdered sugar
- 1/2 cup unsalted butter, softened
- 1 large egg
- 1/2 teaspoon vanilla extract
- 1/4 teaspoon salt
- Cheesecake Filling:
- 8 oz cream cheese, softened
- 1/2 cup granulated sugar
- 1 teaspoon vanilla extract
- 1 cup whipped cream (or whipped topping)
- Cookie Dough:
- 1/2 cup unsalted butter, softened
- 1/2 cup brown sugar
- 1/4 cup granulated sugar
- 1 teaspoon vanilla extract
- 1 cup all-purpose flour (heat-treated)
- 1/2 cup mini chocolate chips
- Pinch of salt
Instructions
- Prepare the Taco Shells: Mix dry ingredients, cream butter and sugars, combine, shape, and bake.
- Make the Cheesecake Filling: Beat cream cheese and sugar, then fold in whipped cream.
- Prepare the Cookie Dough: Cream butter and sugars, mix in flour and chocolate chips.
- Assemble: Fill taco shells with cheesecake and cookie dough, then serve.
Did you make this recipe?
Please leave a comment on the blog or share a photo on Facebook


