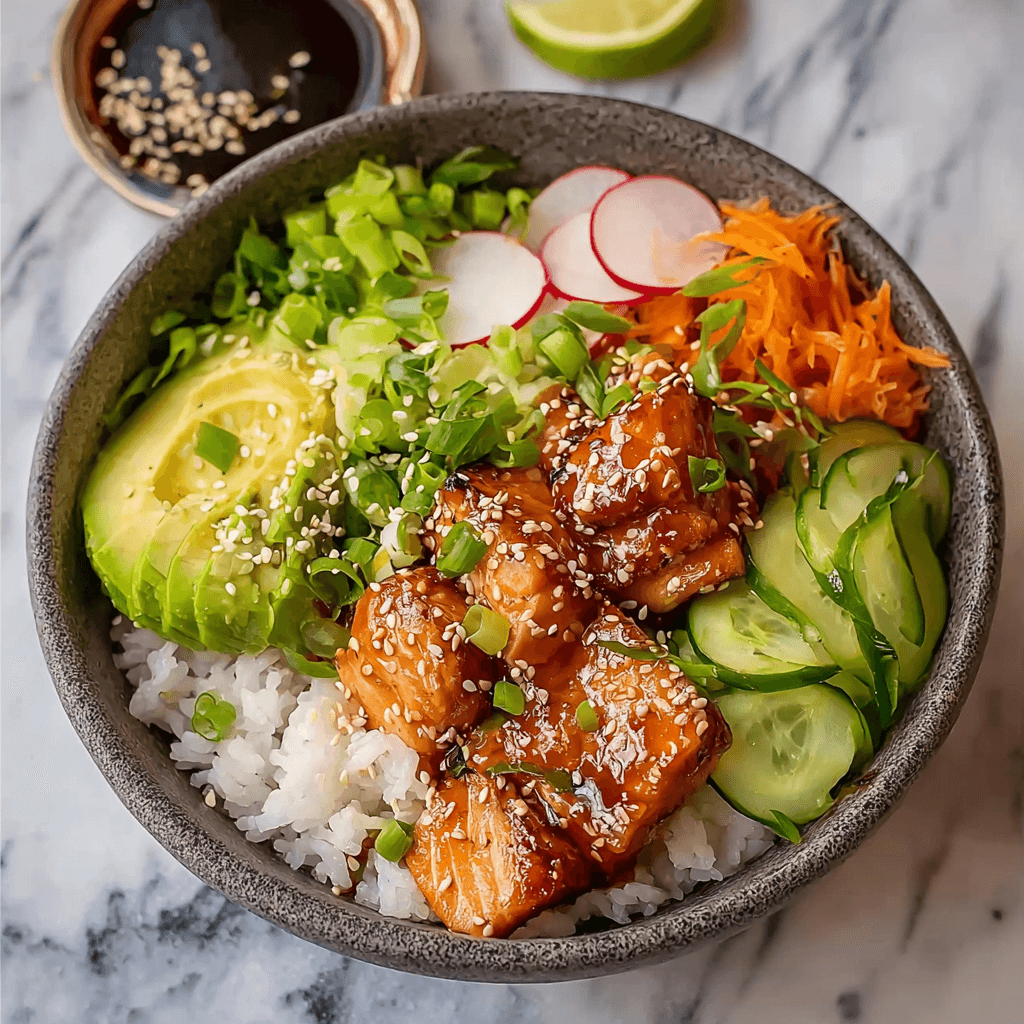
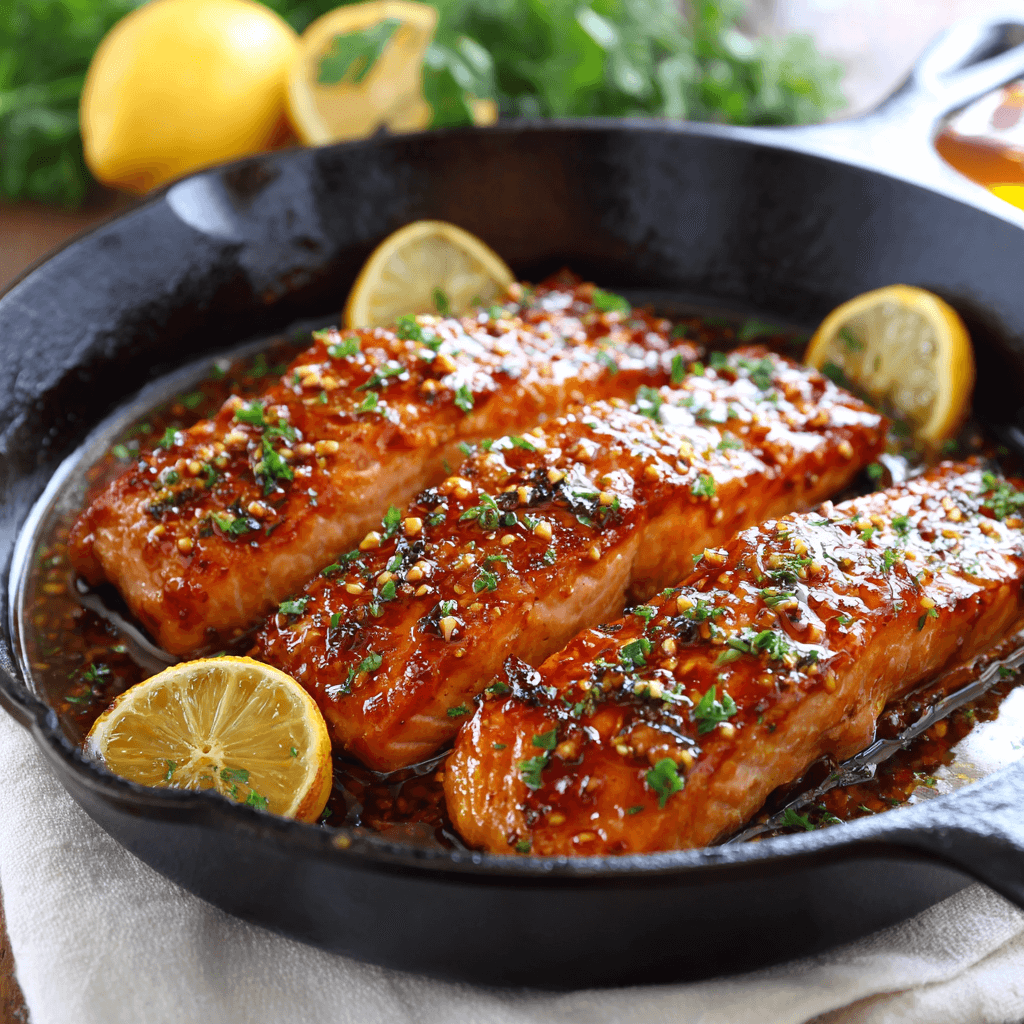
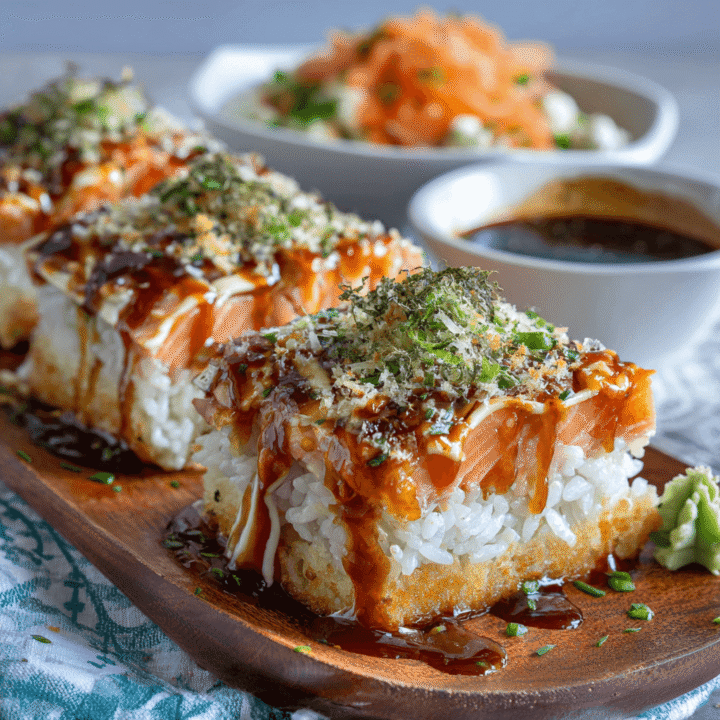
Easy Teriyaki Salmon Sushi Bake is a delicious and convenient way to enjoy sushi flavors without the need for rolling. This baked dish combines seasoned rice, flaky salmon, and a sweet teriyaki sauce, making it a perfect meal for gatherings or a cozy dinner at home.
Ingredients
For the Sushi Rice:
- 2 cups sushi rice
- 2 1/2 cups water
- 1/4 cup rice vinegar
- 2 tablespoons sugar
- 1 teaspoon salt
For the Salmon Filling:
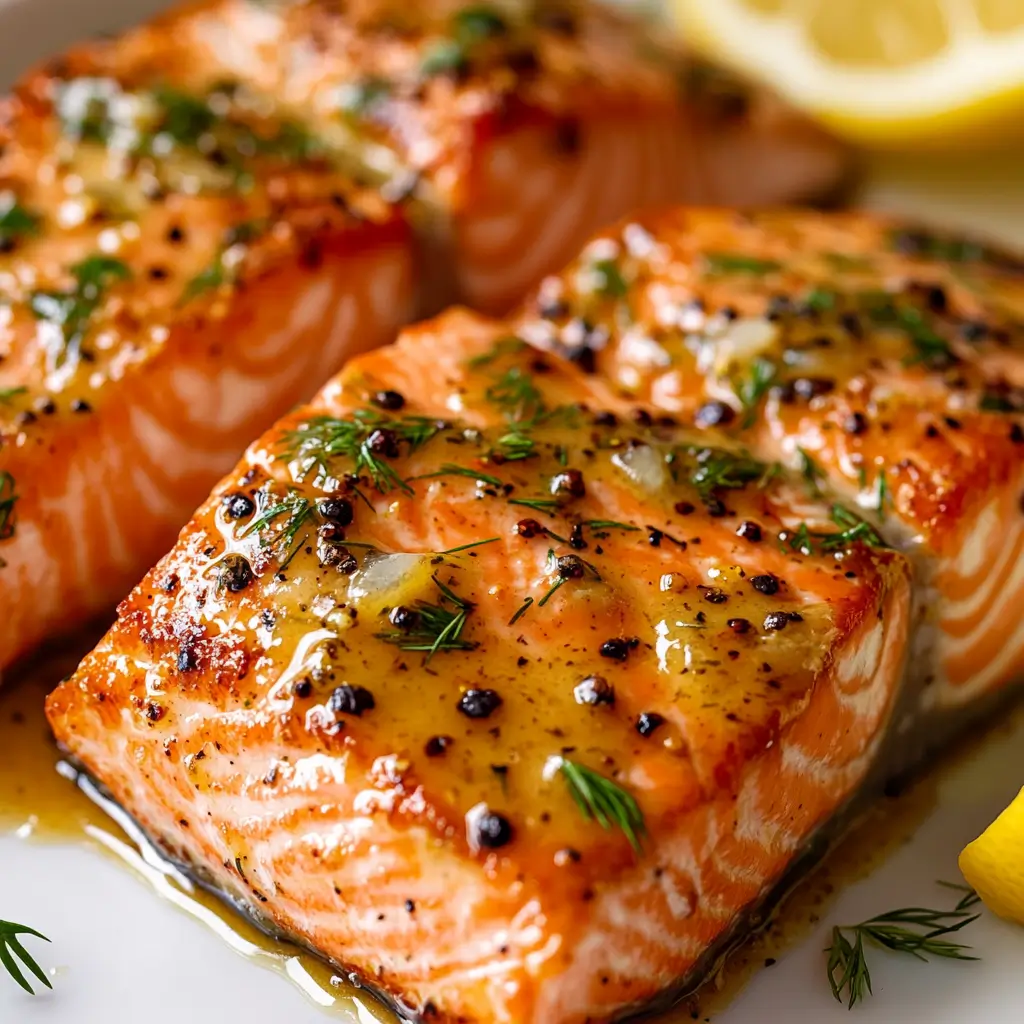
- 1 pound salmon fillets (skinless)
- 1/4 cup teriyaki sauce (store-bought or homemade)
- 1 tablespoon sesame oil
- 1 teaspoon garlic powder
- 1 teaspoon ginger, minced
- 1/4 teaspoon black pepper
- 1/4 cup green onions, sliced (for garnish)
For Topping:
- 1/2 cup mayonnaise (preferably Kewpie mayo)
- 1 tablespoon sriracha (optional, for spice)
- 1 tablespoon sesame seeds (for garnish)
- Nori sheets, cut into strips (for serving)
Timing
Making Easy Teriyaki Salmon Sushi Bake takes about 15 minutes for preparation and 25 minutes for baking.
Instructions
Step 1: Prepare the Sushi Rice
- Rinse Rice: Rinse the sushi rice under cold water until the water runs clear to remove excess starch.
- Cook Rice: In a rice cooker or pot, combine the rinsed rice and water. Cook according to the rice cooker instructions or bring to a boil, then reduce to low heat, cover, and simmer for about 18-20 minutes until the rice is tender.
- Season Rice: In a small bowl, mix rice vinegar, sugar, and salt until dissolved. Once the rice is cooked, transfer it to a large bowl and gently fold in the vinegar mixture. Allow the rice to cool slightly.
Step 2: Prepare the Salmon Filling
- Preheat Oven: Preheat your oven to 375°F (190°C).
- Mix Ingredients: In a medium bowl, combine the salmon, teriyaki sauce, sesame oil, garlic powder, ginger, and black pepper. Use a fork to flake the salmon into bite-sized pieces and mix until well combined.
Step 3: Assemble the Sushi Bake
- Layer Rice: In a greased 9×13-inch baking dish, evenly spread the seasoned sushi rice as the base layer.
- Add Salmon: Top the rice with the teriyaki salmon mixture, spreading it evenly over the rice.
- Mix Mayo and Sriracha: In a small bowl, mix the mayonnaise and sriracha (if using) until smooth. Spread this mixture over the salmon layer.
Step 4: Bake
- Bake: Place the baking dish in the preheated oven and bake for 20-25 minutes, or until the top is golden and bubbly.
- Garnish: Remove from the oven and sprinkle sesame seeds and sliced green onions on top.
Step 5: Serve
- Cool Slightly: Allow the sushi bake to cool for a few minutes before serving.
- Enjoy: Serve warm with nori strips for scooping or on its own. Enjoy your delicious teriyaki salmon sushi bake!

Nutritional Information
Here’s a quick overview of the nutritional content of Easy Teriyaki Salmon Sushi Bake (per serving, based on 6 servings):
| Nutrient | Amount per Serving |
|---|---|
| Calories | 350 |
| Protein | 25g |
| Fat | 15g |
| Carbohydrates | 35g |
| Fiber | 1g |
Tips for Customization
- Vegetable Additions: Add cooked vegetables like edamame, carrots, or bell peppers to the salmon mixture for extra nutrition.
- Spice Level: Adjust the amount of sriracha in the mayo to your preferred spice level.
- Alternative Proteins: Substitute salmon with cooked shrimp, crab, or tofu for a different flavor.
Storage Instructions
Store any leftover sushi bake in an airtight container in the refrigerator for up to 3 days. Reheat in the oven or microwave before serving.
Conclusion
Easy Teriyaki Salmon Sushi Bake is a fun and flavorful dish that brings the delicious tastes of sushi into a simple baked form. Perfect for sharing with family and friends, this recipe is sure to become a favorite!
FAQs
Can I use leftover salmon?
Yes, leftover cooked salmon works great in this recipe!
Is this dish gluten-free?
To make it gluten-free, ensure you use a gluten-free teriyaki sauce.
Easy Teriyaki Salmon Sushi Bake Recipe
Ingredients
- For the Sushi Rice:
- • 2 cups sushi rice
- • 2 1/2 cups water
- • 1/4 cup rice vinegar
- • 2 tablespoons sugar
- • 1 teaspoon salt
- For the Salmon Filling:
- • 1 pound salmon fillets (skinless)
- • 1/4 cup teriyaki sauce (store-bought or homemade)
- • 1 tablespoon sesame oil
- • 1 teaspoon garlic powder
- • 1 teaspoon ginger, minced
- • 1/4 teaspoon black pepper
- • 1/4 cup green onions, sliced (for garnish)
- For Topping:
- • 1/2 cup mayonnaise (preferably Kewpie mayo)
- • 1 tablespoon sriracha (optional, for spice)
- • 1 tablespoon sesame seeds (for garnish)
- • Nori sheets, cut into strips (for serving)
Instructions
Step 1: Prepare the Sushi Rice
- Rinse Rice: Rinse the sushi rice under cold water until the water runs clear to remove excess starch.
- Cook Rice: In a rice cooker or pot, combine the rinsed rice and water. Cook according to the rice cooker instructions or bring to a boil, then reduce to low heat, cover, and simmer for about 18-20 minutes until the rice is tender.
- Season Rice: In a small bowl, mix rice vinegar, sugar, and salt until dissolved. Once the rice is cooked, transfer it to a large bowl and gently fold in the vinegar mixture. Allow the rice to cool slightly.
Step 2: Prepare the Salmon Filling
- Preheat Oven: Preheat your oven to 375°F (190°C).
- Mix Ingredients: In a medium bowl, combine the salmon, teriyaki sauce, sesame oil, garlic powder, ginger, and black pepper. Use a fork to flake the salmon into bite-sized pieces and mix until well combined.
Step 3: Assemble the Sushi Bake
- Layer Rice: In a greased 9x13-inch baking dish, evenly spread the seasoned sushi rice as the base layer.
- Add Salmon: Top the rice with the teriyaki salmon mixture, spreading it evenly over the rice.
- Mix Mayo and Sriracha: In a small bowl, mix the mayonnaise and sriracha (if using) until smooth. Spread this mixture over the salmon layer.
Step 4: Bake
- Bake: Place the baking dish in the preheated oven and bake for 20-25 minutes, or until the top is golden and bubbly.
- Garnish: Remove from the oven and sprinkle sesame seeds and sliced green onions on top.
Step 5: Serve
- Cool Slightly: Allow the sushi bake to cool for a few minutes before serving.
- Enjoy: Serve warm with nori strips for scooping or on its own.