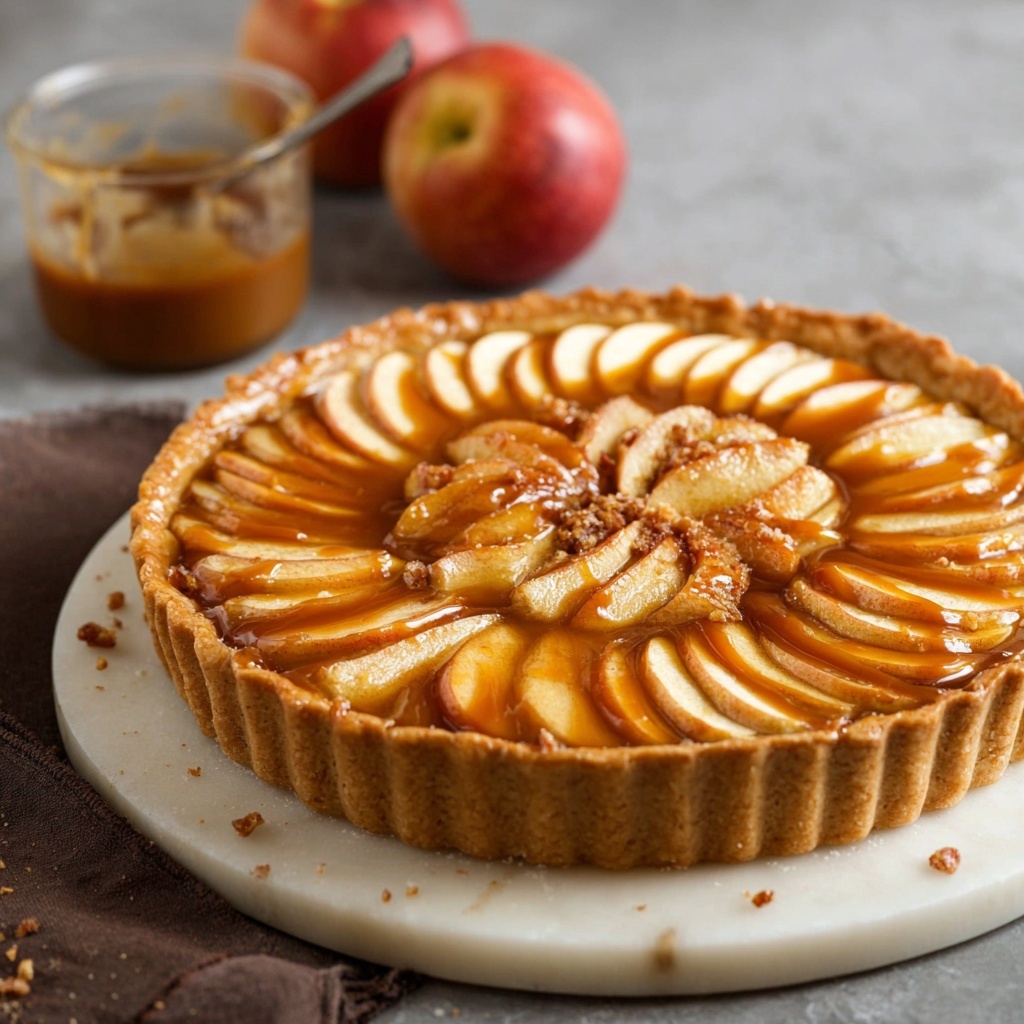
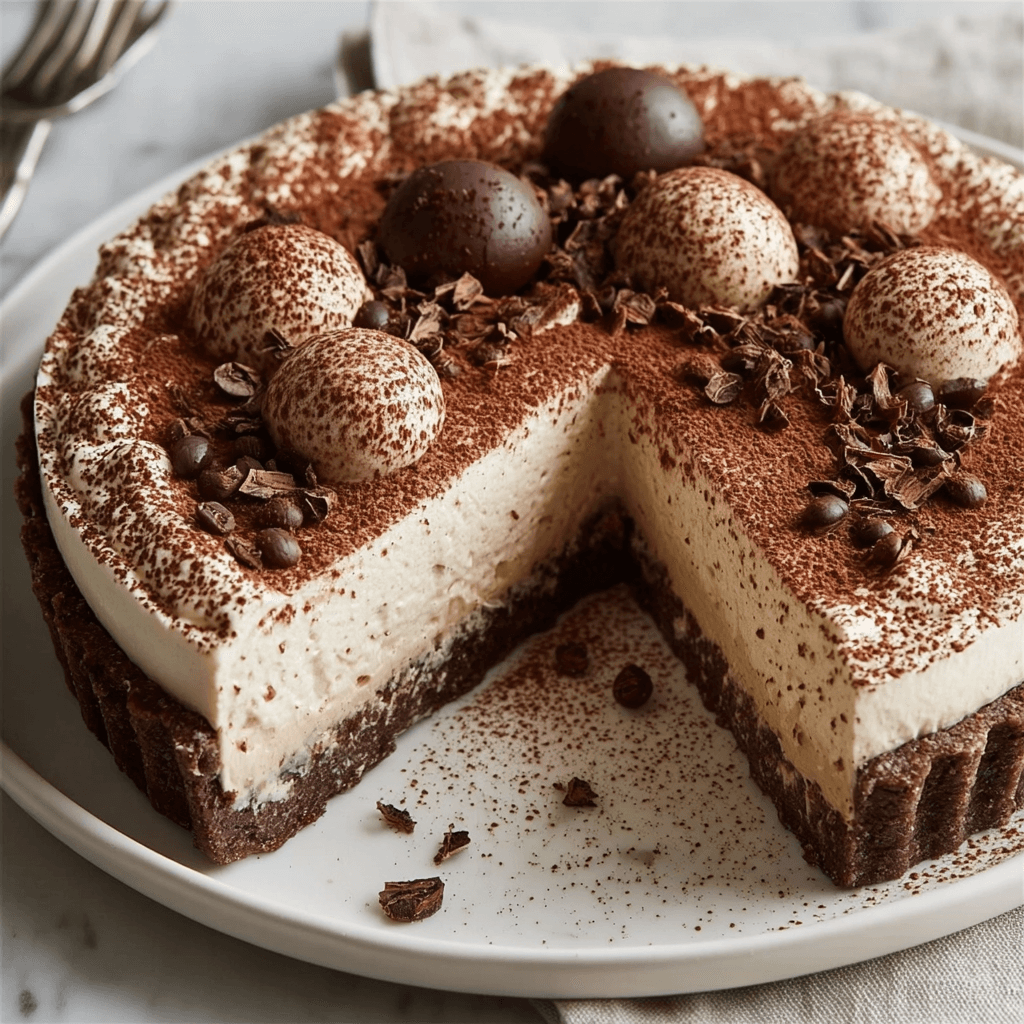
Espresso Mascarpone Tart is a decadent dessert that combines a rich espresso-flavored filling with creamy mascarpone cheese, all nestled in a buttery tart crust. This delightful tart is perfect for coffee lovers and is sure to impress at any gathering!
Ingredients
For the Tart Crust:
- 1 1/2 cups all-purpose flour
- 1/2 cup unsweetened cocoa powder
- 1/2 cup powdered sugar
- 1/2 teaspoon salt
- 1/2 cup unsalted butter (chilled and cubed)
- 1 large egg yolk
- 2-3 tablespoons cold water
For the Espresso Mascarpone Filling:
- 1 cup mascarpone cheese
- 1/2 cup heavy cream
- 1/2 cup powdered sugar
- 2 tablespoons espresso (cooled)
- 1 teaspoon vanilla extract
- 1 tablespoon coffee liqueur (optional)
For Garnish:
- Cocoa powder (for dusting)
- Chocolate shavings (optional)
- Coffee beans (for decoration, optional)
Timing
Making Espresso Mascarpone Tart takes about 30 minutes for preparation and 30 minutes for baking, plus additional time for cooling.
Instructions
Step 1: Prepare the Tart Crust
- Preheat Oven: Preheat your oven to 350°F (175°C).
- Mix Dry Ingredients: In a mixing bowl, combine the all-purpose flour, cocoa powder, powdered sugar, and salt.
- Cut in Butter: Add the chilled, cubed butter to the dry ingredients. Use a pastry cutter or your fingers to mix until the mixture resembles coarse crumbs.
- Add Egg Yolk: Stir in the egg yolk and add cold water, one tablespoon at a time, until the dough comes together.
- Form the Crust: Press the dough into a tart pan, evenly covering the bottom and sides. Prick the bottom with a fork to prevent bubbling.
- Bake: Bake in the preheated oven for 15-20 minutes or until set. Remove from the oven and let cool completely.
Step 2: Make the Espresso Mascarpone Filling
- Whip Cream: In a mixing bowl, whip the heavy cream until soft peaks form.
- Combine Ingredients: In another bowl, combine the mascarpone cheese, powdered sugar, espresso, vanilla extract, and coffee liqueur (if using). Mix until smooth and well combined.
- Fold in Whipped Cream: Gently fold the whipped cream into the mascarpone mixture until fully incorporated and smooth.
Step 3: Assemble the Tart
- Fill the Tart Shell: Once the tart crust is completely cool, pour the espresso mascarpone filling into the crust, smoothing the top with a spatula.
- Chill: Refrigerate the tart for at least 2 hours to allow it to set.
Step 4: Serve
- Garnish: Before serving, dust the top with cocoa powder and add chocolate shavings and coffee beans for decoration, if desired.
- Enjoy: Slice and serve your Espresso Mascarpone Tart chilled. Enjoy this indulgent dessert with a cup of coffee or espresso!
Nutritional Information
Here’s a quick overview of the nutritional content of Espresso Mascarpone Tart (per slice, based on 8 servings):
| Nutrient | Amount per Slice |
|---|---|
| Calories | 320 |
| Protein | 4g |
| Fat | 22g |
| Carbohydrates | 30g |
| Fiber | 1g |
| Sugar | 15g |
Tips for Customization
- Flavor Variations: Substitute espresso with other flavors like matcha or chocolate for a different taste.
- Nut Crust: Use ground nuts instead of flour for a gluten-free crust option.
- Add Toppings: Top the tart with fresh berries or a drizzle of caramel sauce for added flavor and decoration.
Conclusion
Espresso Mascarpone Tart is a rich and creamy dessert that beautifully combines the flavors of coffee and mascarpone cheese in a delicious tart shell. Perfect for any occasion, this dessert is sure to delight coffee enthusiasts and sweet lovers alike. Enjoy this delightful recipe!
Espresso Mascarpone Tart Recipe
Ingredients
- For the Tart Crust:
- • 1 1/2 cups all-purpose flour
- • 1/2 cup unsweetened cocoa powder
- • 1/2 cup powdered sugar
- • 1/2 teaspoon salt
- • 1/2 cup unsalted butter (chilled and cubed)
- • 1 large egg yolk
- • 2-3 tablespoons cold water
- For the Espresso Mascarpone Filling:
- • 1 cup mascarpone cheese
- • 1/2 cup heavy cream
- • 1/2 cup powdered sugar
- • 2 tablespoons espresso (cooled)
- • 1 teaspoon vanilla extract
- • 1 tablespoon coffee liqueur (optional)
- For Garnish:
- • Cocoa powder (for dusting)
- • Chocolate shavings (optional)
- • Coffee beans (for decoration, optional)
Instructions
- Preheat Oven: Preheat your oven to 350°F (175°C).
- Mix Dry Ingredients: In a mixing bowl, combine the all-purpose flour, cocoa powder, powdered sugar, and salt.
- Cut in Butter: Add the chilled, cubed butter to the dry ingredients. Use a pastry cutter or your fingers to mix until the mixture resembles coarse crumbs.
- Add Egg Yolk: Stir in the egg yolk and add cold water, one tablespoon at a time, until the dough comes together.
- Form the Crust: Press the dough into a tart pan, evenly covering the bottom and sides. Prick the bottom with a fork to prevent bubbling.
- Bake: Bake in the preheated oven for 15-20 minutes or until set. Remove from the oven and let cool completely.
- Whip Cream: In a mixing bowl, whip the heavy cream until soft peaks form.
- Combine Ingredients: In another bowl, combine the mascarpone cheese, powdered sugar, espresso, vanilla extract, and coffee liqueur (if using). Mix until smooth and well combined.
- Fold in Whipped Cream: Gently fold the whipped cream into the mascarpone mixture until fully incorporated and smooth.
- Fill the Tart Shell: Once the tart crust is completely cool, pour the espresso mascarpone filling into the crust, smoothing the top with a spatula.
- Chill: Refrigerate the tart for at least 2 hours to allow it to set.
- Garnish: Before serving, dust the top with cocoa powder and add chocolate shavings and coffee beans for decoration, if desired.
- Enjoy: Slice and serve your Espresso Mascarpone Tart chilled. Enjoy this indulgent dessert with a cup of coffee or espresso!
Step 1: Prepare the Tart Crust
Step 2: Make the Espresso Mascarpone Filling
Step 3: Assemble the Tart
Step 4: Serve