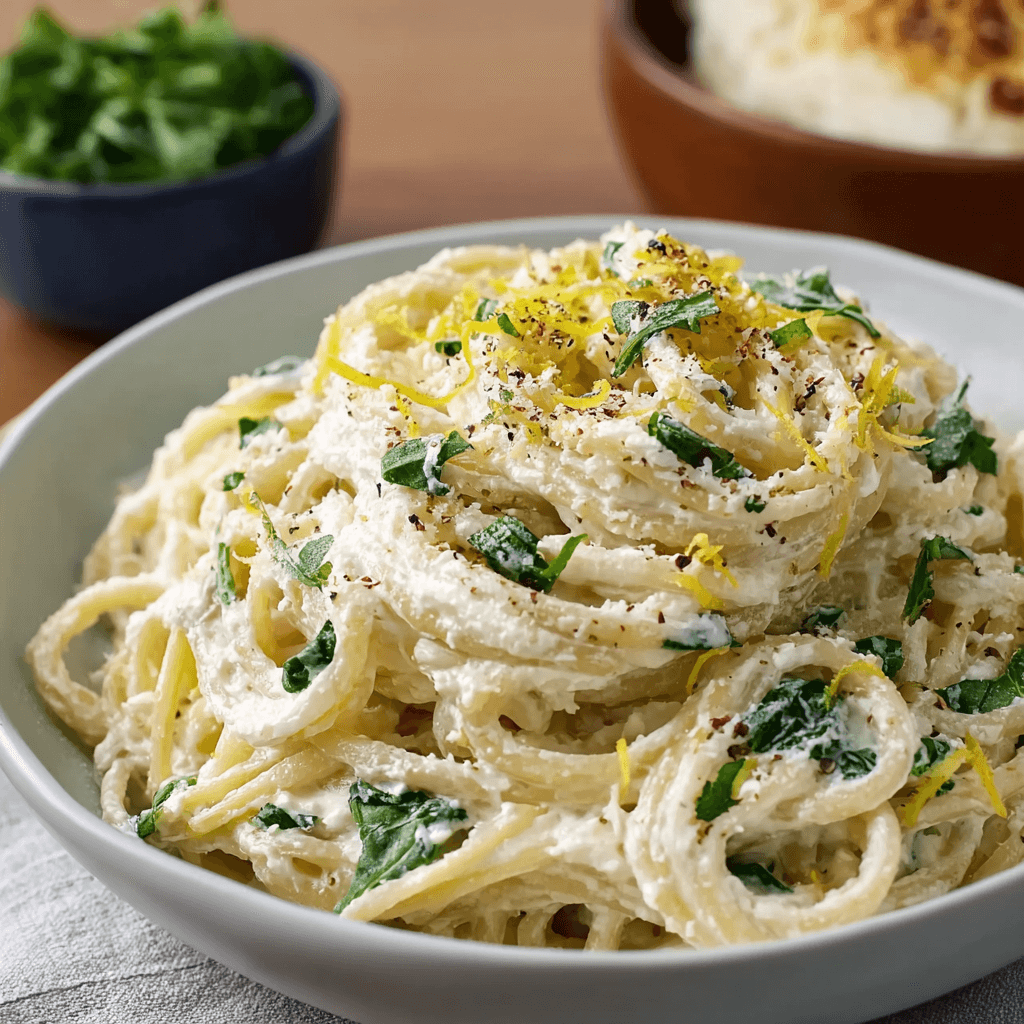
Lemon Ricotta Pasta is a light and refreshing dish that combines creamy ricotta cheese with the bright flavors of lemon. This easy-to-make pasta dish is perfect for a quick weeknight dinner or a delightful lunch.
Ingredients
- 12 oz pasta (spaghetti, fettuccine, or your choice)
- 1 cup ricotta cheese
- 1/2 cup grated Parmesan cheese (plus more for serving)
- Zest and juice of 1 lemon
- 2 tablespoons olive oil
- 2 cloves garlic (minced)
- Salt and pepper (to taste)
- Fresh basil or parsley (for garnish, optional)
Timing
Making Lemon Ricotta Pasta takes about 10 minutes for preparation and 15 minutes for cooking.
Instructions
Step 1: Cook the Pasta
- Boil Water: In a large pot, bring salted water to a boil.
- Cook Pasta: Add the pasta and cook according to package instructions until al dente. Reserve 1/2 cup of pasta water, then drain the pasta.
Step 2: Prepare the Sauce
- Sauté Garlic: In a large skillet, heat the olive oil over medium heat. Add the minced garlic and sauté for about 1-2 minutes until fragrant, being careful not to burn it.
- Combine Ingredients: In a bowl, combine the ricotta cheese, grated Parmesan cheese, lemon zest, lemon juice, salt, and pepper. Mix until smooth.
- Add Pasta Water: If the ricotta mixture is too thick, gradually add some reserved pasta water to reach your desired consistency.
Step 3: Combine Pasta and Sauce
- Mix Together: Add the drained pasta to the skillet with the sautéed garlic. Pour the ricotta mixture over the pasta and toss to combine, ensuring the pasta is well coated.
Step 4: Serve
- Garnish and Enjoy: Serve the lemon ricotta pasta hot, garnished with additional Parmesan cheese and fresh basil or parsley if desired. Enjoy your delicious pasta dish!
Nutritional Information
Here’s a quick overview of the nutritional content of Lemon Ricotta Pasta (per serving, based on 4 servings):
| Nutrient | Amount per Serving |
|---|---|
| Calories | 400 |
| Protein | 15g |
| Fat | 20g |
| Carbohydrates | 45g |
| Fiber | 2g |
| Sugar | 2g |
Tips for Customization
- Add Vegetables: Incorporate spinach, peas, or cherry tomatoes for added color and nutrition.
- Protein Options: Add grilled chicken, shrimp, or bacon for extra protein.
- Spice It Up: Add red pepper flakes for a bit of heat if desired.
Conclusion
Lemon Ricotta Pasta is a simple yet flavorful dish that highlights the freshness of lemon and the creaminess of ricotta. Perfect for any occasion, this pasta is sure to become a favorite. Enjoy this delightful recipe!
Lemon Ricotta Pasta Recipe
Prep Time:
10 minutes
Cook Time:
20 minutes
Total Time:
30 minutes
Ingredients
- • 12 oz pasta (spaghetti, fettuccine, or your choice)
- • 1 cup ricotta cheese
- • 1/2 cup grated Parmesan cheese (plus more for serving)
- • Zest and juice of 1 lemon
- • 2 tablespoons olive oil
- • 2 cloves garlic (minced)
- • Salt and pepper (to taste)
- • Fresh basil or parsley (for garnish, optional)
Instructions
- Boil Water: In a large pot, bring salted water to a boil.
- Cook Pasta: Add the pasta and cook according to package instructions until al dente. Reserve 1/2 cup of pasta water, then drain the pasta.
- Sauté Garlic: In a large skillet, heat the olive oil over medium heat. Add the minced garlic and sauté for about 1-2 minutes until fragrant, being careful not to burn it.
- Combine Ingredients: In a bowl, combine the ricotta cheese, grated Parmesan cheese, lemon zest, lemon juice, salt, and pepper. Mix until smooth.
- Add Pasta Water: If the ricotta mixture is too thick, gradually add some reserved pasta water to reach your desired consistency.
- Mix Together: Add the drained pasta to the skillet with the sautéed garlic. Pour the ricotta mixture over the pasta and toss to combine, ensuring the pasta is well coated.
- Garnish and Enjoy: Serve the lemon ricotta pasta hot, garnished with additional Parmesan cheese and fresh basil or parsley if desired. Enjoy your delicious pasta dish!
Step 1: Cook the Pasta
Step 2: Prepare the Sauce
Step 3: Combine Pasta and Sauce
Step 4: Serve