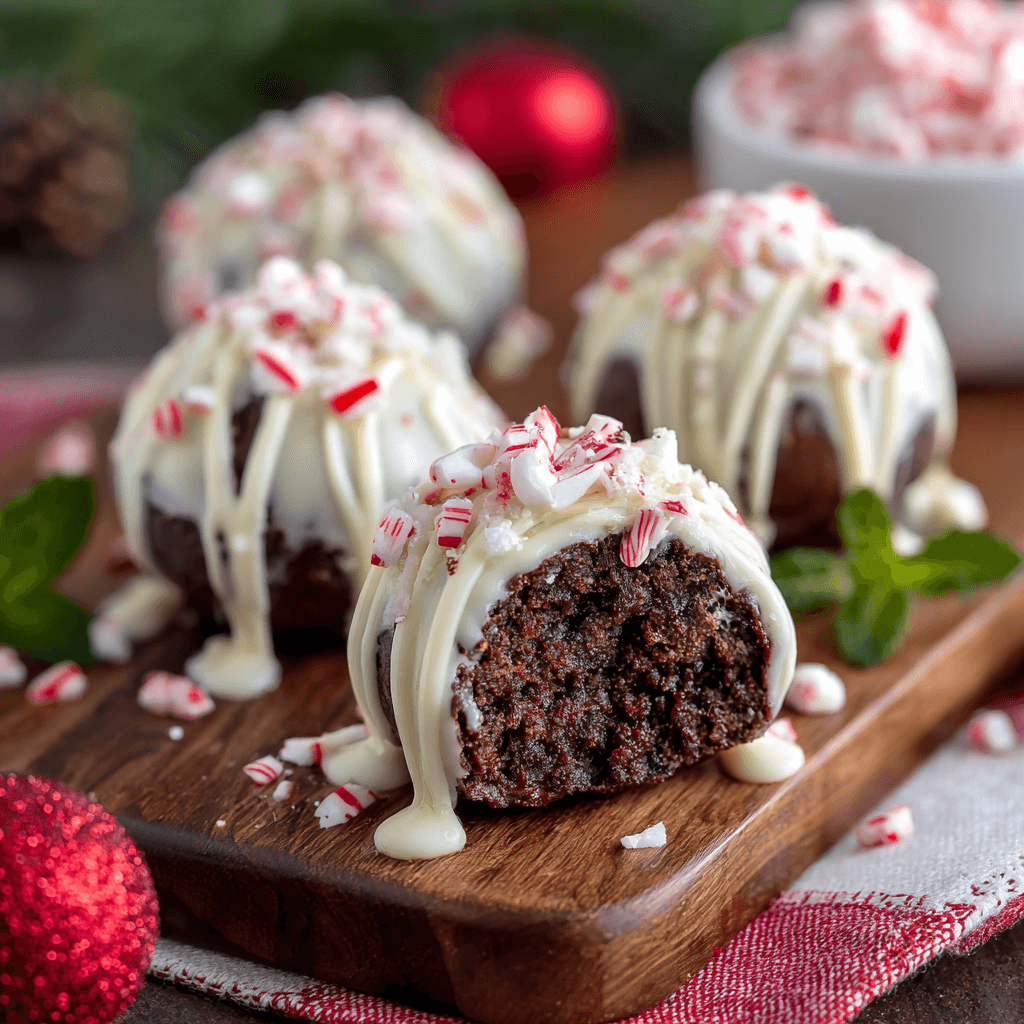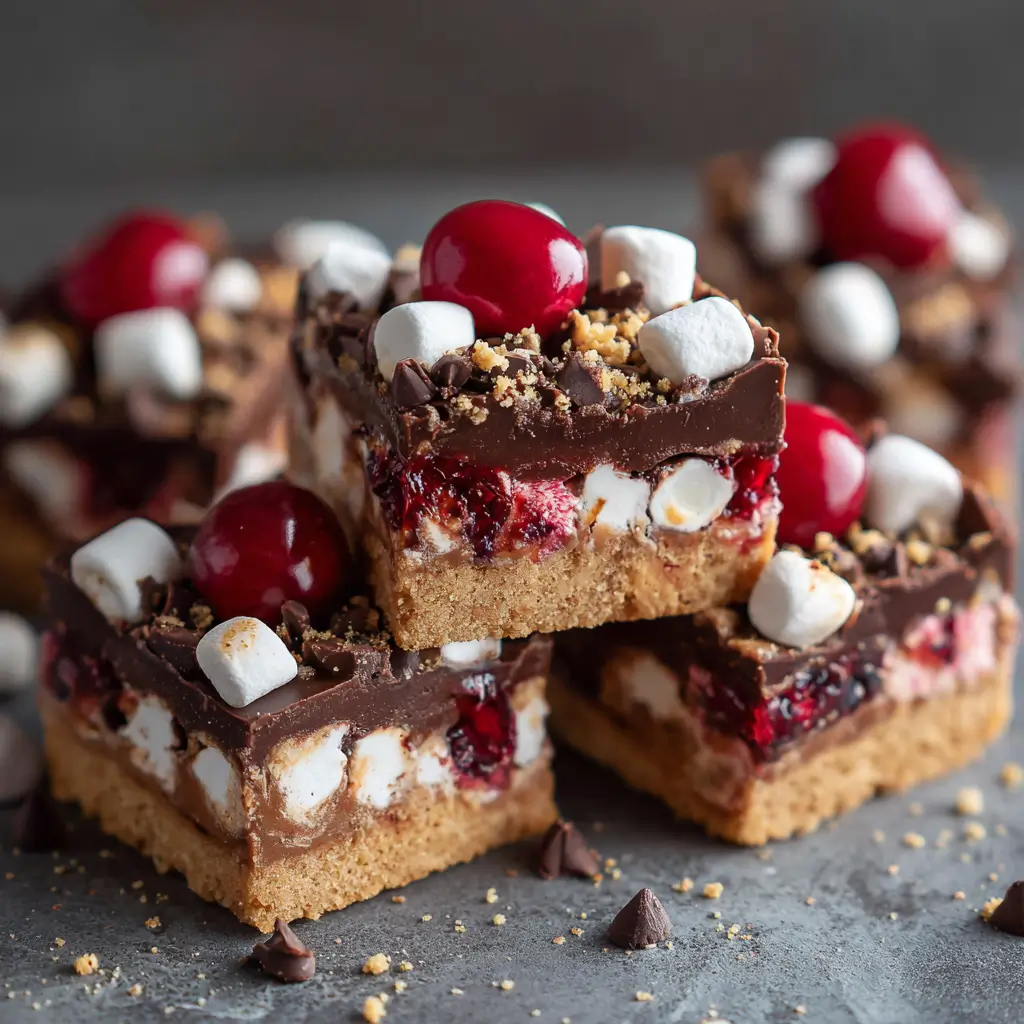
Cherry Marshmallow Fudge Bars are a delightful treat that combines the rich, creamy texture of fudge with the sweetness of cherries and the fluffy texture of marshmallows. These bars are perfect for parties, holidays, or as a sweet snack anytime. The vibrant color and flavor make them visually appealing and delicious! Let’s dive into this easy and delightful recipe.
Ingredients List
To prepare Cherry Marshmallow Fudge Bars, gather the following ingredients:
Main Ingredients:
- 2 cups semi-sweet chocolate chips
- 1 can (14 oz) sweetened condensed milk
- 1/4 cup unsalted butter
- 1 teaspoon vanilla extract
- 2 cups mini marshmallows
- 1 cup maraschino cherries (drained and chopped)
- 1/2 cup chopped nuts (optional, such as walnuts or pecans)
Optional Toppings:
- Chocolate shavings
- Chopped cherries
- Whipped cream for serving
Step-by-Step Instructions
Step 1: Prepare the Baking Dish
- Line the Pan: Line an 8×8-inch baking dish with parchment paper, allowing some overhang for easy removal later. Lightly grease the parchment paper with cooking spray.
Step 2: Melt the Fudge Base
- Combine Ingredients: In a medium saucepan over low heat, combine the chocolate chips, sweetened condensed milk, and butter.
- Melt the Mixture: Stir continuously until the chocolate chips are melted and the mixture is smooth. Remove from heat and stir in the vanilla extract.
Step 3: Add Cherries and Marshmallows
- Fold in Marshmallows and Cherries: Gently fold in the mini marshmallows, chopped cherries, and chopped nuts (if using) until evenly distributed.
Step 4: Pour into Pan
- Spread the Mixture: Pour the fudge mixture into the prepared baking dish. Use a spatula to spread it evenly and smooth the top.
Step 5: Chill the Fudge
- Refrigerate: Cover the baking dish with plastic wrap and refrigerate for at least 2 hours or until the fudge is set.
Step 6: Cut and Serve
- Cut into Bars: Once set, lift the fudge out of the baking dish using the parchment overhang. Cut into squares or bars.
- Serve: Serve chilled or at room temperature. Top with chocolate shavings or whipped cream if desired.

Nutritional Information
Here’s a breakdown of the nutritional information per bar (based on 16 bars):
| Nutrient | Amount per Bar |
|---|---|
| Calories | 180 |
| Total Fat | 9g |
| Saturated Fat | 5g |
| Cholesterol | 15mg |
| Sodium | 60mg |
| Total Carbohydrates | 24g |
| Dietary Fiber | 1g |
| Sugars | 18g |
| Protein | 2g |
Healthier Alternatives for the Recipe
If you’re looking to make your Cherry Marshmallow Fudge Bars a bit healthier, consider these modifications:
- Use Dark Chocolate: Substitute semi-sweet chocolate chips with dark chocolate chips for a richer flavor and less sugar.
- Reduce Sugar: Use sugar-free sweetened condensed milk or reduce the amount of chocolate chips slightly.
- Add More Fruit: Incorporate dried cherries or other fruits for added nutrition.
Serving Suggestions
These Cherry Marshmallow Fudge Bars are versatile and can be served in various delightful ways:
- Dessert Table: Include them on a dessert table alongside other sweets and treats.
- Ice Cream Topping: Crumble the fudge bars over vanilla ice cream for a delicious sundae.
- Gift Giving: Package them in decorative boxes for a sweet homemade gift.
Common Mistakes to Avoid
To ensure your Cherry Marshmallow Fudge Bars turn out perfectly, avoid these common pitfalls:
- Not Stirring Enough: Make sure to stir continuously while melting to prevent burning.
- Overheating the Mixture: Keep the heat low to avoid scorching the chocolate.
- Skipping Chilling Time: Allow enough time for the fudge to chill and set properly.
Storing Tips for the Recipe
To keep your Cherry Marshmallow Fudge Bars fresh:
- Airtight Container: Store in an airtight container in the refrigerator for up to 2 weeks.
- Freezing: For longer storage, you can freeze the fudge bars for up to 3 months. Just wrap them tightly in plastic wrap and foil.
Conclusion
In summary, Cherry Marshmallow Fudge Bars are a fun and delicious treat that’s perfect for any occasion. With their creamy texture and sweet cherry flavor, these bars are sure to satisfy your sweet cravings. Try this recipe today, and don’t forget to share your feedback in the comments or subscribe for more delicious updates!
FAQs
Q1: Can I use fresh cherries instead of maraschino cherries?
A1: Yes, you can use fresh cherries, but make sure to pit and chop them before adding.
Q2: What can I use instead of sweetened condensed milk?
A2: You can make a homemade version using milk and sugar, or use evaporated milk with added sugar.
Q3: Are these fudge bars gluten-free?
A3: Yes, as long as you use gluten-free chocolate chips, this recipe is gluten-free.

Cherry Marshmallow Fudge Bars Recipe
Ingredients
- Main Ingredients:
- 2 cups semi-sweet chocolate chips
- 1 can (14 oz) sweetened condensed milk
- 1/4 cup unsalted butter
- 1 teaspoon vanilla extract
- 2 cups mini marshmallows
- 1 cup maraschino cherries (drained and chopped)
- 1/2 cup chopped nuts (optional, such as walnuts or pecans)
- Optional Toppings:
- Chocolate shavings
- Chopped cherries
- Whipped cream for serving
Instructions
Step 1: Prepare the Baking Dish
- Line the Pan: Line an 8x8-inch baking dish with parchment paper, allowing some overhang for easy removal later. Lightly grease the parchment paper with cooking spray or butter.
Step 2: Cook the Toffee Mixture
- Melt the Butter: In a medium saucepan, melt the butter over medium heat.
- Add Sugar and Corn Syrup: Once the butter is melted, add the granulated sugar, corn syrup, and salt. Stir continuously until the mixture comes to a boil.
- Cook the Mixture: Continue to cook the mixture while stirring constantly until it reaches a deep golden color, about 15 minutes. Use a candy thermometer to check for a temperature of 300°F (hard crack stage).
Step 3: Add Vanilla and Pour into Pan
- Remove from Heat: Once the toffee reaches the desired temperature, remove it from the heat and stir in the vanilla extract.
- Pour into Prepared Dish: Immediately pour the hot toffee mixture into the prepared baking dish, spreading it evenly.
Step 4: Add Chocolate and Nuts
- Sprinkle Chocolate Chips: While the toffee is still hot, sprinkle the chocolate chips evenly over the surface. Let them sit for a minute to soften.
- Spread the Chocolate: Using a spatula, gently spread the melted chocolate over the toffee. If desired, sprinkle the chopped nuts on top of the chocolate and press them in lightly.
Step 5: Cool and Break Into Pieces
- Cool Completely: Allow the toffee to cool at room temperature until it is set, about 1-2 hours. You can also refrigerate it to speed up the cooling process.
- Break Into Pieces: Once cooled and set, use the parchment overhang to lift the toffee out of the baking dish. Break it into pieces of your desired size.
Step 6: Serve and Enjoy
- Store: Store the toffee in an airtight container at room temperature for up to 2 weeks.
- Serve: Enjoy your homemade melt-in-your-mouth toffee!