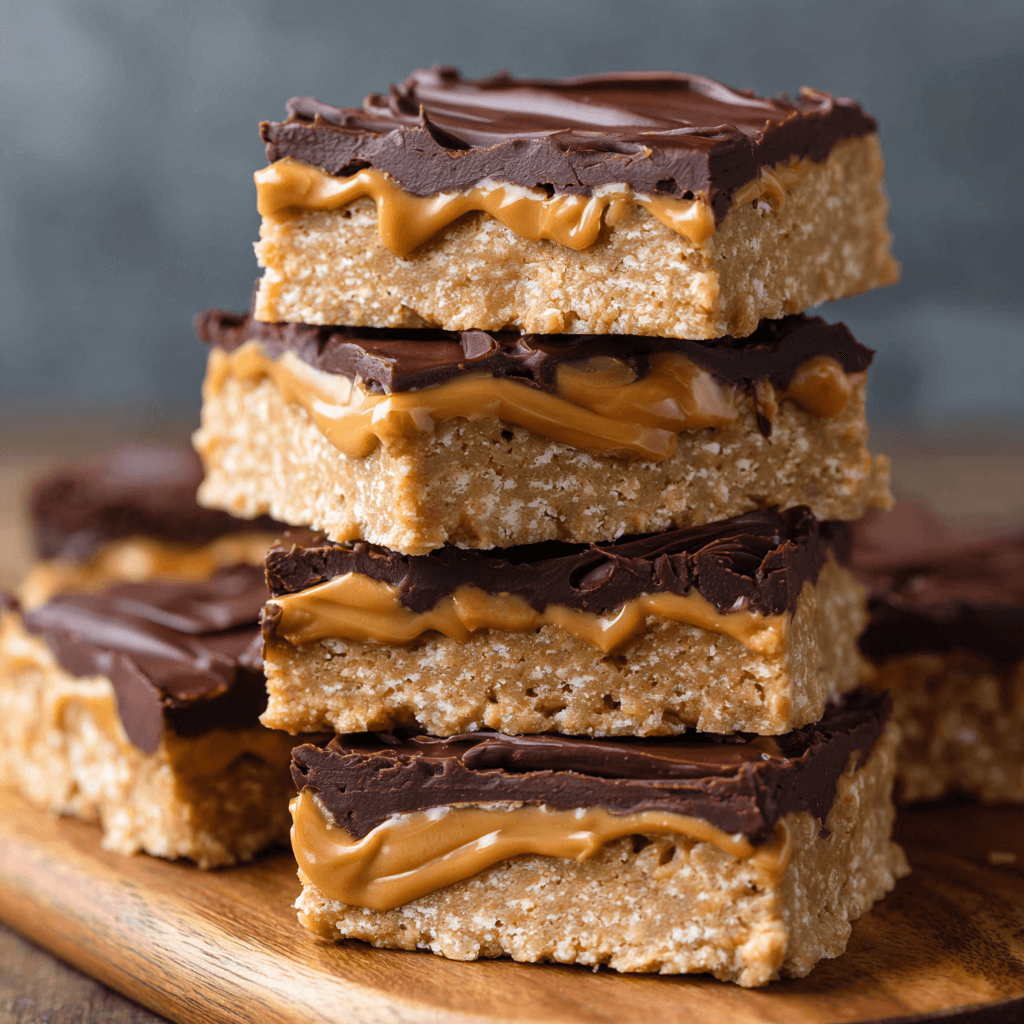
No-Bake Peanut Butter Chocolate Bars are a delicious and easy-to-make treat that combines the rich flavors of peanut butter and chocolate without the need for baking. These bars are perfect for satisfying your sweet tooth while providing a boost of energy, making them ideal for snacks or dessert. With just a few simple ingredients, you can whip up a batch in no time!
Ingredients List
For the Bars
- 1 cup natural peanut butter (creamy or crunchy)
- 1/2 cup honey or maple syrup
- 2 cups rolled oats
- 1/2 cup protein powder (optional, any flavor)
- 1/4 cup unsweetened cocoa powder
- A pinch of salt
For the Topping
- 1 cup dark chocolate chips (or semi-sweet chocolate chips)
- 1 tablespoon coconut oil (optional, for smoother melting)
Timing
Preparing No-Bake Peanut Butter Chocolate Bars takes about 15 minutes for prep and 1-2 hours for chilling.
Step-by-Step Instructions
Step 1: Prepare the Base
- Mix Peanut Butter and Sweetener: In a large mixing bowl, combine the peanut butter and honey (or maple syrup). Stir until well mixed and smooth.
Step 2: Add Dry Ingredients
- Combine Dry Ingredients: Add the rolled oats, protein powder (if using), cocoa powder, and a pinch of salt to the peanut butter mixture.
- Mix Well: Stir until all the ingredients are evenly combined. The mixture should be thick and sticky.
Step 3: Press into the Pan
- Prepare the Pan: Line an 8×8-inch (or similar size) baking dish with parchment paper, leaving some overhang for easy removal.
- Transfer Mixture: Pour the mixture into the prepared dish and press it down firmly and evenly using a spatula or your hands.
Step 4: Prepare the Topping
- Melt the Chocolate: In a microwave-safe bowl, combine the dark chocolate chips and coconut oil (if using). Microwave in 30-second intervals, stirring in between, until melted and smooth.
Step 5: Add the Topping
- Spread Chocolate: Pour the melted chocolate over the pressed peanut butter mixture in the baking dish. Use a spatula to spread it evenly over the top.
Step 6: Chill
- Refrigerate: Place the baking dish in the refrigerator for at least 1-2 hours, or until the chocolate is set and the bars are firm.
Step 7: Serve
- Cut and Enjoy: Once chilled, lift the bars out of the pan using the parchment paper overhang. Cut into squares or rectangles and enjoy!
Nutritional Information
Here’s a quick glance at the nutritional profile of No-Bake Peanut Butter Chocolate Bars (per bar, assuming 12 servings):
| Nutrient | Amount per Serving |
|---|---|
| Calories | 180 |
| Protein | 6g |
| Fat | 9g |
| Carbohydrates | 22g |
| Fiber | 3g |
Tips for Customization
- Nut Butter Variations: Feel free to use almond butter, cashew butter, or any other nut or seed butter you prefer.
- Add-Ins: Consider adding chopped nuts, seeds, or dried fruit for extra texture and flavor.
- Flavor Variations: You can add a teaspoon of vanilla extract or a pinch of cinnamon to enhance the flavor.
Storing Tips for the Recipe
No-Bake Peanut Butter Chocolate Bars can be stored in an airtight container in the refrigerator for up to a week. They can also be frozen for longer storage; just thaw them in the refrigerator before enjoying.
Conclusion
No-Bake Peanut Butter Chocolate Bars are a quick and easy treat that combines the delightful flavors of peanut butter and chocolate. These bars are not only delicious but also provide a nutritious boost, making them a perfect snack for any time of day!
FAQs
Can I make these bars vegan?
Yes! Simply use maple syrup instead of honey and choose a vegan-friendly chocolate option.
Can I substitute the oats?
You can use quick oats or gluten-free oats if you prefer. Just ensure that they are suitable for your dietary needs.
How can I make these bars more chocolatey?
You can increase the amount of chocolate chips or drizzle additional melted chocolate on top for an extra layer of chocolatey goodness!

No-Bake Peanut Butter Chocolate Bars Recipe
Ingredients
- For the Bars
- • 1 cup natural peanut butter (creamy or crunchy)
- • 1/2 cup honey or maple syrup
- • 2 cups rolled oats
- • 1/2 cup protein powder (optional, any flavor)
- • 1/4 cup unsweetened cocoa powder
- • A pinch of salt
- For the Topping
- • 1 cup dark chocolate chips (or semi-sweet chocolate chips)
- • 1 tablespoon coconut oil (optional, for smoother melting)
Instructions
Step 1: Prepare the Base
- In a large mixing bowl, combine the peanut butter and honey (or maple syrup).
- Stir until well mixed and smooth.
Step 2: Add Dry Ingredients
- Add the rolled oats, protein powder (if using), cocoa powder, and a pinch of salt to the peanut butter mixture.
- Stir until all the ingredients are evenly combined. The mixture should be thick and sticky.
Step 3: Press into the Pan
- Line an 8x8-inch (or similar size) baking dish with parchment paper, leaving some overhang for easy removal.
- Pour the mixture into the prepared dish and press it down firmly and evenly using a spatula or your hands.
Step 4: Prepare the Topping
- In a microwave-safe bowl, combine the dark chocolate chips and coconut oil (if using).
- Microwave in 30-second intervals, stirring in between, until melted and smooth.
Step 5: Add the Topping
- Pour the melted chocolate over the pressed peanut butter mixture in the baking dish.
- Use a spatula to spread it evenly over the top.
Step 6: Chill
- Place the baking dish in the refrigerator for at least 1–2 hours, or until the chocolate is set and the bars are firm.
Step 7: Serve
- Once chilled, lift the bars out of the pan using the parchment paper overhang.
- Cut into squares or rectangles and enjoy!