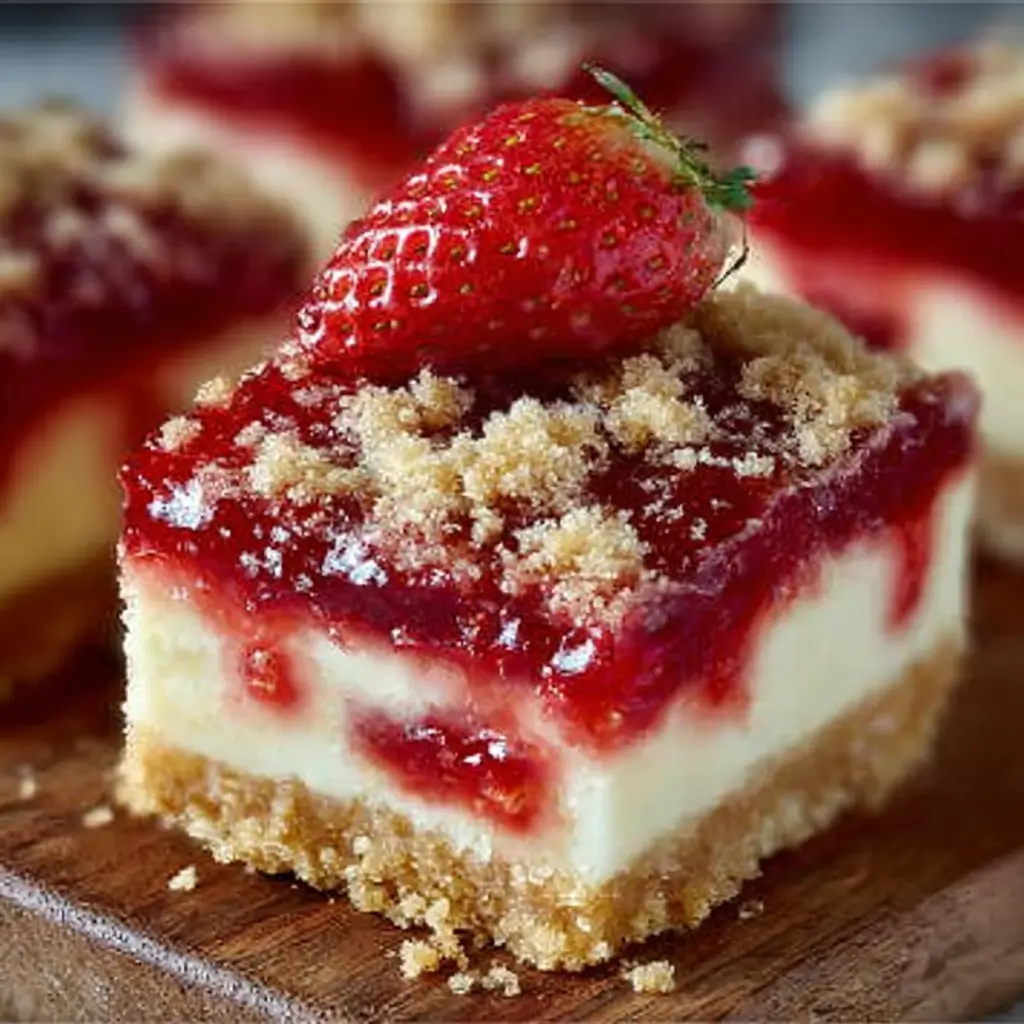
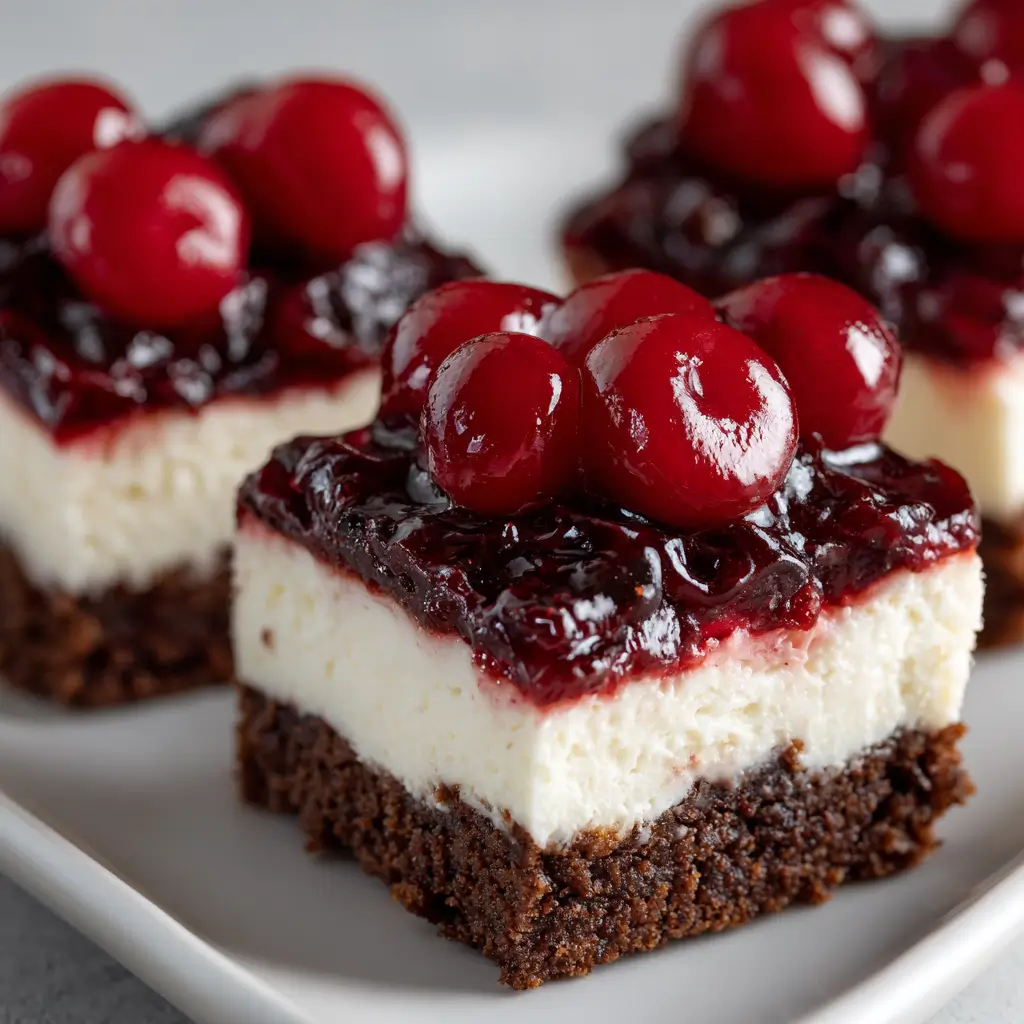
Have you ever wondered how to combine the rich flavors of chocolate, cream cheese, and cherries into a single, delectable dessert? If so, you’re in for a treat! The Black Forest Cheesecake Bars are not just a dessert; they are a delightful fusion of textures and flavors that will leave your taste buds dancing. With a luscious cream cheese layer, a chocolatey crust, and a cherry topping, these bars are sure to impress at any gathering. In this post, we’ll explore everything you need to know to create these mouthwatering treats, from ingredients to serving suggestions, ensuring you master the art of making Black Forest Cheesecake Bars.
Ingredients List
Creating the perfect Black Forest Cheesecake Bars requires a harmonious blend of ingredients. Here’s what you’ll need:
For the Crust:
- 1 ½ cups chocolate graham cracker crumbs: For a rich, chocolatey base.
- ½ cup unsalted butter, melted: Adds moisture and binds the crumbs together.
- ¼ cup granulated sugar: Sweetens the crust.
For the Cheesecake Filling:
- 16 oz cream cheese, softened: The star ingredient for a rich and creamy texture.
- ½ cup granulated sugar: Balances the creaminess of the cheese.
- 2 large eggs: Provides structure and stability.
- 1 teaspoon vanilla extract: Enhances flavor.
- ½ cup sour cream: Adds tanginess and creaminess.
For the Cherry Topping:
- 1 cup cherry pie filling: Adds sweetness and a pop of color.
- 1 tablespoon cornstarch (optional): For thickening if needed.
- Fresh cherries (for garnish, optional): For an elegant touch.
Substitutions:
- Graham cracker crumbs can be replaced with Oreo crumbs for an even richer flavor.
- Sour cream can be substituted with Greek yogurt for a healthier option.
- Cherry pie filling can be swapped with fresh or frozen cherries cooked down with sugar.
Step-by-Step Instructions
Step 1: Preheat the Oven
Preheat your oven to 325°F (160°C). Line a 9×9 inch baking pan with parchment paper, allowing some overhang for easy removal later.
Step 2: Make the Crust
- In a medium bowl, combine chocolate graham cracker crumbs, melted butter, and granulated sugar. Mix until well combined.
- Press the mixture firmly into the bottom of the prepared baking pan to form an even layer. Bake for 10 minutes, then remove and let cool slightly.
Step 3: Prepare the Cheesecake Filling
- In a large mixing bowl, beat the softened cream cheese until smooth and creamy.
- Gradually add granulated sugar, beating until well combined.
- Add eggs one at a time, mixing well after each addition. Then, stir in vanilla extract and sour cream until smooth.
Step 4: Assemble the Bars
- Pour the cheesecake filling over the cooled crust, spreading it evenly.
- Bake in the preheated oven for 30-35 minutes, or until the center is set but still slightly jiggly.
Step 5: Cool and Top
- Once baked, remove from the oven and let cool at room temperature for about 1 hour.
- Refrigerate for at least 2 hours to fully set.
- Before serving, top with cherry pie filling and optional fresh cherries.
Step 6: Serve
- Lift the cheesecake bars out of the pan using the parchment overhang.
- Cut into squares and serve chilled. Enjoy the delightful blend of flavors!
Nutritional Information
Here’s a comprehensive breakdown of the nutritional content per serving (based on 12 servings):
| Nutrient | Amount per Serving |
|---|---|
| Calories | 250 |
| Total Fat | 15g |
| Saturated Fat | 8g |
| Cholesterol | 55mg |
| Sodium | 180mg |
| Total Carbohydrates | 27g |
| Dietary Fiber | 1g |
| Sugars | 12g |
| Protein | 4g |
Nutritional Insights:
These bars provide a satisfying dessert option that balances indulgence with portion control.
Healthier Alternatives for the Recipe
If you’re looking to lighten up your Black Forest Cheesecake Bars, consider these modifications:
- Use Low-Fat Cream Cheese: This can reduce fat content without sacrificing flavor.
- Substitute Greek Yogurt for Sour Cream: This swap boosts protein while lowering calories.
- Reduce Sugar: Consider using a sugar substitute or reducing the sugar by half for a less sweet option.
Serving Suggestions
To elevate your Black Forest Cheesecake Bars, here are some creative serving ideas:
- Garnish with Whipped Cream: A dollop of homemade whipped cream adds a light and airy texture.
- Serve with Fresh Berries: Pair with strawberries or raspberries for added freshness and color.
- Drizzle with Chocolate Sauce: A chocolate drizzle can enhance the dessert’s visual appeal and flavor.
Common Mistakes to Avoid
- Overmixing the Cheesecake Filling: This can introduce too much air, causing cracks during baking. Mix just until smooth.
- Not Cooling Properly: Allowing the bars to cool at room temperature before refrigerating helps prevent cracks.
- Skipping the Parchment Paper: This makes removing the bars from the pan much easier and prevents sticking.
Storing Tips for the Recipe
To keep your Black Forest Cheesecake Bars fresh:
- Refrigerate: Store leftovers in an airtight container in the fridge for up to 4 days.
- Freeze for Later: These bars freeze well! Wrap them in plastic wrap and foil, and freeze for up to 2 months. Thaw in the fridge before serving.
- Prep Ahead: You can prepare the crust and filling a day in advance; just bake them on the day you plan to serve.
Conclusion
The Black Forest Cheesecake Bars are a delightful treat that combines the rich flavors of chocolate, cream cheese, and cherries into a stunning dessert. With easy-to-follow steps and creative serving suggestions, this recipe is perfect for any occasion. Try making them today, and don’t forget to share your feedback in the comments or subscribe for more delicious recipes!
FAQs
Can I use fresh cherries instead of cherry pie filling?
Yes! You can use fresh cherries cooked down with a bit of sugar for a fresher taste.
How do I know when the cheesecake bars are done?
The center should be set but still slightly jiggly. It will firm up as it cools.
Can I make these bars gluten-free?
Absolutely! Use gluten-free chocolate graham crackers to make the crust.

Black Forest Cheesecake Bars
Ingredients
- For the Crust:
- 1 ½ cups chocolate graham cracker crumbs: For a rich, chocolatey base.
- ½ cup unsalted butter, melted: Adds moisture and binds the crumbs together.
- ¼ cup granulated sugar: Sweetens the crust.
- For the Cheesecake Filling:
- 16 oz cream cheese, softened: The star ingredient for a rich and creamy texture.
- ½ cup granulated sugar: Balances the creaminess of the cheese.
- 2 large eggs: Provides structure and stability.
- 1 teaspoon vanilla extract: Enhances flavor.
- ½ cup sour cream: Adds tanginess and creaminess.
- For the Cherry Topping:
- 1 cup cherry pie filling: Adds sweetness and a pop of color.
- 1 tablespoon cornstarch (optional): For thickening if needed.
- Fresh cherries (for garnish, optional): For an elegant touch.
Instructions
Step 1: Preheat the Oven
Preheat your oven to 325°F (160°C). Line a 9x9 inch baking pan with parchment paper, allowing some overhang for easy removal later.
Step 2: Make the Crust
In a medium bowl, combine chocolate graham cracker crumbs, melted butter, and granulated sugar. Mix until well combined.
Press the mixture firmly into the bottom of the prepared baking pan to form an even layer. Bake for 10 minutes, then remove and let cool slightly.
Step 3: Prepare the Cheesecake Filling
In a large mixing bowl, beat the softened cream cheese until smooth and creamy.
Gradually add granulated sugar, beating until well combined.
Add eggs one at a time, mixing well after each addition. Then, stir in vanilla extract and sour cream until smooth.
Step 4: Assemble the Bars
Pour the cheesecake filling over the cooled crust, spreading it evenly.
Bake in the preheated oven for 30-35 minutes, or until the center is set but still slightly jiggly.
Step 5: Cool and Top
Once baked, remove from the oven and let cool at room temperature for about 1 hour.
Refrigerate for at least 2 hours to fully set.
Before serving, top with cherry pie filling and optional fresh cherries.
Step 6: Serve
Lift the cheesecake bars out of the pan using the parchment overhang.
Cut into squares and serve chilled. Enjoy the delightful blend of flavors!