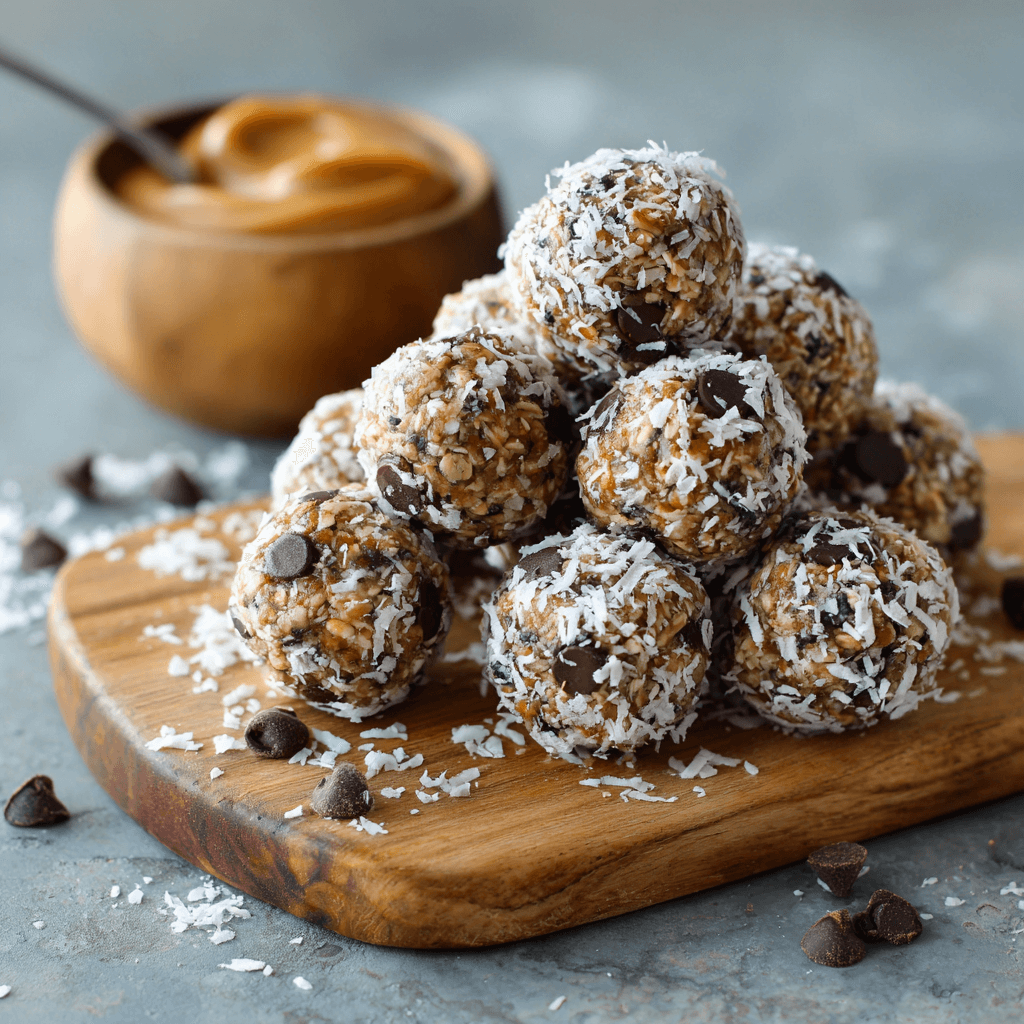
Coconut Chocolate Energy Balls are a delicious and nutritious snack that combines the rich flavors of chocolate and coconut with wholesome ingredients. These no-bake bites are perfect for a quick energy boost, making them ideal for pre-workout snacks, midday pick-me-ups, or a sweet treat. Easy to make and packed with nutrients, they are sure to satisfy your cravings!
Ingredients List
- 1 cup rolled oats
- 1/2 cup nut butter (such as almond butter or peanut butter)
- 1/3 cup honey or maple syrup
- 1/2 cup unsweetened shredded coconut
- 1/4 cup cocoa powder
- 1/4 cup dark chocolate chips (or mini chocolate chips)
- 1 teaspoon vanilla extract
- A pinch of salt
Timing
Preparing Coconut Chocolate Energy Balls takes about 10 minutes for prep and 30 minutes for chilling.
Step-by-Step Instructions
Step 1: Combine Ingredients
- Mix Dry Ingredients: In a large mixing bowl, combine the rolled oats, shredded coconut, cocoa powder, and a pinch of salt. Stir until well mixed.
Step 2: Add Wet Ingredients
- Add Nut Butter and Sweetener: Add the nut butter, honey (or maple syrup), and vanilla extract to the dry mixture.
- Mix Well: Stir everything together until fully combined. The mixture should be sticky and hold together. If it’s too dry, add a bit more nut butter or honey.
Step 3: Fold in Chocolate Chips
- Add Chocolate Chips: Gently fold in the dark chocolate chips until evenly distributed throughout the mixture.
Step 4: Form the Balls
- Shape the Mixture: Using your hands, scoop out about 1 tablespoon of the mixture and roll it into a ball. Repeat until all the mixture is used, placing the balls on a parchment-lined baking sheet.
Step 5: Chill
- Refrigerate: Place the baking sheet in the refrigerator for at least 30 minutes to allow the energy balls to firm up.
Step 6: Serve
- Enjoy: Once chilled, your Coconut Chocolate Energy Balls are ready to enjoy! Store any leftovers in an airtight container in the refrigerator for up to a week.
Nutritional Information
Here’s a quick glance at the nutritional profile of Coconut Chocolate Energy Balls (per ball, assuming 12 servings):
| Nutrient | Amount per Serving |
|---|---|
| Calories | 120 |
| Protein | 3g |
| Fat | 6g |
| Carbohydrates | 15g |
| Fiber | 2g |
Tips for Customization
- Nut Butter Variations: Feel free to use any nut or seed butter, such as cashew butter or sunflower seed butter, depending on your preference.
- Add-Ins: Consider adding chia seeds, flaxseeds, or dried fruit (like cranberries or raisins) for extra nutrition and flavor.
- Coconut Variations: For a different texture, try using toasted coconut flakes instead of shredded coconut.
Storing Tips for the Recipe
Coconut Chocolate Energy Balls can be stored in an airtight container in the refrigerator for up to a week. They can also be frozen for longer storage; just thaw them in the refrigerator before enjoying.
Conclusion
Coconut Chocolate Energy Balls are a quick and easy snack that combines the delicious flavors of chocolate and coconut with wholesome ingredients. Perfect for any time of day, these energy balls are not only tasty but also provide a boost of energy and nutrition!
FAQs
Can I make these energy balls vegan?
Yes! Simply use maple syrup instead of honey and choose a vegan-friendly nut butter.
Can I substitute the oats?
You can use quick oats or gluten-free oats if you prefer. Just ensure that they are suitable for your dietary needs.
How can I make these energy balls more chocolatey?
You can increase the amount of cocoa powder or add more chocolate chips for an extra chocolatey flavor!

Coconut Chocolate Energy Balls Recipe
Ingredients
- • 2 cups cooked chicken, shredded or diced (rotisserie chicken works well)
- • 4 medium zucchinis, sliced (about 4 cups)
- • 1 cup shredded cheddar cheese (or a cheese blend)
- • 1 cup cream of chicken soup (or homemade version)
- • 1/2 cup sour cream (or Greek yogurt)
- • 1/2 cup milk (or plant-based milk)
- • 1/2 cup onion, finely chopped
- • 1 teaspoon garlic powder
- • 1 teaspoon dried oregano
- • Salt and pepper to taste
- • 1/4 teaspoon paprika (optional)
- For the Topping
- • 1 cup breadcrumbs (panko or regular)
- • 1/2 cup grated Parmesan cheese
- • 2 tablespoons butter, melted (or olive oil for a vegan option)
- • 1 teaspoon dried parsley (optional)
Instructions
Step 1: Preheat the Oven
- Preheat your oven to 350°F (175°C).
- Grease a 9x13-inch baking dish with cooking spray or butter.
Step 2: Prepare the Zucchini
- In a large skillet over medium heat, add a little olive oil.
- Sauté the sliced zucchini for about 5–7 minutes until slightly tender.
- Season with salt and pepper.
- Drain excess moisture if necessary and set aside.
Step 3: Mix the Casserole Filling
- In a large mixing bowl, combine the cooked chicken, sautéed zucchini, shredded cheddar cheese, cream of chicken soup, sour cream, milk, chopped onion, garlic powder, oregano, salt, pepper, and paprika (if using).
- Mix well until all ingredients are evenly incorporated.
Step 4: Assemble the Casserole
- Pour the chicken and zucchini mixture into the prepared baking dish and spread it out evenly.
Step 5: Prepare the Topping
- In a small bowl, combine the breadcrumbs, grated Parmesan cheese, melted butter (or olive oil), and dried parsley (if using).
- Mix until the breadcrumbs are evenly coated.
Step 6: Top and Bake
- Sprinkle the breadcrumb mixture evenly over the casserole.
- Place the baking dish in the preheated oven and bake for 30–35 minutes, or until the top is golden brown and the casserole is bubbly.
Step 7: Serve
- Remove from the oven and let cool for a few minutes before serving.
- Enjoy your Chicken Zucchini Casserole warm!