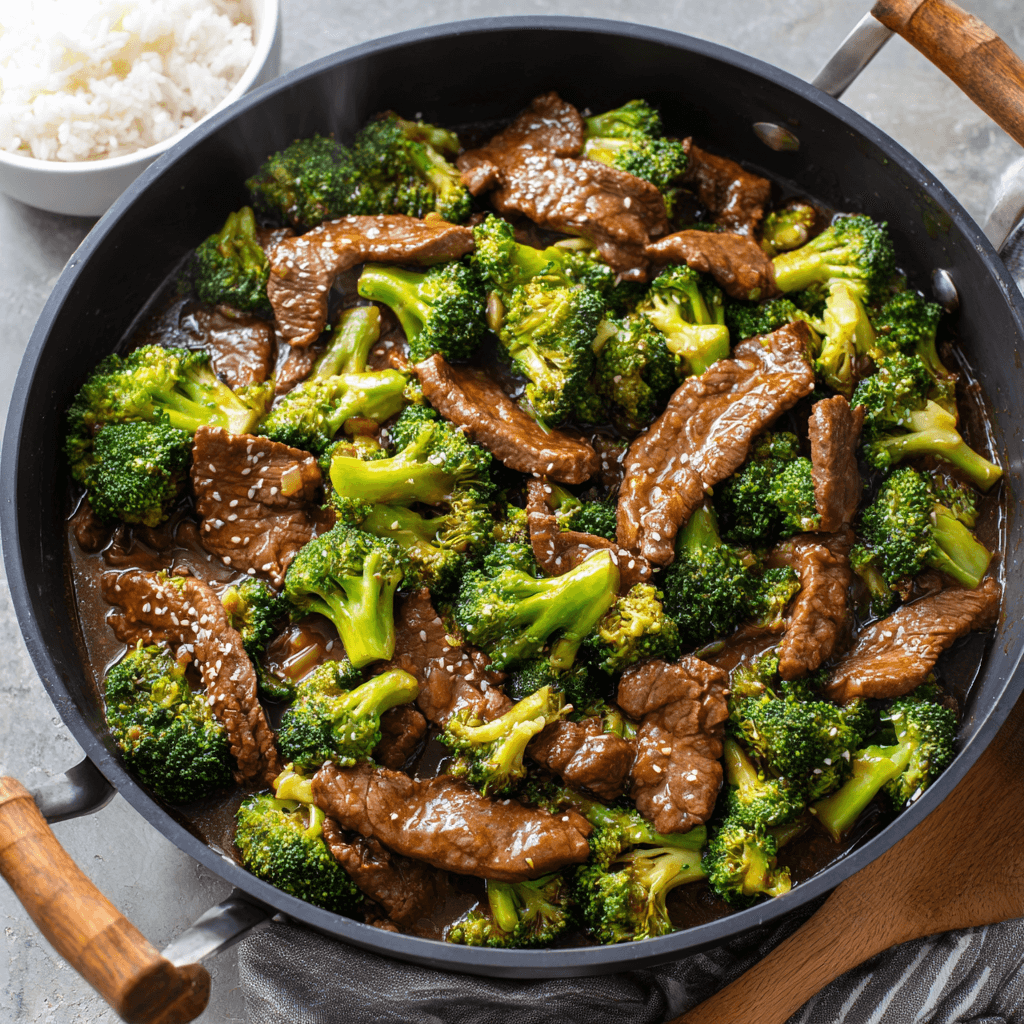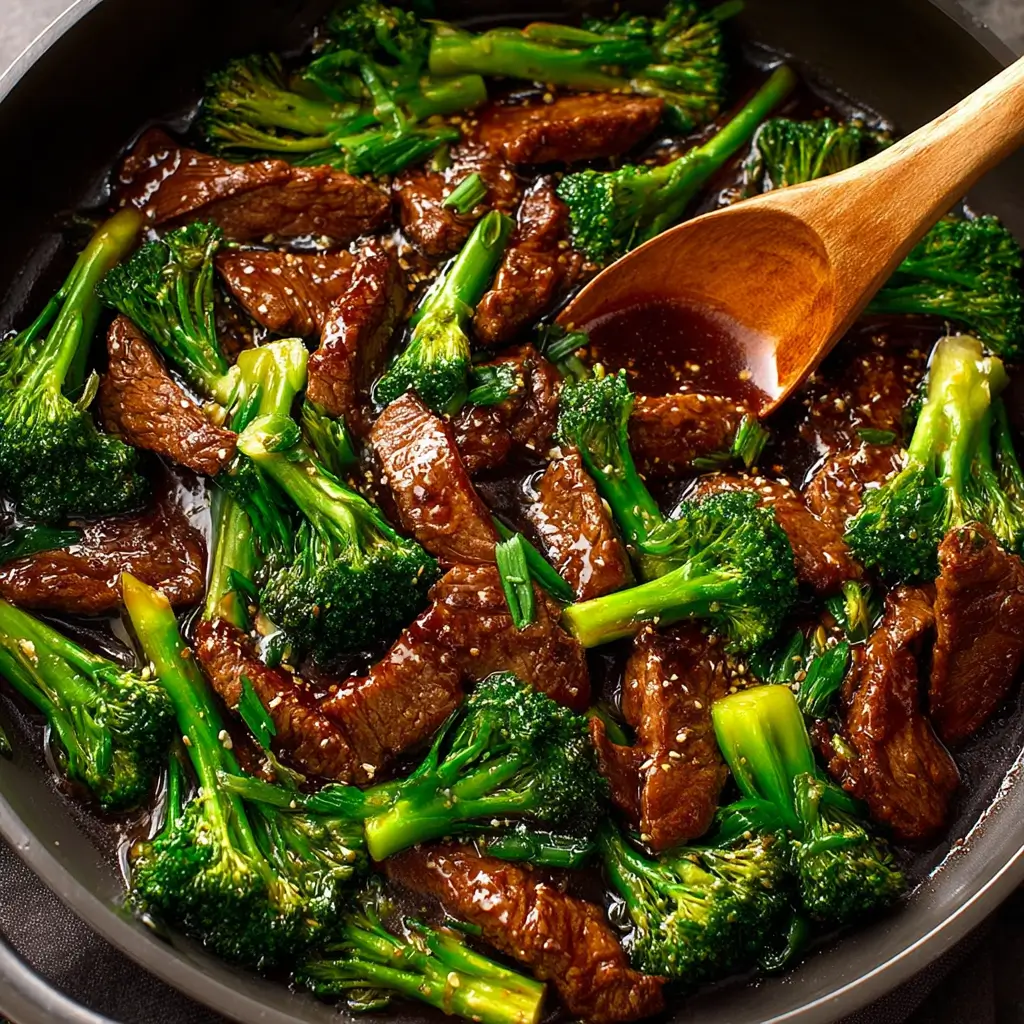
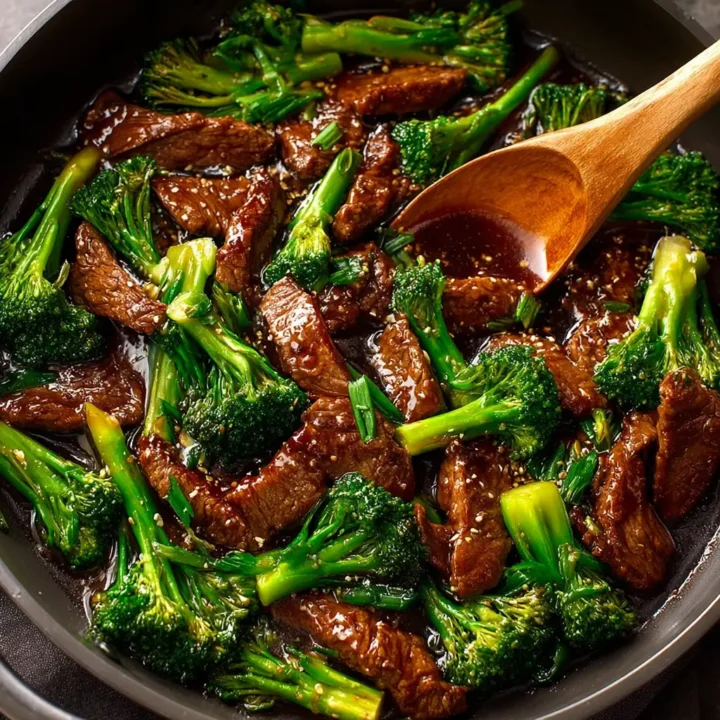
Have you ever wondered how a simple stir-fry can become a beloved dish in countless households? Chinese Beef and Broccoli is not just a meal; it’s a culinary experience that combines tender beef, vibrant broccoli, and a savory sauce that tantalizes the taste buds. This dish is a staple in Chinese cuisine, often enjoyed for its rich flavors and nutritional benefits. In fact, studies show that meals incorporating vegetables like broccoli can increase overall nutrient intake by up to 30%. Join me as we explore how to make this classic dish at home, ensuring it’s both delicious and easy to prepare.
Ingredients List
To create your own delicious Chinese Beef and Broccoli, gather the following ingredients:
Essential Ingredients:
- 1 pound flank steak: Thinly sliced against the grain for tenderness.
- 2 cups broccoli florets: Fresh or frozen, providing a vibrant crunch.
- 3 tablespoons soy sauce: Adds umami and depth to the dish.
- 2 tablespoons oyster sauce: Enhances the flavor profile with a hint of sweetness.
- 1 tablespoon cornstarch: For thickening the sauce.
- 2 tablespoons vegetable oil: For sautéing the beef and broccoli.
- 3 cloves garlic: Minced, to infuse the dish with aromatic flavor.
- 1 teaspoon ginger: Freshly grated, adds warmth and spice.
- 1/2 cup beef broth: For a rich sauce base.
- Salt and pepper: To taste.
Suggested Substitutions:
- Flank steak: Can be substituted with sirloin or chicken for a different protein.
- Broccoli: Use bok choy or snow peas for variety.
- Soy sauce: Low-sodium soy sauce is a great alternative for a healthier option.
- Oyster sauce: If unavailable, hoisin sauce can be used as a substitute.
Step-by-Step Instructions
Step 1: Marinate the Beef
In a bowl, combine the sliced flank steak with 2 tablespoons of soy sauce and 1 tablespoon of cornstarch. Mix well and let it marinate for about 10 minutes. This step not only adds flavor but also tenderizes the meat.
Step 2: Prepare the Broccoli
While the beef is marinating, bring a pot of water to a boil. Add the broccoli florets and blanch for 2 minutes until bright green and tender-crisp. Drain and set aside. This method retains the nutrients and vibrant color of the broccoli.
Step 3: Heat the Oil
In a large skillet or wok, heat 2 tablespoons of vegetable oil over medium-high heat. Ensure the oil is hot but not smoking, which will help achieve a nice sear on the beef.
Step 4: Cook the Beef
Add the marinated beef to the skillet in a single layer. Cook for 2-3 minutes without stirring, allowing it to brown. Then, stir-fry for an additional 2-3 minutes until the beef is cooked through. Remove the beef from the skillet and set aside.
Step 5: Sauté the Aromatics
In the same skillet, add the minced garlic and grated ginger. Sauté for about 30 seconds until fragrant, being careful not to burn them.
Step 6: Combine Ingredients
Return the cooked beef to the skillet along with the blanched broccoli. Pour in the remaining 1 tablespoon of soy sauce, 2 tablespoons of oyster sauce, and 1/2 cup of beef broth. Stir well to combine all the ingredients.
Step 7: Thicken the Sauce
Let the mixture simmer for 2-3 minutes. If you prefer a thicker sauce, mix an additional teaspoon of cornstarch with a tablespoon of water, then stir it into the sauce until it reaches your desired consistency.
Step 8: Season and Serve
Taste the dish and adjust the seasoning with salt and pepper as needed. Serve hot over steamed rice or noodles for a complete meal. Enjoy the delightful flavors of your homemade Chinese Beef and Broccoli!

Nutritional Information
Understanding the nutritional content of your Chinese Beef and Broccoli is essential for maintaining a balanced diet. Here’s a breakdown of the nutritional information per serving (assuming 4 servings):
| Nutrient | Amount |
|---|---|
| Calories | 300 |
| Protein | 25g |
| Carbohydrates | 20g |
| Fat | 15g |
| Saturated Fat | 3g |
| Sugar | 2g |
| Sodium | 600mg |
| Fiber | 3g |
This dish is not only delicious but also packed with protein and essential vitamins from the broccoli, making it a nutritious addition to your meal rotation.
Conclusion
In summary, Chinese Beef and Broccoli is a quick, flavorful, and nutritious dish that can easily be made at home. With its tender beef and vibrant broccoli, it’s sure to please everyone at the table. We invite you to try this recipe and share your feedback in the comments section below. Don’t forget to subscribe for more delicious recipes and cooking tips!
FAQs
Q1: Can I make this dish gluten-free?
A: Yes, you can use gluten-free soy sauce and ensure that your oyster sauce is also gluten-free to accommodate dietary restrictions.
Q2: How do I store leftovers?
A: Store any leftovers in an airtight container in the refrigerator for up to 3 days. Reheat in the microwave or on the stovetop before serving.
Q3: Can I add other vegetables?
A: Absolutely! Feel free to include bell peppers, carrots, or snap peas for added color and nutrition.
Chinese Beef and Broccoli
Ingredients
- 1 pound flank steak, thinly sliced
- 2 cups broccoli florets
- 3 tablespoons soy sauce
- 2 tablespoons oyster sauce
- 1 tablespoon cornstarch
- 2 tablespoons vegetable oil
- 3 cloves garlic, minced
- 1 teaspoon ginger, freshly grated
- 1/2 cup beef broth
- Salt and pepper to taste
Instructions
- Marinate the beef with soy sauce and cornstarch for 10 minutes.
- Blanch broccoli in boiling water for 2 minutes, then drain.
- Heat oil in a skillet over medium-high heat.
- Cook beef for 2-3 minutes, then stir-fry until cooked through. Remove and set aside.
- Sauté garlic and ginger for 30 seconds until fragrant.
- Add beef and broccoli back to the skillet, then pour in soy sauce, oyster sauce, and beef broth.
- Simmer for 2-3 minutes; thicken with cornstarch if desired.
- Season with salt and pepper, then serve hot over rice or noodles.