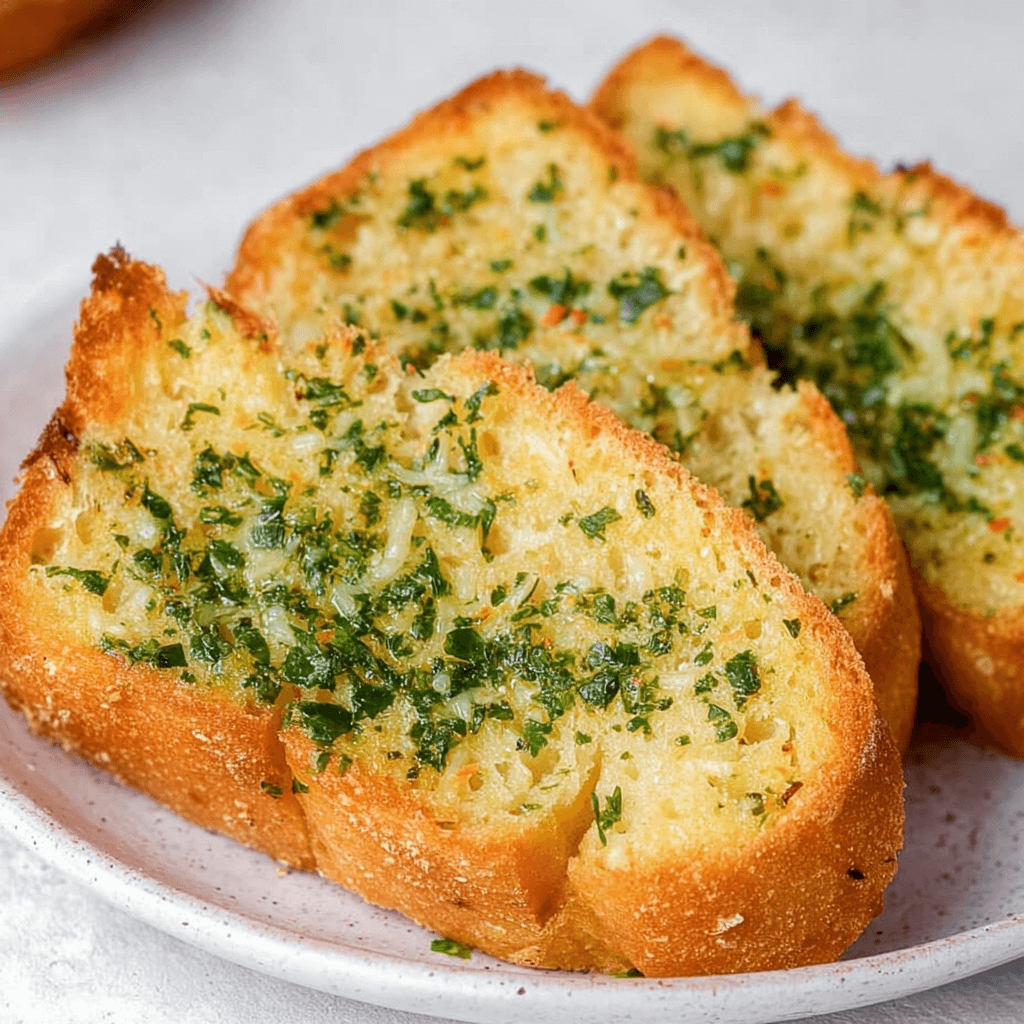
Easy Garlic Bread is a delicious and simple side dish that perfectly complements pasta, soups, and salads. With its buttery, garlicky flavor and crispy texture, this garlic bread is sure to be a hit at any meal!
Ingredients
- 1 loaf French bread (or Italian bread)
- 1/2 cup unsalted butter (softened)
- 4 cloves garlic (minced)
- 2 tablespoons fresh parsley (chopped, or 1 tablespoon dried parsley)
- 1/4 teaspoon salt (or to taste)
- 1/4 teaspoon black pepper (optional)
- 1/4 teaspoon crushed red pepper flakes (optional, for a bit of heat)
- Grated Parmesan cheese (optional, for topping)
Timing
Making Easy Garlic Bread takes about 10 minutes for preparation and 10-15 minutes for baking.
Instructions
Step 1: Preheat the Oven
- Preheat Oven: Preheat your oven to 375°F (190°C).
Step 2: Prepare the Garlic Butter
- Mix Ingredients: In a mixing bowl, combine the softened butter, minced garlic, chopped parsley, salt, black pepper, and crushed red pepper flakes (if using). Mix until well combined.
Step 3: Prepare the Bread
- Slice the Bread: Cut the loaf of French bread in half lengthwise.
- Spread Garlic Butter: Generously spread the garlic butter mixture over the cut sides of the bread.
Step 4: Bake the Garlic Bread
- Place on Baking Sheet: Place the prepared bread halves on a baking sheet, cut side up.
- Bake: Bake in the preheated oven for 10-15 minutes, or until the edges are golden and crispy. For extra browning, you can broil for an additional 1-2 minutes, but watch closely to prevent burning.
Step 5: Serve
- Optional Topping: If desired, sprinkle grated Parmesan cheese over the garlic bread during the last few minutes of baking.
- Slice and Enjoy: Remove from the oven, slice into pieces, and serve warm.
Nutritional Information
Here’s a quick overview of the nutritional content of Easy Garlic Bread (per slice, based on 8 servings):
| Nutrient | Amount per Serving |
|---|---|
| Calories | 150 |
| Protein | 2g |
| Fat | 9g |
| Carbohydrates | 15g |
| Fiber | 1g |
| Sugar | 1g |
Tips for Customization
- Herb Variations: Add other herbs like oregano, thyme, or basil for different flavor profiles.
- Cheese Options: Experiment with different cheeses like mozzarella or cheddar for a cheesy garlic bread variation.
- Garlic Lovers: Increase the amount of garlic for a stronger flavor, or use roasted garlic for a sweeter, milder taste.
Conclusion
Easy Garlic Bread is a quick and delicious side dish that enhances any meal with its rich garlic flavor and crispy texture. Perfect for sharing, this recipe is sure to become a favorite in your household!
Easy Garlic Bread Recipe
Prep Time:
10 minutes
Cook Time:
10 minutes
Total Time:
20 minutes
Ingredients
- • 1 loaf French bread (or Italian bread)
- • 1/2 cup unsalted butter (softened)
- • 4 cloves garlic (minced)
- • 2 tablespoons fresh parsley (chopped, or 1 tablespoon dried parsley)
- • 1/4 teaspoon salt (or to taste)
- • 1/4 teaspoon black pepper (optional)
- • 1/4 teaspoon crushed red pepper flakes (optional)
- • Grated Parmesan cheese (optional, for topping)
Instructions
- Preheat Oven: Preheat your oven to 375°F (190°C).
- Mix Ingredients: In a mixing bowl, combine the softened butter, minced garlic, chopped parsley, salt, black pepper, and crushed red pepper flakes (if using). Mix until well combined.
- Slice the Bread: Cut the loaf of French bread in half lengthwise.
- Spread Garlic Butter: Generously spread the garlic butter mixture over the cut sides of the bread.
- Place on Baking Sheet: Place the prepared bread halves on a baking sheet, cut side up.
- Bake: Bake in the preheated oven for 10–15 minutes, or until the edges are golden and crispy. For extra browning, you can broil for an additional 1–2 minutes, watching closely to prevent burning.
- Optional Topping: If desired, sprinkle grated Parmesan cheese over the garlic bread during the last few minutes of baking.
- Slice and Enjoy: Remove from the oven, slice into pieces, and serve warm.
Step 1: Preheat the Oven
Step 2: Prepare the Garlic Butter
Step 3: Prepare the Bread
Step 4: Bake the Garlic Bread
Step 5: Serve